Robotic Tufting Gun Fires Off CNC Textiles

Often used to make rugs, tufting is a process wherein a hollow needle is used to cram thread or yarn into fabric in some kind of pattern. This can be done by hand, with a gun, or with big machines. Some machines are set up to punch the same pattern quickly over and over again, and these are difficult to retool for a new pattern. Others are made to poke arbitrary patterns and change easily, but these machines move more slowly.
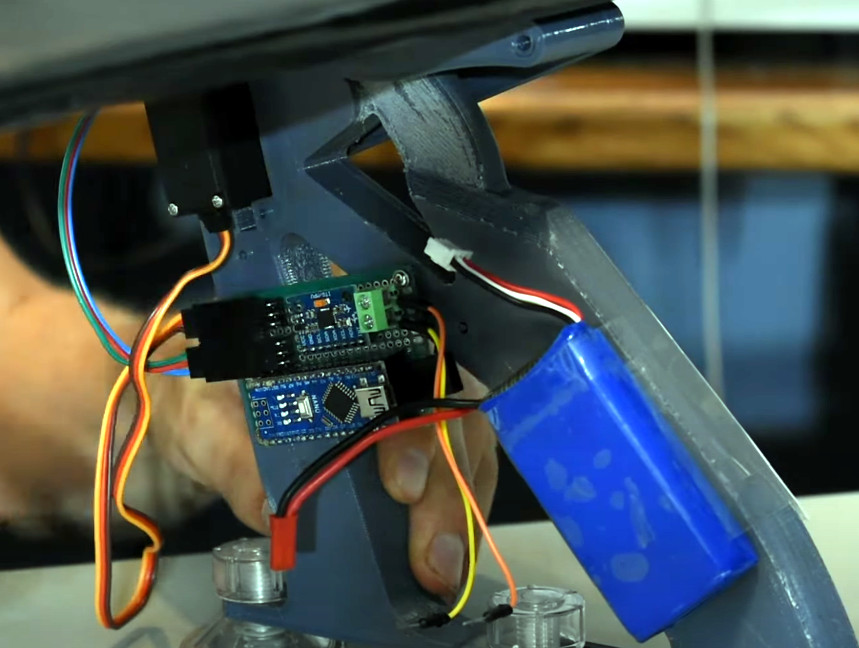
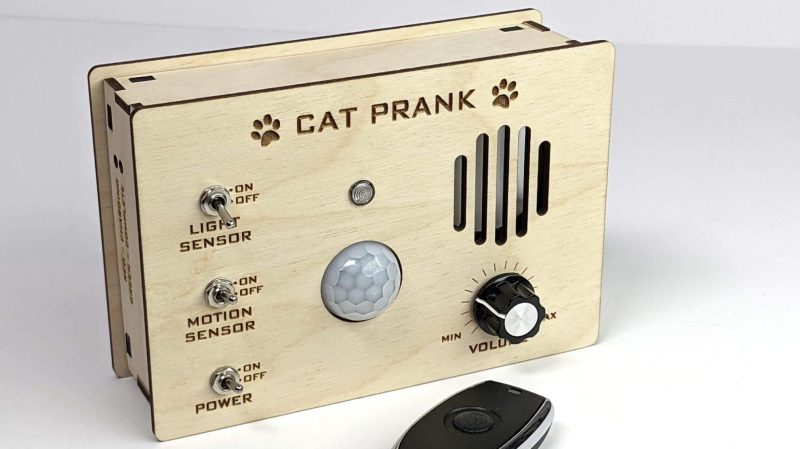
 This robotic tufting system by [Owen Trueblood] is of the slow and arbitrary type. It will consist of a modified tufting gun strapped to a robot arm for CNC textile art. Tufting guns are manufactured with simple controls — a power switch, a knob to set the speed, and a trigger button to do the tufting. Once it’s affixed to the robot arm, [Owen] wants to remote control the thing.
The gun’s motor driver is nothing fancy, just a 555 using PWM to control a half H-bridge based on input from the speed control potentiometer. [Owen] replaced the motor controller with an Arduino and added an I/O port. The latter is a 3.5 mm stereo audio jack wired to GND and two of the Arduino’s pins. One is a digital input to power the gun, and the other is used as an analog speed controller based on input voltage. [Owen] is just getting started, and we’re excited to keep tabs on this project as the gun goes robotic.
This isn’t the first time we’ve seen robots do textiles — here’s a 6-axis robot arm that weaves carbon fiber.