

Arduino based Milling Machine
This is a working model of an Arduino based Milling Machine created using FischerTechnik. For those of you who are unaware of FischerTechnik, it is similar to the LEGOTM Building Blocks.
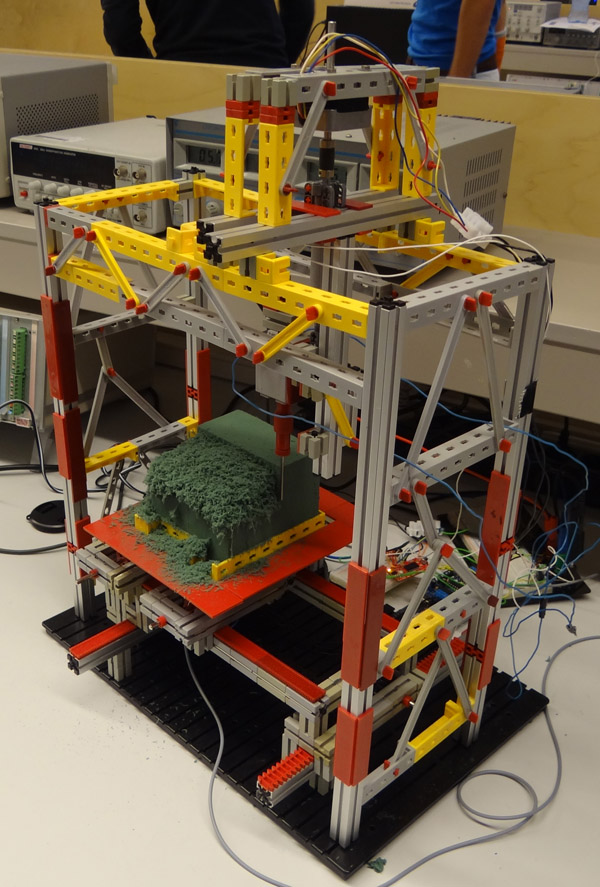
A group of four Mechanical Engineering students at the Delft University of Technology (Netherlands) created this project as part of their Mechatronics class in their Second year of Bachelor of Sciences (B.Sc.) Program.
Laurens Valk, one of the creators, explains the essence of Arduino in the project:
“The system uses the Adafruit motor shield to run two stepper motors, and the Sparkfun EasyDriver for the third stepper motor. The Arduino runs code that listens to Matlab commands over USB. We expanded that code a little to make it possible to add the third stepper motor and some other commands. Most of the actual code was programmed in Matlab, with the Arduino as the interface between computer and motors/sensors.”
We had a little chat with Laurens. Here is the excerpt:
I’ve seen a lot of Arduino projects over the years, but this was the first time we used it in a project. Personally, I usually build robots with MINDSTORMS NXT, but this felt like a good opportunity to combine mechanical work (the printer hardware) with real electronics (Arduino).
We chose to come up with our own design challenge and decided not to do the standard exercise. Initially we thought about making a (2D) plotter or scanner. Then quickly we started thinking about the same things, except in 3D. One of the projects that inspired us was the LEGO Milling Machine by Arthur Sacek. Both a scanner and printer would still be doable in 3D, but the time was limited, so we settled with the printer idea.
All construction had to be done in one workweek for logistical reasons. To make sure we were able to finish in time, we prepared much of the electronics and software outside the lab. We finished just in time, but unfortunately we could do only one complete print before we had to take it apart. Not surprisingly, it was very exciting to wait for the result of the one and only complete test run. We couldn’t see the result until we used the vacuum cleaner to remove the dust.