Posts with «infrared» label

Sharpy

How about a new way to make music? [cpeckmusic] has it’s way to do it, with is project Sharpy.

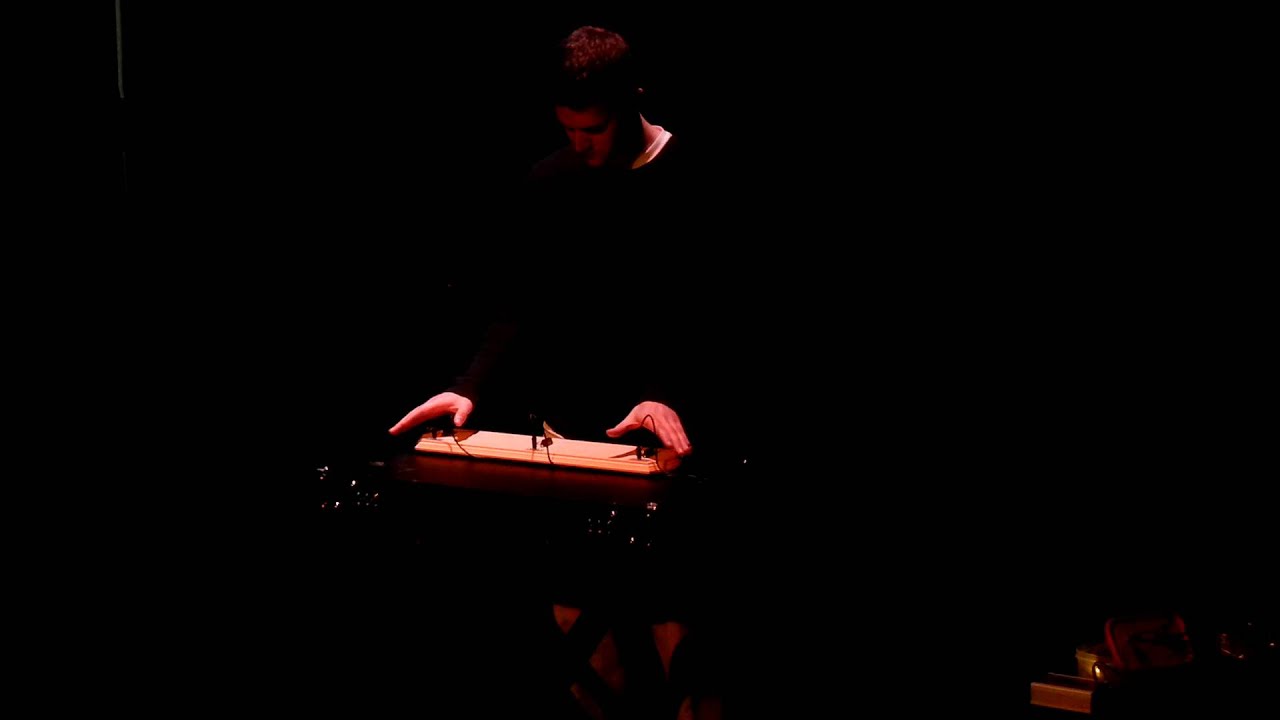
Sharpy is an electronic instrument that was designed and built by composer Charles Peck. The instrument utilizes three infrared distance sensors to control the sound, which is produced digitally with an Arduino board and GinSing shield. So as users interact with these sensors, there is a clear auditory connection to their physical actions.

Despite having only three sensors, the instrument is capable of a variety of sounds. This is because Sharpy has three possible operating states, each of which assigns a different set of parameters to the three sensors. State 1 is initiated by covering the sensor on the user’s left first. The instrument will then stay in State 1 until no sensors are being covered. Therefore, the user must completely remove their hands form the instrument in order to change states. Concordantly, State 2 is initiated using the middle sensor and State 3 using the sensor on the right. The short improvisation in this video demonstrates a few of these sonic possibilities.

I suggest you to watch the [video] of the live performance. If you’re interested in more works check his official [website]

Hornby, the line follower

Primary image

What does it do?

Line Follower


Cost to build

$100,00

Embedded video

Finished project

Number

Time to build

20 hours

Type

URL to more information

Weight

read more

Arduino quadruped robot

Primary image

What does it do?

Walk forward and backword

Hi all,

I’ve been working on my first real robot last week-end and wanted to share it. It’s a simple quadruped arduino robot controlled by serial (via USB). Videos can be viewed on my blog : http://blog.joomun.org/2012/09/09/arduino-quadruped-robot/

The robot structure has been created with cheap mecanno clone

IR control has been added, i'll update the blog later.

Cost to build

$66,00

Embedded video

Finished project

Number

Time to build

10 hours

Type

legs

URL to more information

Weight

300 grams

Minecraft Creeper

Primary image

What does it do?

Obstacles avoidance via infrared sensor

Hello,

Greetings from Hong Kong.

This is my first Arduino project. I have worked with the handyboard and NXT few years ago. The Arduino seems popular and easy to get into for people from non-electronic background like me, so I decided to build something simple to get myself familiarize with the Arduino board and interfaces. For the look I decided to make it the Minecraft Creeper, for the non-gamers, it's a iconic mob that appears in the 8-bit inspired 3D game Minecraft. If you havent try it before, grab a copy now! 

Cost to build

$100,00

Embedded video

Finished project

Number

Time to build

Type

tracks

URL to more information

Weight

1500 grams

read more

Add lasers to a tennis ball, drive your dog crazy (video)

It's a "programmable disco ball," a "cat toy for humans," and a "personal laser light show," all rolled into one. That's how one Matt Leone describes his latest creation, aptly known as the Laser Ball. To realize his dream, Leone drilled a set of holes into a garden variety tennis ball, and inserted about 14 laser diodes, each with an attached strip of diffraction grating. Said diodes were then synced up with an Arduino-equipped Teensy microcontroller nestled within the ball, alongside a rechargeable battery. As a cherry on top of this DIY sundae, Leone then incorporated an infrared remote package from Adafruit, allowing him to remotely jump start his next house party. The result is a cyborg-like ball that makes any LED cube look... square. Check it out for yourself, in the video after the break.

Continue reading Add lasers to a tennis ball, drive your dog crazy (video)

Add lasers to a tennis ball, drive your dog crazy (video) originally appeared on Engadget on Mon, 14 Nov 2011 14:34:00 EST. Please see our terms for use of feeds.

Permalink | Email this | Comments