Teach your drone what is up and down with an Arduino
Gyroscopes and accelerometers are the primary sensors at the heart of an IMU, also known as an internal measurement unit — an electronic sensor device that measures the orientation, gravitational forces and velocity of a multicopter, and help you keep it in the air using Arduino.
Two videos made by Joop Brokking, a Maker with passion for RC model ‘copters, clearly explain how to program your own IMU so that it can be used for self-balancing your drone without Kalman filters, libraries, or complex calculations.
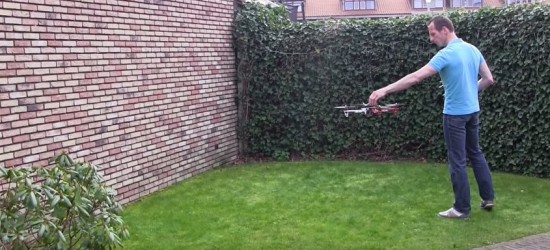
Auto leveling a multicopter is pretty challenging. It means that when you release the pitch and roll controls on your transmitter the multicopter levels itself. To get this to work the flight controller of the multicopter needs to know exactly which way is down. Like a spirit level that is on top of the multicopter for the pitch and roll axis.
Very often people ask me how to make an auto level feature for their multicopter. The answer to a question like this is pretty involved and cannot be explained in one email. And that is why I made this video series.