Arduino Gives Your Toilet Options

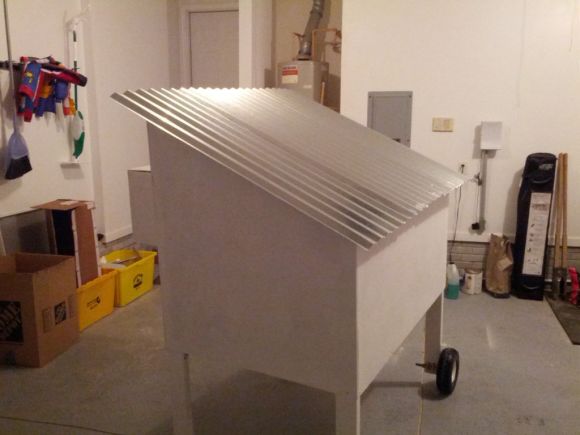
With the severe drought going on in California with no end in sight, [TVMiller] decided he could put an Arduino and a toilet together to try and save at least a few gallons of water per day. The invention fills a toilet to the minimum level, saving around two gallons per day for the average “user”.
A typical toilet functions by using gravity and moving water to create a vacuum, sucking the waste down and out of the toilet. As long as there is nothing, uh, solid in the bowl, the toilet will be able to function on the reduced amount of water. The Arduino cuts the flow of water off before the toilet fills up the entire way.
In the event that anyone -ahem- needs the toilet’s full capacity, there is a button connected to the Arduino that fills the reservoir to capacity. [TVMiller] notes that if 1,825 hackers installed this device on their toilets, we could save a million gallons of water per year and be well on our way to saving the planet.
The project site is full of more information and puns for your viewing pleasure. We might suggest that the “2” button would be very easy to integrate with the toilet terror level indicator as well.
Filed under: home hacks


 The project featured in this post is an entry in

 In the near future, we will all reside in households that contain hundreds of little devices intertwingled together with an easily connectable and controllable network of sensors. For years, projects have been appearing all around the world,

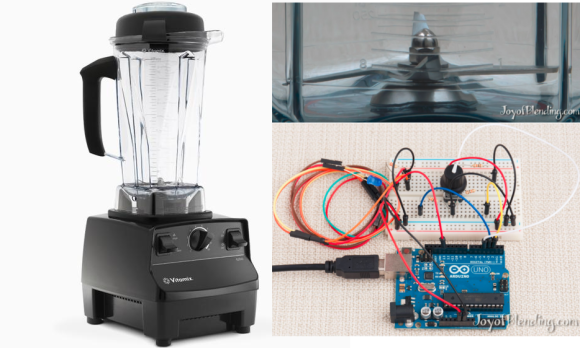 Some people really love their smoothies. We mean really, really, love smoothies and everything about making them, especially the blenders. [Adam] is a big fan of blenders, and wanted to verify that his Vitamix blenders ran as fast as the manufacturer claimed. So he built not one, but