Posts with «flight suit» label

New Workshop!

We moved recently, and one of the features that drew us to our new home was a sun room in the back, maybe 8'x15', full of light and perfect for a workshop!

One corner is ideal for the laser, with a dryer vent for routing its (filtered) fumes outside. With two rolling racks for storage and two desks, I hope we'll have room for a small heavy bench and drill press. Good thing the Printrbot is (er, will be) small, we have big plans for this little room.

I got a kick out of reading my "Workshop!" post from two years ago, most of those projects haven't moved too much forward, but the grinder timer has gone through a few versions and the flight suit ended up being by far my most complicated project so far.

Flight Suit Excursions, Grinder Timer V4

I've had a lot of fun with my Arduino-based projects lately! I got the flight suit working again for Decompression last month and had a blast dancing and hanging out in the crushing crowds. I wore it again last Saturday night for the work Halloween party and then again Monday night for 7 Walkers at the Great American Music Hall where Liz balanced out my high tech audio meter with her low tech VU meter-- analog and fully manual :)

Next up is V4 of the coffee grinder timer, a one-off to replace the V2 timer we're using now. It's an all-in-one circuit board designed to fit in a Hammond 1455-series case. There's an AC-DC converter on the board to supply 5V, and breakouts on the left (in white) for power and on the right (black) for the display, light sensor, rotary encoder, and lit button. I may finish it without the light sensor since it's so close to being done and looks so much better (especially on the inside!) than what we're running now.

Suit Success, Refurbishment...

Three nights out on the playa, the light suit did not disappoint! So much fun to embody the bouncing red LED, for me and folks around me. It ran so much the second night-- music response mode and a high brightness can really draw current-- that I went through both batteries, ending the night unlit! The third night with all batteries charged and on-hand, there was no shortage of power and I ran it bright, but it was getting rough after so many miles, with a few segments not responding and a few dead 3-LED groups. All the time, the system worked beautifully, and I left it running when I finally took it off and stuffed it in a box Sunday morning, rippling and flickering, so bright before switching off.

Taking it out of the box Thursday in a puff of dust, a few segments did not respond but the system worked just as when I put away. I stripped out the main left arm board, all board-to-board cabling, the MOSFET boards, and then the light strips, pulling them off one at a time, removing the right arm accelerometer last. The suit and (surprisingly) sneakers made it through the wash and look great. I'm checking LED strips now, making a to-do list of fixes, remakes, and changes. I'll clean off all the boards and hook it together for a full pre-test, and then stuff it back in the suit.

Flight Suit Works!

So much to do before we take off for BRC but the suit is fully functional!

I'll post photos and videos and all design files after the long weekend at some point, but here's a video showing the audio mode, which was the target all along:


Polishing work to deal with:
  • Test foot "A" and "B" strips Velcroed to shoes; hook and loop glue should be cured by tonight.
  • Finish remote control: straighten display, sand outside, glue top layers.
  • Tidy up buttonhole wiring and shift bands to correct alignment along Velcro loop bands.
  • Finalize light strip lengths: clip any extra length and seal ends.
  • Come up with a better remote control attachment... clip? hook? Velcro?
  • Make a cover for the ZX-Sound audio input board.

Not all rotary encoders are created equal...

I had a hell of a time getting the (F)Light Suit remote control to work with the Modern Device LCD117 backpack and inexpensive BI EN11-HSM1AF15 rotary encoders. It turned out that I was having two issues:
  1. The LCD117 was getting its updating commands too quickly, so chose to reset instead of display, and
  2. the rotary encoders make contact so quickly when stepping up or down, my debounced code for bigger rotary encoders with more even click timing wasn't working.
Preventing the LCD117 from updating too quickly solved the first problem, and redoing the rotary encoder code from scratch solved the second problem. I'll post code later when the project is complete, but I based it on Max Wolf's very simple first example from the Arduino Playground rotary encoder page. The interrupt-based examples are too cryptic and (I think) unnecessary in a sketch that loops at a few KHz, which all of my sketches run at.

(F)Light Suit Major Components

The main components of the (F)Light suit:
(Updated 8/15/11)
Component(s)SourceStatus
LED stripsDealExtreme 22 strips with connectors, need sealing and velcro backing.
8-channel MOSFET Output BoardsDorkbotPDX board orderThree built and tested, work perfectly
Arm accelerometers Modern Device Left one on main board, right attached with 3-wire lead across shoulders
Black flight suit Amazon Needs velcro for LED strips
Arduino-compatible main board: Minimalduino 105 DorkbotPDX board order
Arduino interface board: Adafruit protoshield Adafruit Industries Done, ready for mounting and cable threading. Ports for MOSFET output boards, right accelerometer, remote control, audio sensor
Remote control homemade, various parts Needs laser-cut acrylic surround, rot 2 flaky
Batteries eBay 12V, 4800mAh Li-ion battery packs with barrel connectors, powering third MOSFET board.
Audio input: ZX-Sound board RobotShop.com Test, add light, change connector, paint, velcro back
Missing anything?

(F)Light Suit Progress: PWM!

I had a frustrating time trying to get a PCA9685 working-- it wouldn't even reply with its register byte values. I've interfaced with other I2C chips and didn't expect problems, but trouble was all I got.

Poking around the Arduino Forum trying to find any examples with a PCA9685, I found the thread on Elco Jacobs' new ShiftPWM library to drive the outputs of the ubiquitous 74HC595 shift register with 8-bit PWM precision. His demo video is on the right. The example sketch was so straightforward, I had two chips driving-- and dimming-- 16 red LED's in minutes.

Once I saw those red LED's cycling, I considered that part of the project done-- thank you, Elco!-- and started laying out a driver board with a 74HC595, eight outputs hooked up to MOSFETs and test LED's, and screw terminals so they can be daisy chained. With the DorkbotPDX order deadline this morning, I had to stay up late laying it out and getting a final Eagle brd file ready, and hopefully it will work; I wasn't that excited about asking for six copies of a 3.9"x2.1" V001 design and having no time for a second run if they don't work, but... hey, they'll work!

Here's the Eagle schematic: pdf, sch. And the board: pdf, brd.

LED (F)Light Suit: Ramping Up

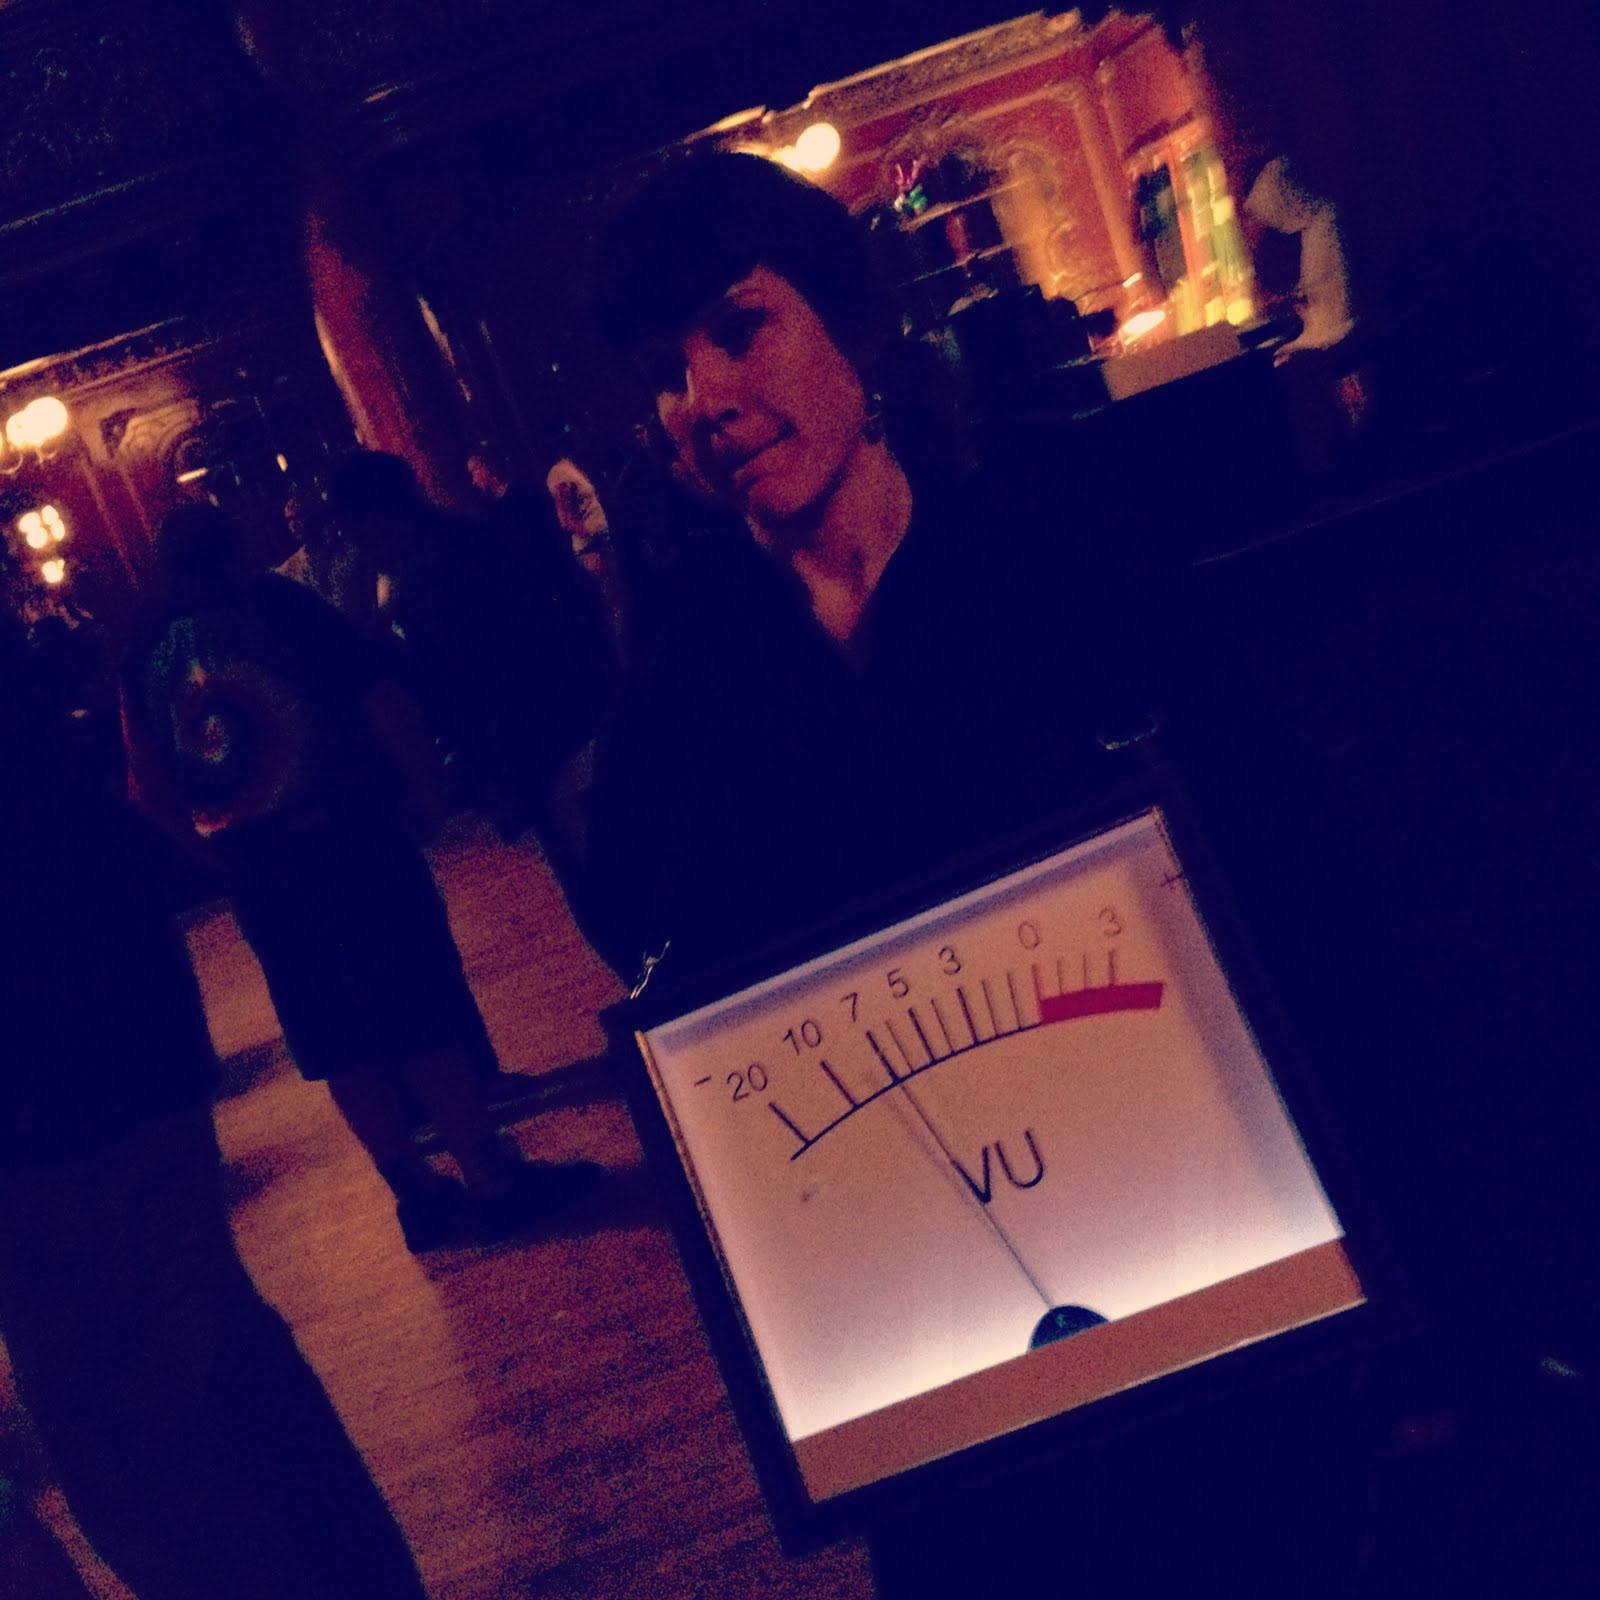
I've been mesmerized by bouncing red LED's since the early '80s. LED's were mostly red, needle-style VU meters were on the outs, we hadn't yet graduated to green-yellow-red meters, and I grew a special place in my heart for those bouncing red lights. We also had KITT and the Cylons: bouncing red lights were and still are awesome ("rad" had not been invented yet).

I put together a black flight suit with red EL-wire segments for Burning Man in 2008 but did not have time to build the sequencer and control system I envisioned, so it was an on/off affair, or it pulsated to the music before the small batteries died.

Working on a suit for this year's burn, I've decided to return to the original concept-- red LED's-- and am working on the major areas now:
  • Suit electronics: Arduino core, I2C port expander w/PWM output using PCA9685 16-channel, 12-bit PWM I2C-bus LED controller driving power MOSFETs, one per segment. There are 17 segments in my design, so I'll use the port expander and then another spare pin to trigger the 17th channel.
  • Audio metering: I have a MaceTech Shifty VU shield working but I wonder about adjusting levels on the fly, and how to best get a mic input to it or something similar. There will be other modes for sequencing the lights, but bouncing VU meter is the primary mode I'm looking for.
  • Segment planning: location and length of each segment, power lead routing, attachment to suit. This is going well, with the first seven (of 22) segments cut and tested last night from my first 5M strip from DealExtreme; the suit will need 53' of light strip so I've ordered more.
  • Power: rechargable 12V power packs are easy to get; not sure how to recharge them on the Playa.
  • Remote control: would like to have a small, wireless remote to control modes and mode parameters.
  • The program: I have a list of modes I'd like to switch between, some of which have parameters I'll want to adjust on the fly. Ideally I'll be able to edit the program during the day if I come up with new ideas while I'm in BRC.