How the Makers at Nomiku Are Moving Manufacturing Into The Bay Area


Fritzing is an open-source hardware initiative that makes electronics accessible as a creative material for anyone. You can easily learn how to build a circuit for you project and also design your own PCB.
Last week, the Fritzing team announced the new release with a number of new parts, especially a number of popular microcontrollers, among which also Arduino Yún:
We have upgraded to their latest version Qt5, which brings stability and speed improvements (especially for Mac OS X users). This also enables us to port fritzing to Android, iOS, etc.
You can download Fritzing 0.9.0b at this link.
David Cuartielles held a worshop at Campus Party Berlin introducing Arduino and the cool things you can do with it. Some months later, on of the students, Sanjeet Raj Pandey, wrote him to reveal that the event was a life changing moment.
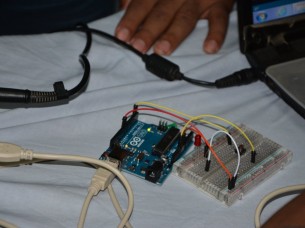
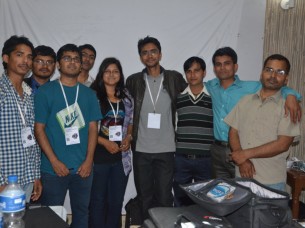
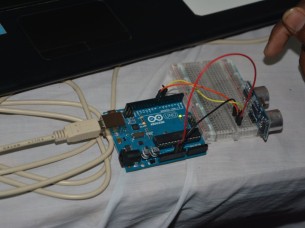
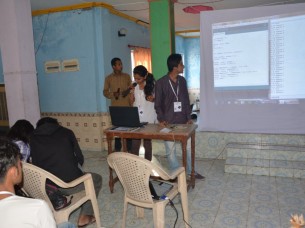
After that Sajeet decided to share his knowledge and experience organising workshops in a rural city called Janakpur in Nepal. In that occasion a 100 participants got introduced to Arduino. They learnt how to blink LEDs, work with a temperature sensor, light sensor, ultrasound sensor and also to make a DIY Arduino:
Most of it was financed by myself and a bit of donation from Telecommunication department -Technical University of Berlin and Berlin Promotion Agency.
I like to make things which are real and can be put to work for society . Making things, one just cannot see but also touch is awesome.
Hope you will share Janakpur (Nepal) as one more place with Arduino. I would be keeping up pace and will be doing more such projects, workshops, seminars, remote sessions, etc for students in Nepal.
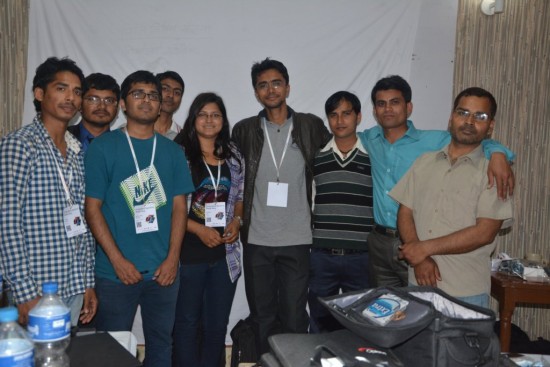
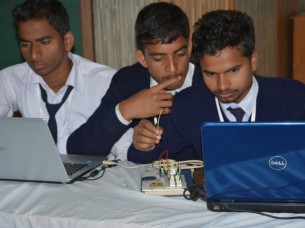
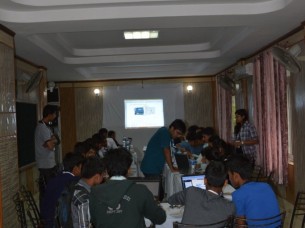
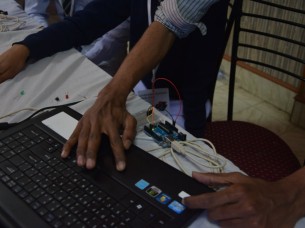
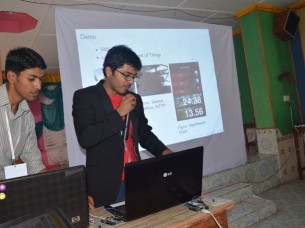
These are some pictures from the workshops:
Do you have a similar story to share? Submit it to our blog!
The training program Creative Technologies in the Classroom (CTC) is a 3-month educative program designed by David Cuartielles and Arduino Verkstad in collaboration with Fundación Telefónica, Fundación la Caixa and Ultra-lab.
It’s a toolbox comprised of more than 20 hands-on, easily assembled electronic experiments; an online source for course materials and documentation tools; and a collaborative space where teachers can meet with a moderator to share their findings and ask technical questions.
It aims to train teachers of Technology and students to creative technologies, which means technologies empowering young students to make devices, machines, art-works, experiments etc., enable them to learn doing things and to express themselves as creators.
Teachers are trained in programming with Processing and prototyping with Arduino, in order to become a mentor and help all along the program the students, following the different step-by-step experiments of the program.
The beneficial aspect of this program is not only about acquiring new skills and technical knowledge but mainly on experimenting a different methodology of learning and transmitting knowledge, based on sharing information, questions, doubts, and resolving them together by experimenting.
This project has been successfully implemented in the Region of Castilla La Mancha and Madrid involving 50 enthusiastic teachers, around 1200 youngsters who were able to invent, create and exhibit their project made with Arduino.
See the video below for details (in spanish):
Thanks to the support of Fundación La Caixa, the same program will be held in 50 colleges of Barcelona and a new edition, with the renewed support of Fundación Telefónica, will begin again in Madrid in 2015.
Today we want to introduce you to a new Arduino at Heart Partner launching on Kickstarter this week: Hummingbird Duo is an electronics kit designed to be fun and educational for a fourth grader, a high school student, a college engineering student, or an adult maker.
Hummingbird Duo creates a bridge between making and classroom education combining craft materials, electronic components and drag &drop programming. Part of Hummingbird’s mission is, in fact, to explode common conceptions of how robotics can be used in K-12 education:
We have designed several levels of learning into the Hummingbird experience. Instead of a steep learning curve, learners go up a staircase where each step increases skills and where mastering each step allows one to use the Hummingbird in a new and more interesting way.
The kit was developed by BirdBrain Technologies, a Pittsburgh, PA firm founded by Tom Lauwers in 2010 to commercialize educational technology developed by the Carnegie Mellon Robotics Institute’s CREATE lab and since 2012, they have pledged 1% of their net profits to the Computer Science Teacher’s Association.
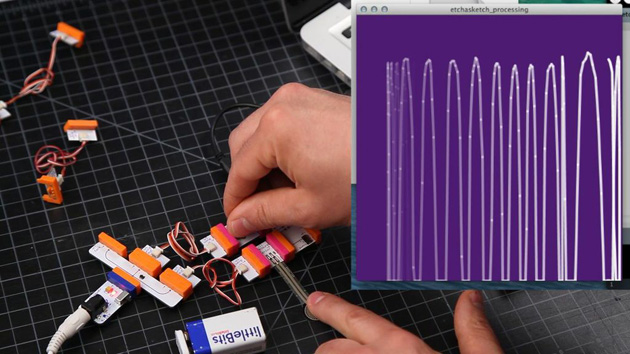
Getting your feet wet with programmable hardware can be tricky; even if you're comfortable with coding, you may not want to break out the soldering iron just to build a usable device. LittleBits is aware of just how intimidating these make-it-yourself gadgets can be, so it has just launched its first software-programmable module, the Arduino at Heart. As the name implies, it's an Arduino core (the same as the Leonardo) designed to fit into LittleBits' simple, building block approach to circuit boards. If you want to attach a light, motor or sensor to the Arduino board, you just snap it on -- you can spend more of your time coding rather than dealing with wiring and other hardware hassles. %Gallery-slideshow193425%
Filed under: Household, Peripherals
Source: LittleBits
Electrical engineer Chris Gammell has spent almost a year creating his new online electronics program called “Contextual Electronics“, and we’re excited to share this with our readers. You may have heard of Chris from his regular successful podcast with Dave Jones – “The Amp Hour“.
Chris has the knowledge and expertise to take electronic ideas from simply that – an idea, right through to production. And by participating in his Contextual Electronics program you can learn the required skills to do this as well. Chris gives us a quick introduction in this video.
Contextual Electronics is a new program aimed at electronics enthusiasts who are ready to take their Arduino (or similar platform) skills to the next level. The first session of the course is an 8 week program that will teach you how to design a large, multi-function Arduino shield using KiCad, the open source CAD software.
It will also show you all of the design decisions that go into making the project. Here are some of the sub-circuits included in the 4-layer PCB design:
The course has a large community component, so you will be grouped with others learning at the same time, regardless of where you’re located in the world. The goal of the course and the community aspect is to make you more confident designing a project so you can go and design your own.
Future sessions of the course will also go over building, troubleshooting and coding for the shield described above. There is also a free short course that you can review to give you an idea of Chris’ methods and what the Contextual Electronics program will be like.
Additional courses will be developed using other popular development boards, including the Raspberry Pi and BeagleBone. For a more in-depth introduction, check out this video.
Frankly the program will help all of you who are ready to take your ideas and projects off the breadboard and into finished products, and with the guidance available with the program and the use of open-source tools you’ll be up and making things you can be proud of showing to friends or even potential employers. For more information about the program, and to sign up – visit the Contextual Electronics program website.
And if you enjoyed this article, or want to introduce someone else to the interesting world of Arduino – check out my book (now in a third printing!) “Arduino Workshop”.
The post Learn electronics with Chris Gammell and “Contextual Electronics” appeared first on tronixstuff.
Introduction
Time for another kit review and in this instalment we have a look at the “3 digit counter” kit from Jaycar. This is part of a much larger series of kits that are described in a three volume set of educational books from Jaycar titled “Short Circuits”.
Aimed at the younger readers or anyone who has an interest in learning electronics, these books (volumes one, two and three) are well written and with some study and practice the reader will make a large variety of projects and learn quite a bit. They could be considered as a worthy 21st-century replacement to the old Dick Smith “Funway…” guides.
The purpose of this kit is to give you a device which can count upwards between zero and 999 – which can be used for various purposes and also of course to learn about digital electronics.
Assembly
The kit arrives in typical retail fashion:
Everything you need to make the counter is included except for the instructions – which are found in the “Short Circuits” volume two book – and IC sockets. Kits for beginners with should come with IC sockets.
The components are separated neatly in the bag above, and it was interesting to see the use of zero ohm resistors for the two links on the board:
The PCB is excellent. The silk screening and solder-mask is very well done.
Furthermore I was really, really impressed with the level of detail with the drilling. The designer has allowed for components with different pin spacing – for example the 100 nF capacitor and transistors as shown below:
The instructions in the book are very clear and are written in an approachable fashion:
There’s also a detailed explanation on how the circuit works, some interesting BCD to decimal notes, examples of use (slot cars!) and a neat diagram showing how to mount the kit in a box using various parts from Jaycar – so you’re not left on your own.
Construction went well, starting with the low-profile parts:
… then the semiconductors:
… then the higher-profile parts and we’re finished:
There wasn’t any difficulty at all, and the counter worked first time. Although I’m not a new user, the quality of PCB and instructions would have been a contributing factor to the success of the kit.
How it works
The input signal for the counter (in this case a button controlling current from the supply rail) is “squared-up” by an MC14093 schmitt-trigger IC, which then feeds a MC14553 BCD counter IC, which counts and then feeds the results to a 4511 BCD to 7-segment converter to drive the LED digits which are multiplexed by the MC14553. For the schematic and details please refer to the book. Operation is simple, and demonstrated in the following video:
However you can feed the counter an external signal, by simply applying it to the input section of the circuit. After a quick modification:
… it was ready to be connected to a function generator. In the following video we send pulses with a varying frequency up to 2 kHz:
Conclusion
This is a neat kit, works well and with the accompanying book makes a good explanation of a popular digital electronics subject. There aren’t many good “electronics for beginners” books on the market any more, howevert the “Short Circuits” range from Jaycar really fit the bill.
So if you’re looking to learn more about electronics or start someone else off, head in to Jaycar and have a look. Readers from outside Australia are also covered. Full-sized images are available on flickr.
And while you’re here – are you interested in Arduino? Check out my new book “Arduino Workshop” from No Starch Press.
In the meanwhile have fun and keep checking into tronixstuff.com. Why not follow things on twitter, Google+, subscribe for email updates or RSS using the links on the right-hand column? And join our friendly Google Group – dedicated to the projects and related items on this website. Sign up – it’s free, helpful to each other – and we can all learn something.
[Note – kit and book purchased without notifying the supplier]
The post Kit Review – Jaycar “Short Circuits” 3 Digit Counter appeared first on tronixstuff.