Posts with «arduino» label

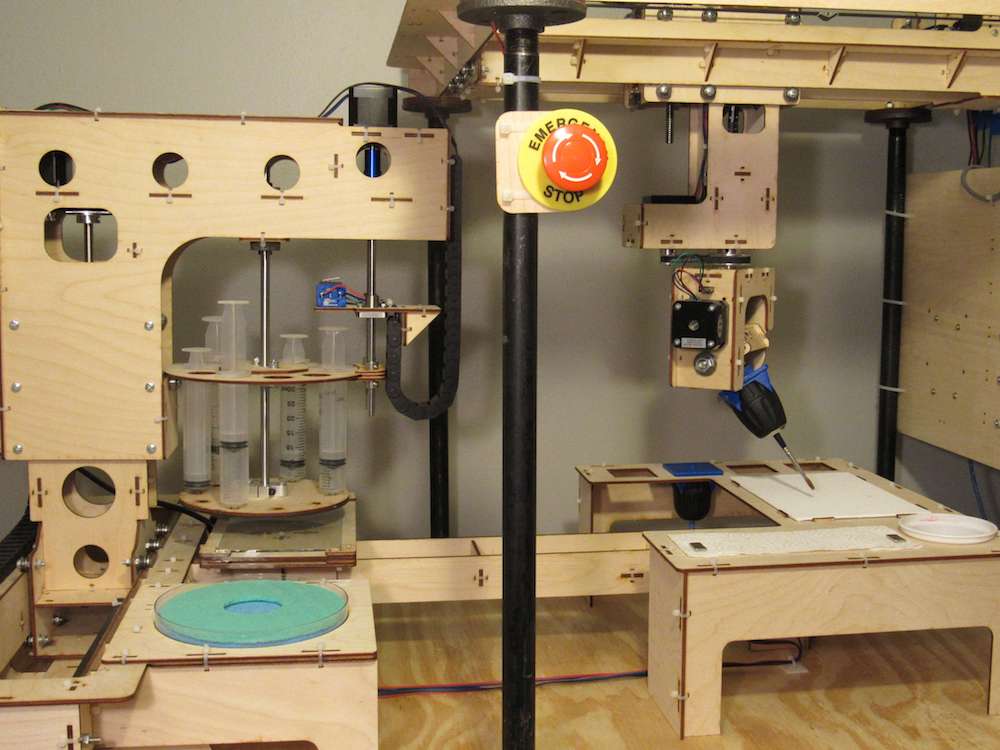
If Then Paint is a six-axis CNC painting machine

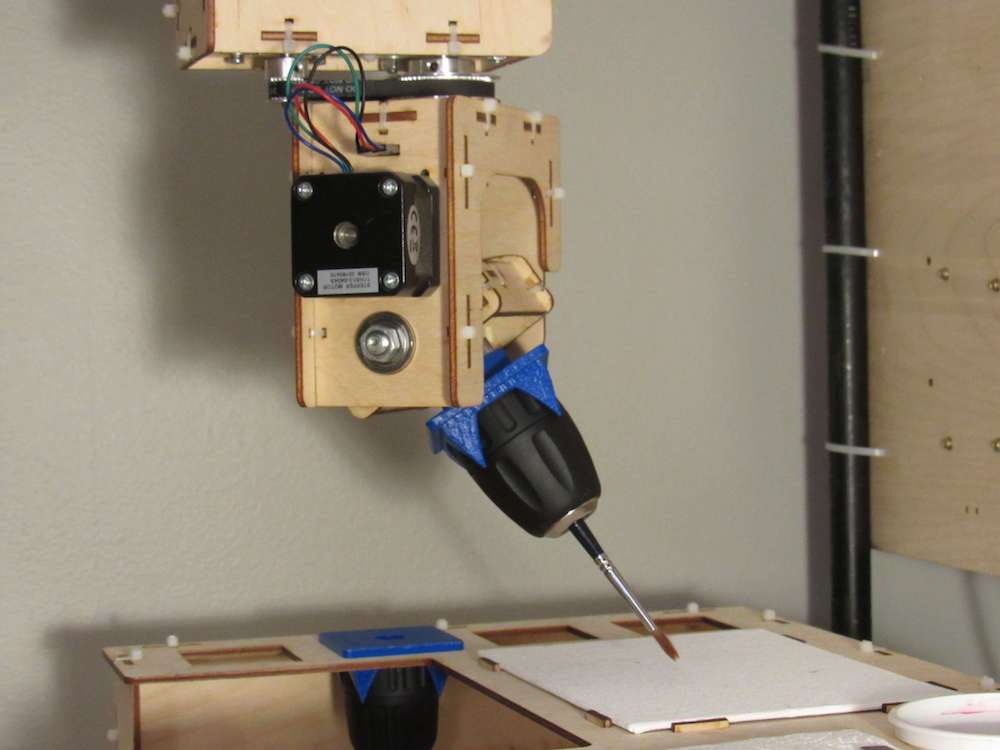
It’s easy to see that painting takes a lot of skill, but few really understand how much skill is involved like John Opsahl, who created the “If Then Paint” CNC canvas painting machine.

In order to produce the proper paint strokes, his device implements full six-axis brush control, moving not only in the X/Y/Z coordinate system, but rotating on three axes. Movement is handled by a modified version of Grbl running on an Arduino Mega.

If Then Paint also features the ability to change painting/art tools automatically, as well as a clever paint management system that turns a carousel of paint syringes. 

More info on the build can be found here, and check out a few examples of how it works in the videos below.

Arduino used for USB lock prototype

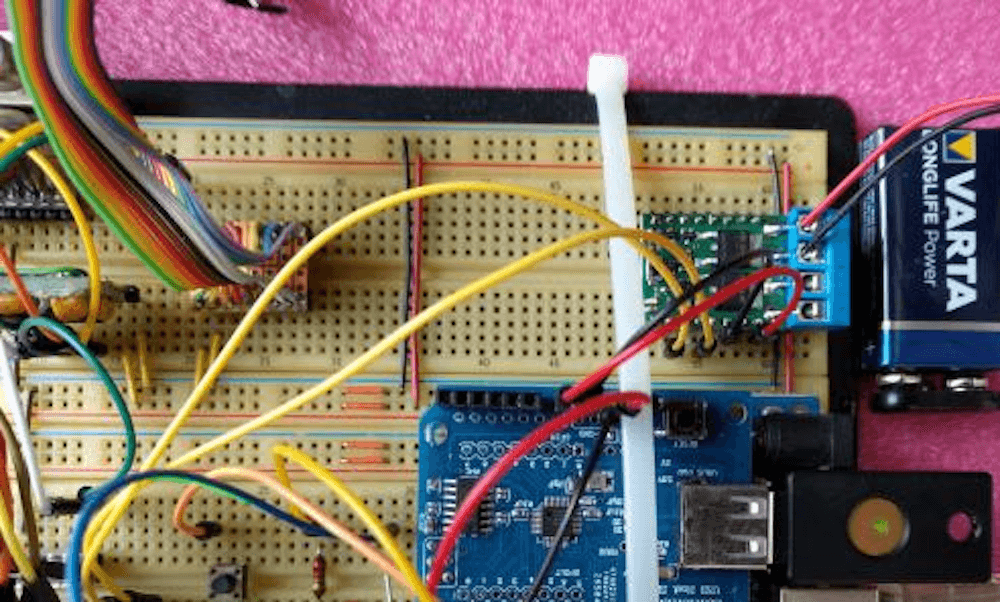
Richard J. Prinz wasn’t satisfied with pickable physical locks, so he decided to see if he could instead secure physical things with his YubiKey USB security fob.

His setup uses an Arduino Uno, along with a USB host shield, to read data from the YubiKey then compare it to a stored password or passwords. If the proper code is submitted by the fob, it then unlocks the door, vault, chain, or any other security device, here represented by a green LED.

While the build shown is a breadboard-based prototype, it fulfills the basic goal of creating a standalone physical USB security platform. If you’d like to create something similar, or perhaps integrate the concept into an actual physical lock, code is available on GitHub[2].

Arduino Blog 29 Jul 21:27
arduino  uno  usb lock  yubikey  

Fail of the Week: The Arduino Walkie That Won’t Talkie

There’s something seriously wrong with the Arduino walkie-talkie that [GreatScott!] built.

The idea is simple: build a wireless intercom so a group of motor scooter riders can talk in real-time. Yes, such products exist commercially, but that’s no fun at all. With a little ingenuity and a well-stocked parts bin, such a device should be easy to build on the cheap, right?

Apparently not. [GreatScott!] went with an Arduino-based design, partly due to familiarity with the microcontroller but also because it made the RF part of the project seemingly easier due to cheap and easily available nRF24 2.4 GHz audio streaming modules. Everything seems straightforward enough on the breadboard – an op-amp to boost the signal from the condenser mic, a somewhat low but presumably usable 16 kHz sampling rate for the ADC. The radio modules linked up, but the audio quality was heavily distorted.

[GreatScott!] assumed that the rat’s nest of jumpers on the breadboard was to blame, so he jumped right to a PCB build. It’s a logical step, but it seems like it might be where he went wrong, because the PCB version was even worse. We’d perhaps have isolated the issue with the breadboard circuit first; did the distortion come from the audio stage? Or perhaps did the digitization inject some distortion? Or could the distortion be coming from the RF stage? We’d want to answer a few questions like that before jumping to a final design.

We love that [GreatScott!] has no issue with posting his failures – we’ve covered his suboptimal CPU handwarmer, and his 3D-printed BLDC motor stator was a flop too. It’s always nice to post mortem these things to avoid a similar fate.

Arduino selects Auth0 as standardized login for ecosystem

We are excited to announce that we’ve selected Auth0 as the identity management platform of choice for Arduino. We will replace our own Single Sign On solution with Auth0 for all public facing web properties, including Arduino Create and other apps.

We discovered that our own homegrown authentication solution would not scale to meet the rapidly developing needs of the growing global community and decided to reach out to Auth0. In addition to Single Sign On, Arduino will take advantage of Auth0’s new Universal Login, which enables developers to completely customise their branded authentication experiences quickly, and Device Flow for browserless or input-constrained devices.

“We wanted a robust platform to replace our SSO solution but also give us the flexibility to do cool, new things in the device authentication space. Auth0 is a brand we admire, and their API-based approach makes it easy to migrate our login data in a way that’s completely transparent for the customer. We are excited to welcome them to our global community.” – Gianluca Varisco, Arduino CISO

We plan to leverage the power of both communities and events, and explore a technical partnership in the IoT domain. Auth0 currently secures more than 2.5 billion logins per month for 21 million users.

“I have been using Arduino for years as the brain for my personal projects, so working with them in a business capacity is really rewarding. When you empower the developer with simple, powerful tools, the whole business benefits. We are excited by the reach of the Arduino community and aligned in our mission to help the developer in their journey to innovate.” – Eugenio Pace, Auth0 CEO and co-founder 

Arduino Blog 28 Jul 11:13

Plywood printer uses a unique mix of manufacturing methods

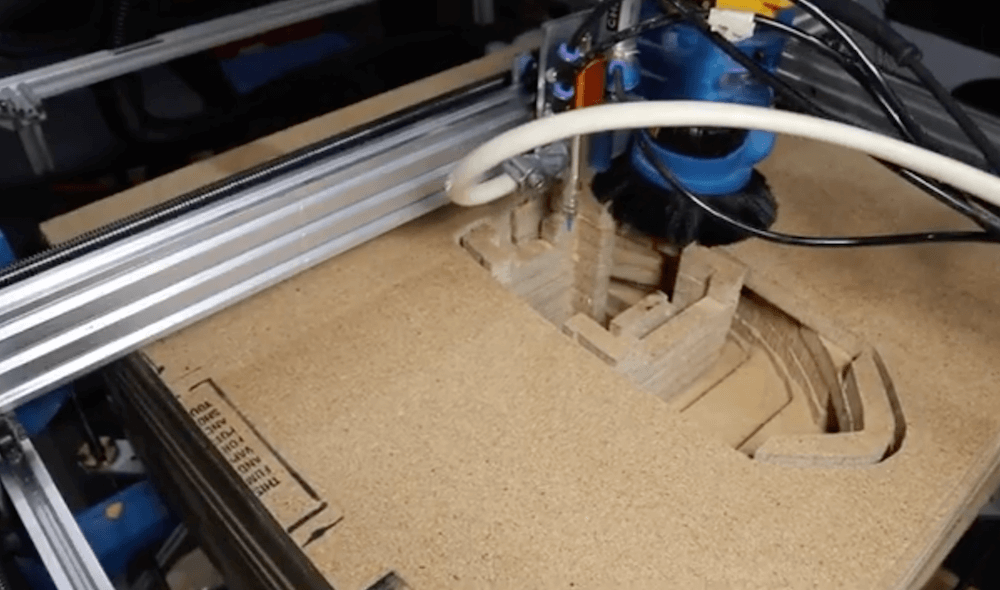
Sure, we’ve seen low-cost DIY 3D printers with wooden frames before, but not a 3D printer that actually ‘prints’ wood. That’s exactly what Shane Wighton and his Formlabs hackathon team have done. (Although probably more along the lines of a hybrid additive/subtractive CNC machine that makes parts out of 3/4″ plywood.)

The device first cuts each layer out with a router, applies glue automatically, and then feeds subsequent layers onto a stack to be cut in the same manner. The result of these combined layers is a block of wood with a very large “benchy” inside, revealed with a bit of manual cutting.

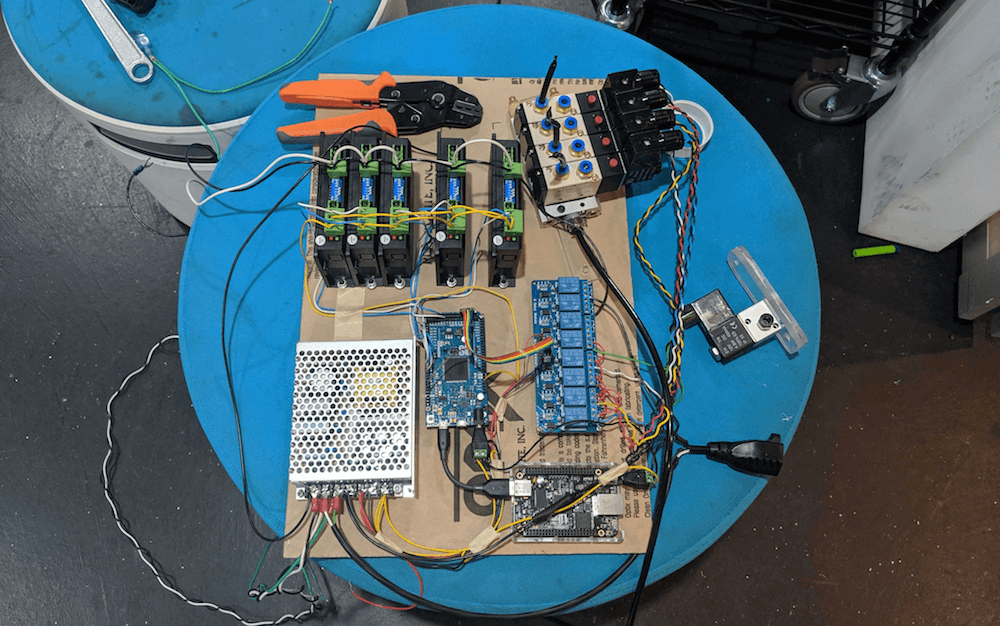
Motion control is handled by an Arduino Due, which interfaces with a number of stepper drivers to move the router, while an off-the-shelf relay board triggers the pneumatics, lights, and even a horn to indicate when a job is complete.

More details on the build are available in Wighton’s write-up here and you can see it in action below!

HDMI From Your Arduino

Creating a video signal from a computer, a job that once required significant extra hardware, is now a done deal with a typical modern microcontroller. We’ve shown you more NTSC, PAL, and VGA projects than you can shake a stick at over the years. Creating an HDMI video signal however is not so straightforward. It’s not a loosely defined analogue standard but a tightly controlled digital one upon which the clever hacks that eke full colour composite video from a single digital I/O pin will have little effect. Surely creating them from a simple microcontroller will be impossible! Not according to [techtoys], who has created an Arduino shield that creates an HDMI output from an SPI control input.

At its heart are two interesting integrated circuits that give us a little bit of insight into creating graphics at this level. First up is an RA8876 MIPI TFT controller which is a full graphics engine that produces a digital RGB output, followed by a CH7035B HDMI encoder that produces an HDMI output from the RGB. This combination of chips is particularly interesting one, because the RA8876 supports a variety of different interfaces that between them should be able to talk to most microcontrollers. In the Arduino world the only other HDMI options come via the use of an FPGA.

This is a project that seems to have been around for a couple of years, but which is still an active one. The classic Arduino shield form factor may now seem a little past its zenith, but as this board shows it’s still capable of being used for interesting new applications.

Thanks [th_in_gs] for the tip.

Hack a Day 26 Jul 09:00

Low-quality wireless audio transmission with Arduino

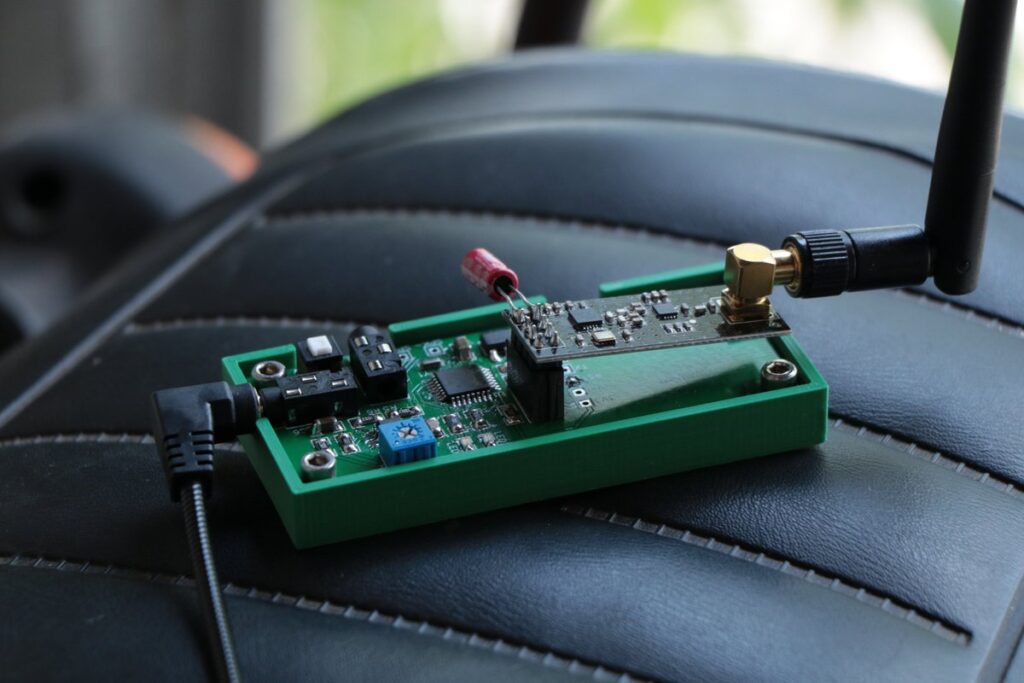
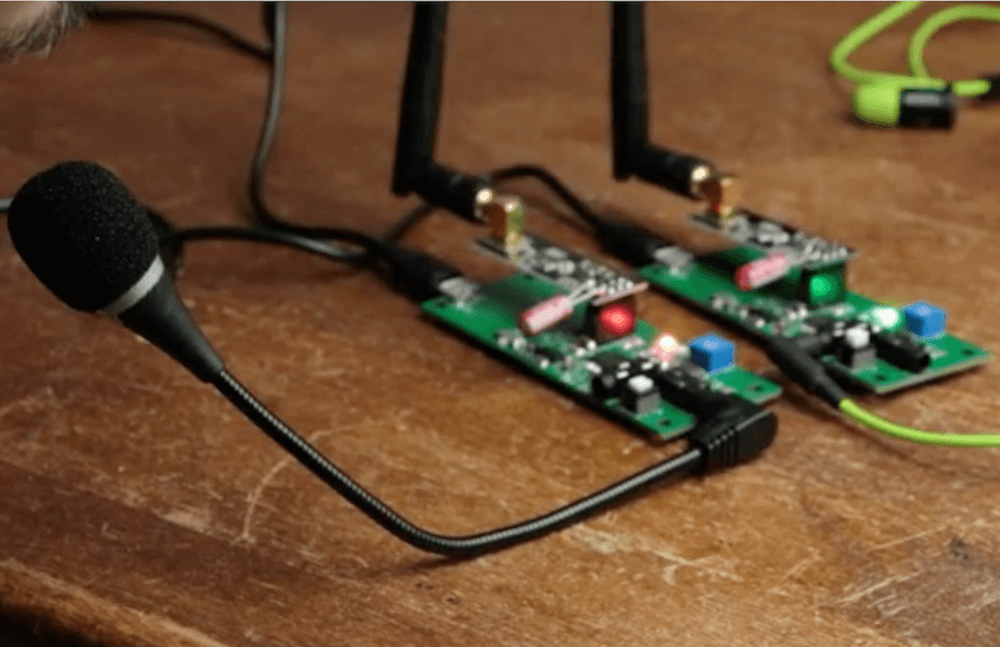
After considering the price of helmet-mounted headsets for motorcycle or moped use, YouTuber GreatScott! decided to try making his own. His walkie-talkie prototype consisted of two Arduino Nano boards, using nRF24L01+ transceivers and a small speaker for PWM audio output.

After a test demonstrating wireless transmission, the design was transferred to custom PCBs, programming their ATmega328P with an Uno acting as an ISP. The audio results are, at this point, barely intelligible. Nevertheless, it’s an interesting experiment, showing that this type of communication is possible using the RF24Audio library with an Arduino-based system. 

If you think you could do things better, or that he’s missed something obvious, the PCB design is available here, so be sure to chime in on the video’s comments if you have an idea!

Arduino Blog 25 Jul 22:00

Visualizing magnetic fields in three dimensions with an Arduino magnetometer

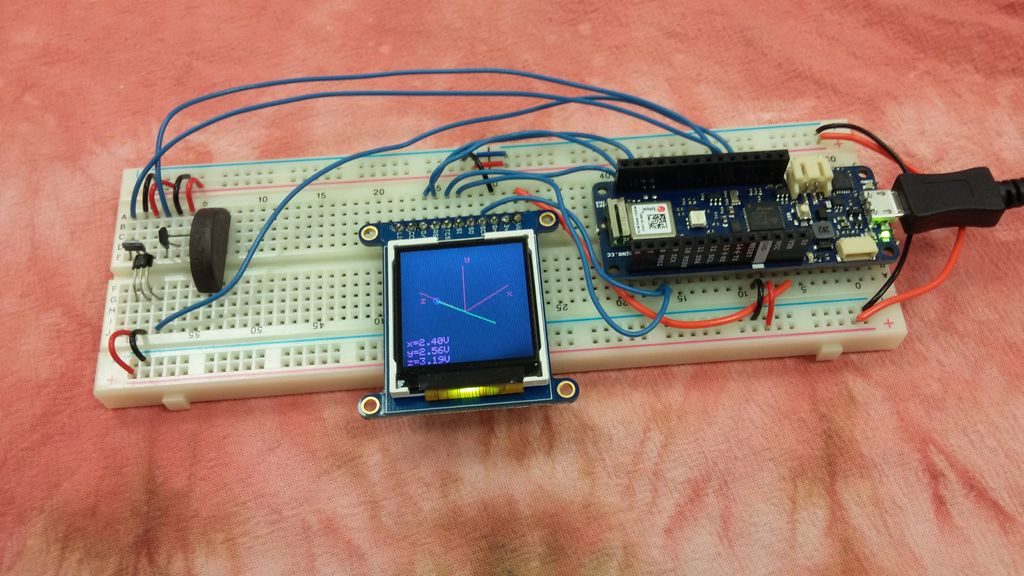
As humans, we can’t detect magnetic fields, but we take advantage of this phenomenon every day in the form of motors and various sensors. Even electrical wire produces a field when current flows through it. You can sense magnetism with a compass, but if you want to visualize it in three dimensions, maker ‘amamitof7’ has a solution in the form of this Arduino magnetometer.

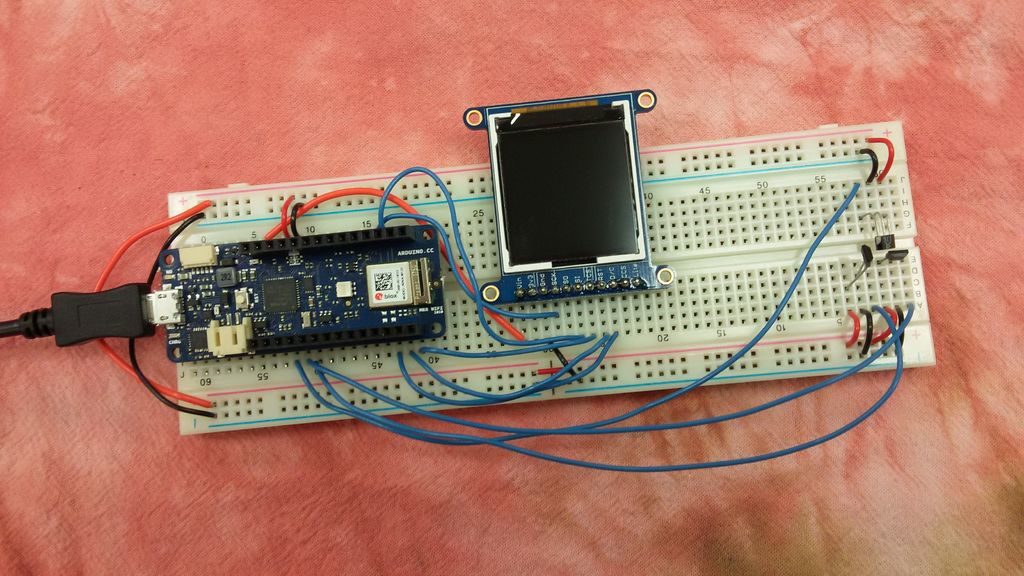
The device uses a trio of analog Hall effect sensors to measure the strength of the magnetic field. This data is fed to a MKR WiFi 1010 (or Uno), which generates an isometric representation of the field on a small TFT display. 

One could see this used in a variety of diagnostic applications, or perhaps as an excellent physics teaching tool.

Control Your Web Browser Like It’s 1969

Imagine for a moment that you’ve been tasked with developing a device for interfacing with a global network of interconnected devices. Would you purposely design a spring-loaded dial that can do nothing but switch a single set of contacts on and off from 1 to 10 times? What kind of crazy world would we have to live in where something like that was the pinnacle of technology?

Obviously, such a world once existed, and now that we’ve rolled the calendar ahead a half-century or so, both our networks and our interfaces have gotten more complex, if arguably better. But [Jan Derogee] thinks a step backward is on order, and so he built this rotary phone web browser. The idea is simple: pick up the handset and dial the IP address of the server you want to connect to. DNS? Bah, who needs it?

Of course there is the teensy issue that most websites can’t be directly accessed via IP address anymore, but fear not – [Jan] has an incredibly obfuscated solution to that. It relies on the fact that many numbers sound like common phrases when sounded out in Chinese, so there end up being a lot of websites that have number-based URLs. He provides an example using the number 517, which sounds a bit like “I want to eat,” to access the Chinese website of McDonald’s. How the number seven sounding like both “eat” and “wife” is resolved is left as an exercise to the reader.

And here we thought [Jan]’s rotary number pad was of questionable value. Still, we appreciate this build, and putting old phones back into service in any capacity is always appreciated.

Hack a Day 24 Jul 06:00
arduino  classic hacks  dial  dns  hid  homophone  ip  phone hacks  pulse  rotary  url  usb  

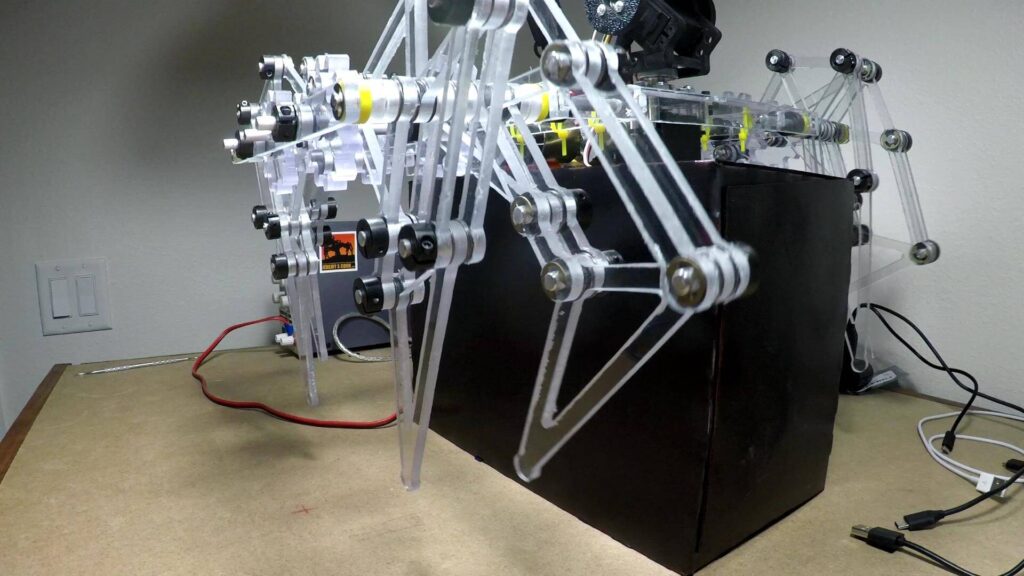
Standbeest-inspired ClearCrawler robot clomps around on 8 legs

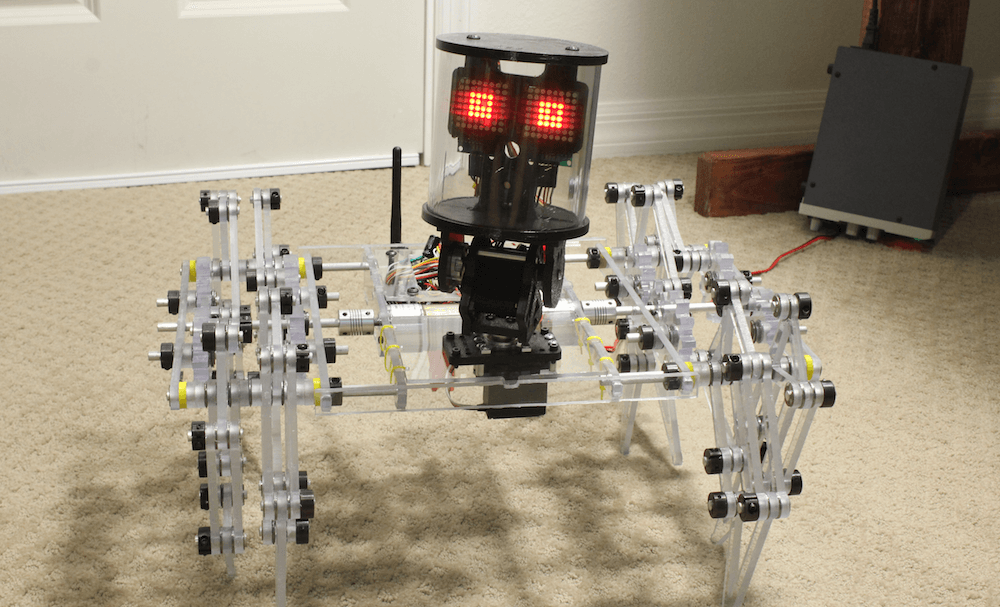
When you want to build a walking robot, the normal route is to individually control each leg with a number of servos or other actuators. Maker Jeremy S. Cook, however, took a different approach with his ‘ClearCrawler,’ using only a pair of motors to power eight legs. These legs are divided up into sets of four on either side of the bot, allowing for differential control similar to a tank.

The leg linkage design is based on Theo Jansen’s Strandbeest mechanism, and a clear head is also implemented with a pair of 8×8 MAX7219 LED matrix eyes. Onboard control is handled by an Arduino Nano and an L298N driver board, while an Uno with a joystick shield serves as the user interface. Radio transmission is via two nRF24L01 modules.

Code for both the transmitter and receiver can be found on GitHub.

Arduino Blog 23 Jul 19:40