Posts with «arduino» label

Control the volume of programs running on your Windows PC like a DJ
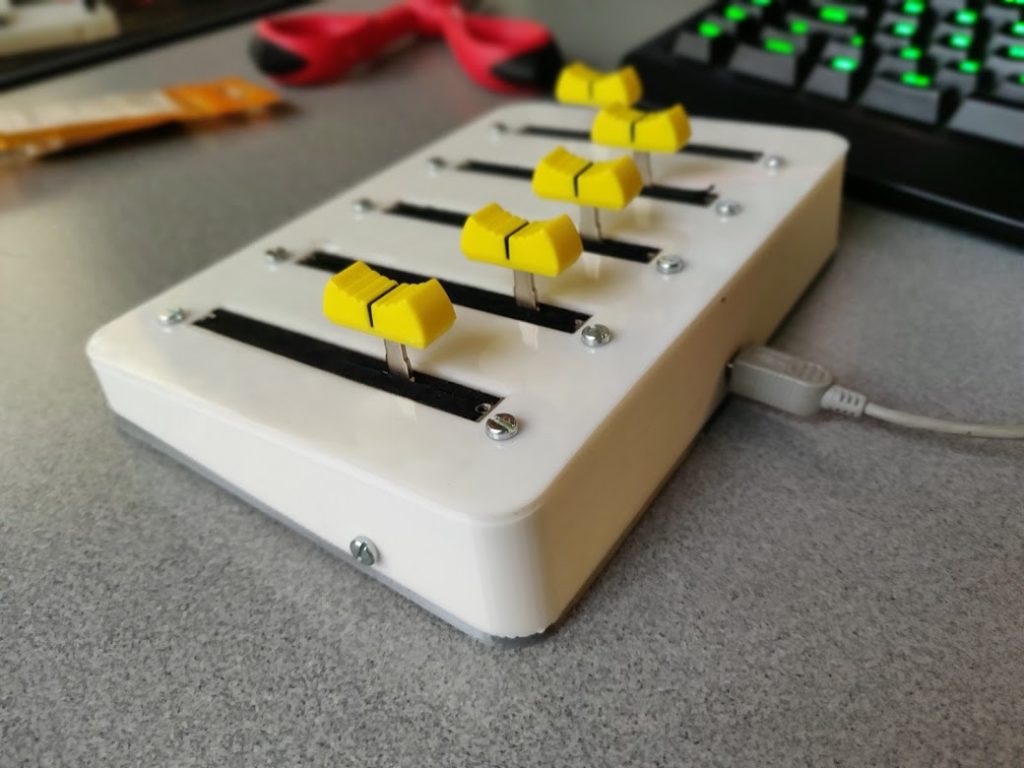
If you have multiple applications open in Windows, you may want one to be louder than the other, but what if you want to adjust levels with physical sliders like an actual DJ? If that sounds interesting, check out this controller by “Aithorn.

The device uses an Arduino Nano to read signals from each slider and pass this info over to the computer. A Python script, along with a VBScript helper, runs on the PC to control the master and program-specific volumes. 
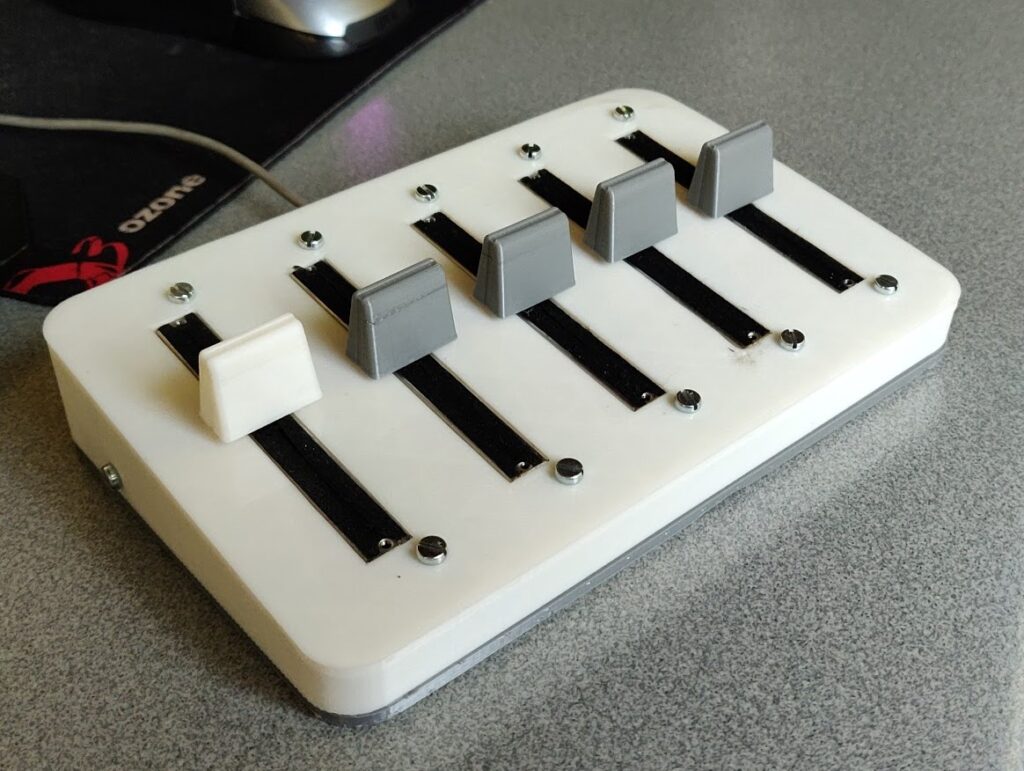
Code for the project, which was actually written by Omri Harel, is available on GitHub. You can see the original version of it the video below, working its magic on a shoebox stand. Print files for Aithorn’s new enclosure can be found here.

An Arduino Tetris console inside of an NES controller

Tetris was as a perfect complement to Nintendo’s original Game Boy when it came out in 1989, and now “Copper Dragon” has been able to fit an entire system for it — sans monitor or speakers — inside of a faux NES controller

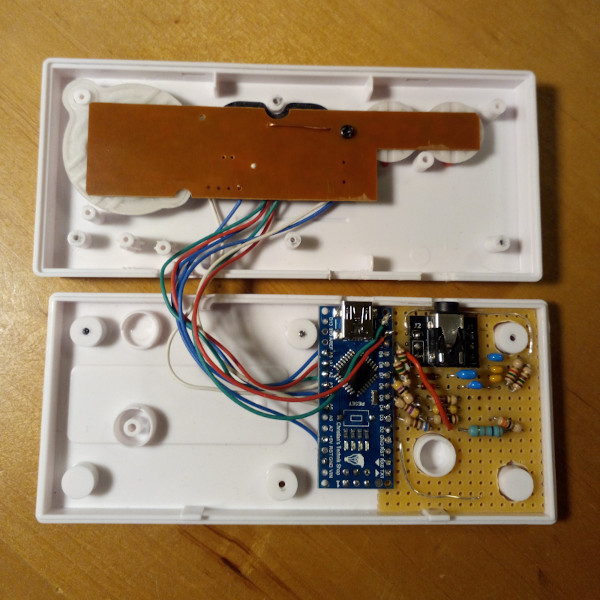
Impressively, this feat was accomplished with an Arduino Nano and a few passive components, producing not only very believable grayscale blocks, but also playing the familiar tune to accompany the video.

Two signal pins are used for the gray levels, plus a pin for sync, and video generation is programmed in AVR assembler code. Audio is not just PWM, but a simple DAC circuit created by charging and discharging a capacitor at the video line frequency.

I wanted to build a game console into the case of a small USB game pad (a NES controler look-alike). To make the work a challenge, I wanted to only use an Arduino Nano clocked at 16 MHz and some passive components (diodes are OK) and create the best possible video and audio signal that is imaginable with such restrictions.

As it turned out, a monochrome 288p video signal with 4 gray scales is possible when progamming the controller at machine level. 4-channel music is also possible.

My game of choice is Tetris in a version that comes pretty close to the original GameBoy version with a very similar audio track.

Arduino Blog 03 Mar 20:17

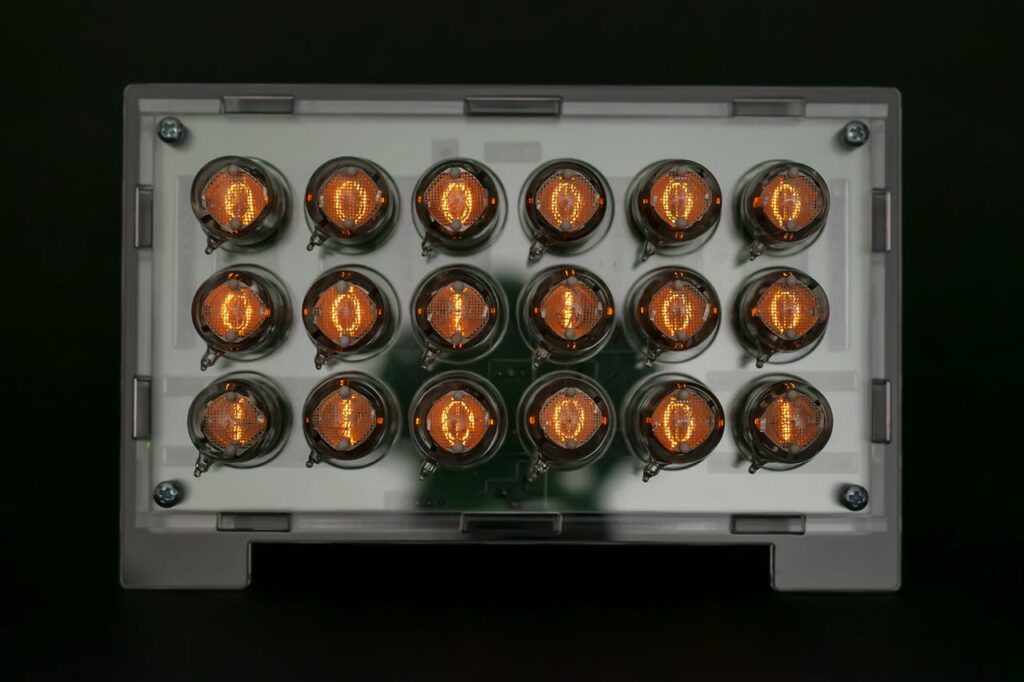
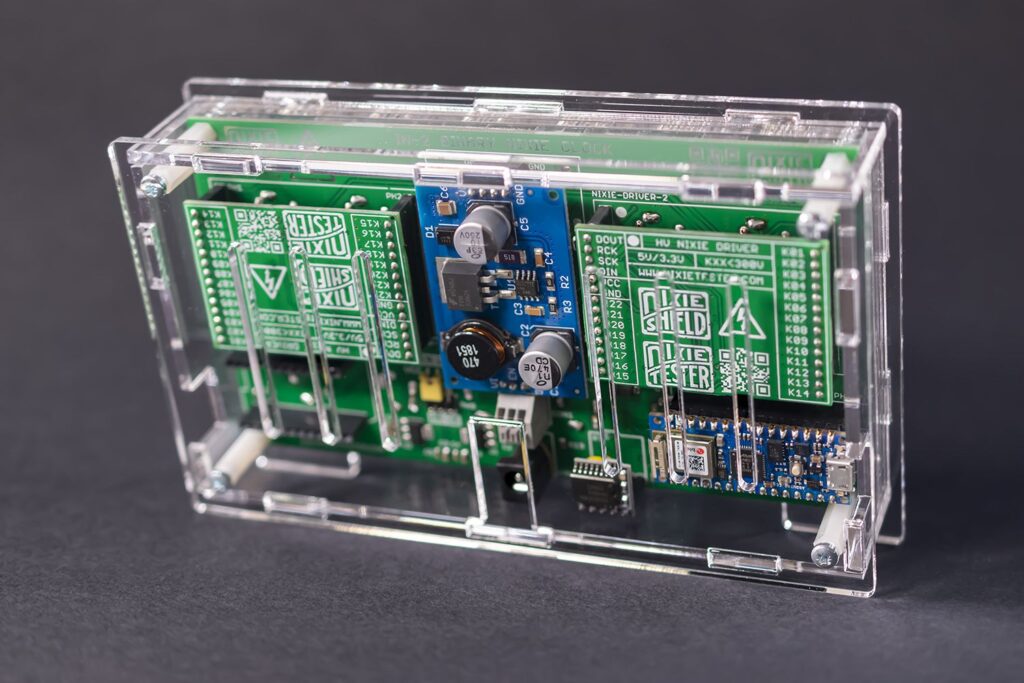
Build a Nano-based binary Nixie clock with 18 IN-2 tubes

Nixie tubes are, of course, an elegant display method from a more civilized age, but actually powering and controlling them can be a challenge. This can mean a great project and learning opportunity, but if you’d rather just skip ahead to programming these amazing lights, then Marcin Saj’s IN-2 binary Nixie clock is definitely worth a look.

This retro-style unit features a 6 x 3 array of small IN-2 tubes, which are turned to “1” or “0” depending on the time. Reading the results takes a bit of binary math, but it would be good practice for those that would like to improve their skills. 

The clock is available for purchase, and can be driven by a classic Nano, Nano Every as well as a Nano 33 IoT — the last of which enables you to connect to the NTP server or cloud over WiFi.

A wireless monitoring solution for solar power systems in remote locations

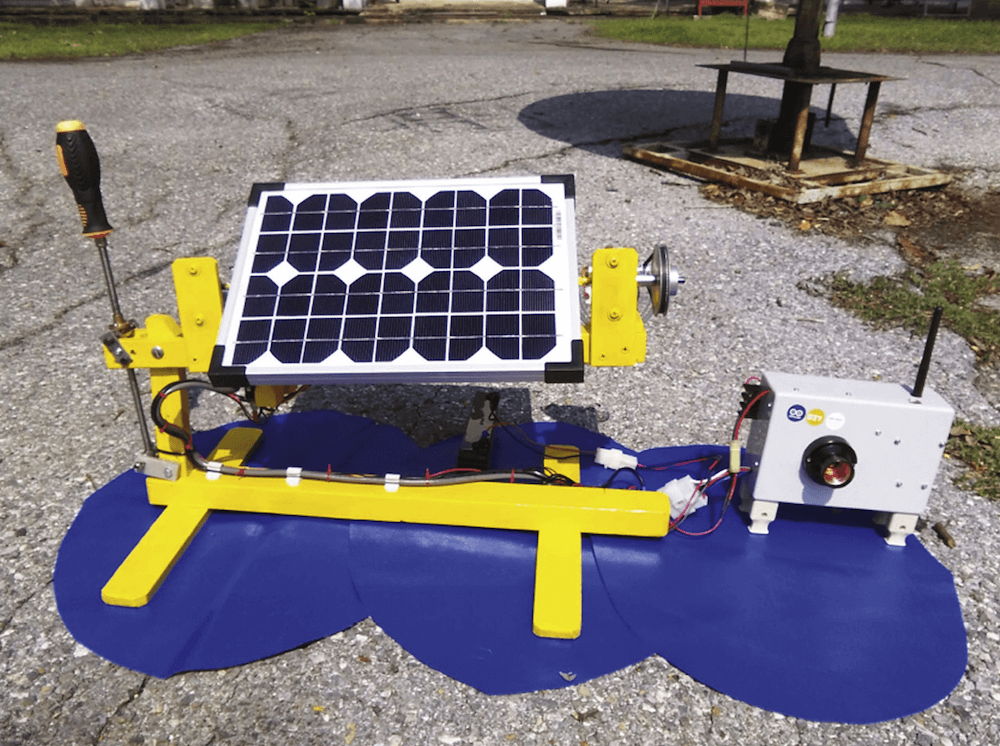
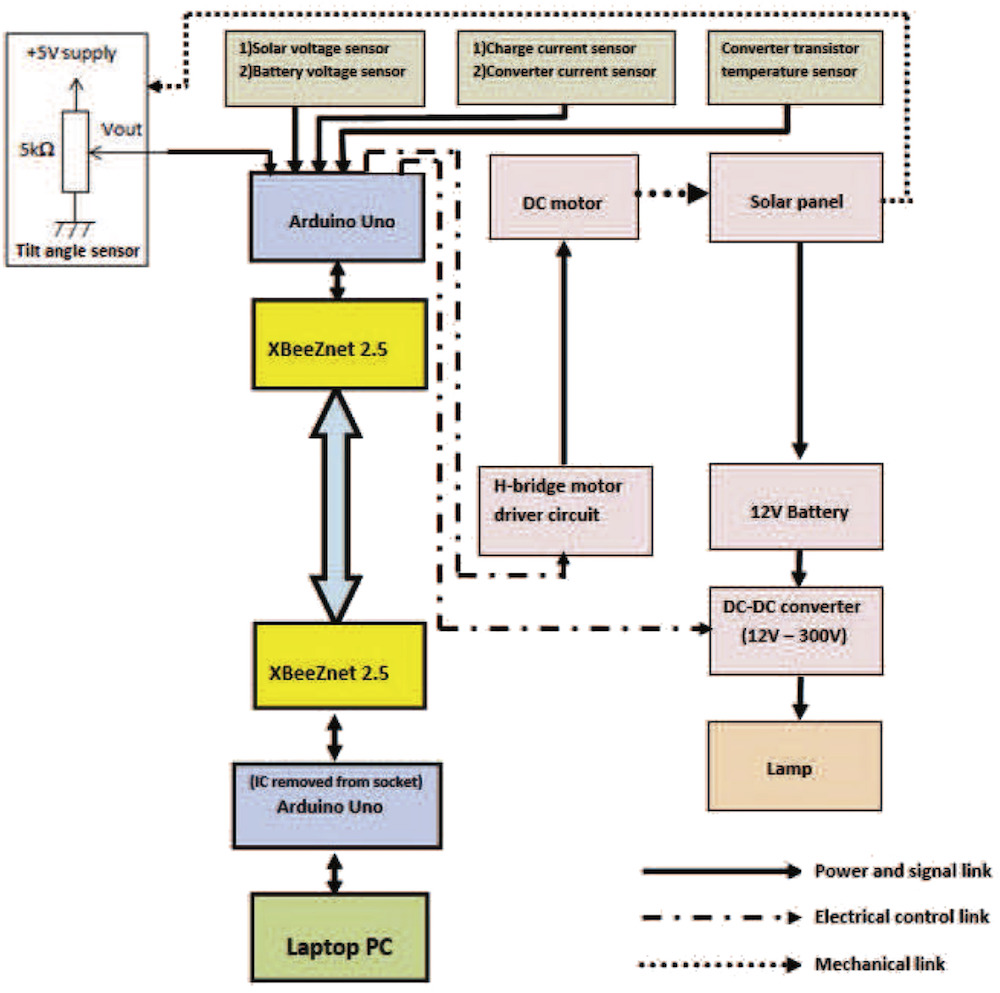
Researchers in Thailand have developed a ZigBee-based wireless monitoring solution for off-grid PV installations capable of tracking the sun across the sky, tilting the panel hourly. The elevation for the setup is adjusted manually once per month for optimum energy collection. The prototype is controlled by a local Arduino Uno board, along an H-bridge motor driver to actuate the motor and a 12V battery that’s charged entirely by solar power.

The system features a half-dozen sensors for measuring battery terminal voltage, solar voltage, solar current, current to the DC-DC converter, the temperature of the power transistor of DC-DC converter, and the tilt angle of solar panels according to the voltage across the potentiometer. 

Data is transmitted wirelessly via an XBee ZNet 2.5 module to a remote Uno with an XBee shield. The real-time information is then passed on to and analyzed by a computer, which is also used to set the system’s time.

More details on the project can be found in the team’s paper.

Wireless sensing is an excellent approach for remotely operated solar power system. Not only being able to get the sensor data, such as voltage, current, and temperature, the system can also have a proper control for tracking the Sun and sensing real-time data from a controller. In order to absorb the maximum energy by solar cells, it needs to track the Sun with proper angles. Arduino, H-bridge motor driver circuit, and Direct Current (DC) motor are used to alter the tilt angle of the solar Photovoltaic (PV) panel following the Sun while the azimuth and the elevation angles are fixed at noon. Unlike the traditional way, the tilt rotation is proposed to be stepped hourly. The solar PV panel is tilted  in advance of current time to the west to produce more output voltage during an hour. As a result, the system is simple while providing good solar-tracking results and efficient power outputs.

Giant Clock Made In the Nick of Time

When [tnjyoung] was asked to build a huge lighted clock for a high school theater’s production of Cinderella with only two weeks before opening night, he probably wished for a fairy godmother of his own to show up and do it for him. But he and his team pulled it off, and it looks amazing. That medallion in the middle? It was laid out painstakingly by hand, using electrical tape.

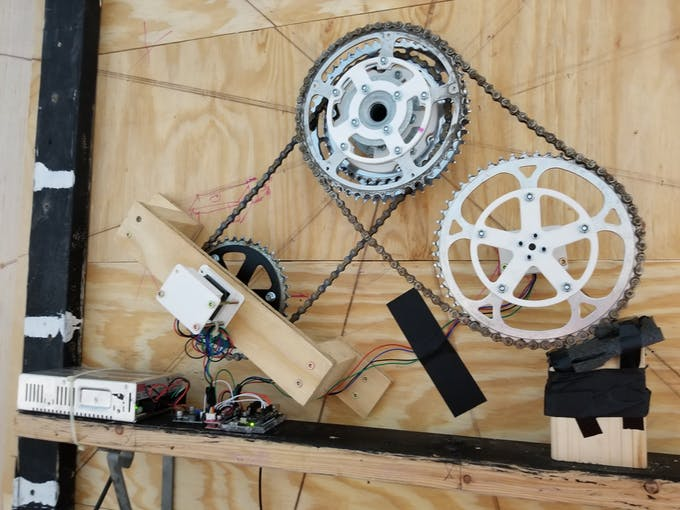
This thing is 12 feet wide and weighs more than 500 pounds. Even so, it isn’t a permanent set piece, so it has to move up and down throughout the show on airplane cables. Now for the minutiae: there’s an Arduino Uno with built-in Wi-Fi that receives UDP commands from a phone to raise and lower the clock at the appropriate times. The ‘duino is also controlling two stepper motors, one for the hour hand and one for the minute hand.

Time is almost a minor character in the story of Cinderella, since she has to get back by midnight. Because of this, [tnjyoung] programmed a dozen or so time cues that move the steppers at various speeds to achieve different effects, like time flying by as she dances the night away with the Prince. Hour you still just sitting there? Sweep past the break to watch the build process fly by in a matter of minutes.

Got all the time in the world? Make a clock out of clocks. Clocks all the way down.

Casual Tetris Comes In At $9

[Michael Pick] calls himself the casual engineer, though we don’t know whether he is referring to his work clothes or his laid back attitude. However, he does like to show quick and easy projects. His latest? A little portable Tetris game for $9 worth of parts. There is an Arduino Pro Mini and a tiny display along with a few switches and things on a prototyping PC board. [Michael] claims it is a one day build, and we imagine it wouldn’t even be that much.

Our only complaint is that there isn’t a clear bill of material or the code. However, we think you could figure out the parts pretty easy and there are bound to be plenty of games including Tetris that you could adapt to the hardware.

The display looks suspiciously like an SSD1306 display which is commonly cloned. so that answers one question. These are just less than an inch of screen, but if you buy them from China that eats up almost half of the $9 budget. The Arduino is probably another $3. The other parts are cheap, but it is easy to imagine you might exceed $9 by a bit if you try to duplicate this.

Just from looking at the video, the code looks a lot like Tiny Tetris by [AJRussel], though there are a few others out there if you look. The rest should be pretty easy to puzzle out. Maybe [Michael] will add a link to the code, a bill of materials, and some specific wiring instructions.

Of course, if you just want Tetris, grab your transistor tester. We’ve even seen smaller versions of Tetris given away as business cards.

Hack a Day 29 Feb 06:00

A Tetris To Be Proud Of, With Only A Nano

Tetris may have first arrived in the West on machines such as the PC and Amiga, but its genesis at the hands of [Alexey Pajitnov] was on an Electronika 60, a Soviet clone of an early-1970s DEC PDP-11. Thus those tumbling blocks are hardly demanding in terms of processor power, and a game can be implemented on the humblest of hardware. Relatively modern silicon such as the Atmega328 in [c0pperdragon]’s Arduino Nano Tetris console should then have no problems, but to make that assumption is to miss the quality of the achievement.

In a typical home or desktop computer of the 1980s the processor would have been assisted by plenty of dedicated hardware, but since the Arduino has none of that the feat of creating the game with a 288p video signal having four gray scales and with four-channel music is an extremely impressive one. Beside the Nano there are only a few passive components, there are no CRT controllers or sound chips to be seen.

The entire device is packaged within a clone of a NES controller, with the passives on a piece of stripboard beside the Nano. There is a rudimentary resistor DAC to produce the grey scales, and the audio is not the direct PWM you might expect but a very simple DAC created by charging and discharging a capacitor at the video line frequency. The results can be seen and heard in the video below the break, and though we’re sure we’ve heard something like that tune before, it looks to be a very playable little game.

Hack a Day 28 Feb 09:00

Writing Arduino Libraries, An Expert View

The Arduino IDE has a bit of a split personality. On the one hand, it is a simple environment where you can just pick and choose a few libraries, write a few lines of code, and make lots of interesting things. On the other hand, it is also an ecosystem in which many different boards and libraries can be supported. Writing a great library that everyone can easily use takes a little forethought. There is an official style guide, but a recent post by [Nate] from Sparkfun points out lessons learned from writing more libraries than most people.

Of course, as you might expect, some of this is a matter of opinion, and [Nate] admits that. For example, they always use the serial port at 115,200 baud, but they do note that 9,600 baud is also popular. They also suggest making code as readable as possible, which is usually good advice. In the old days, writing terse code might lead to higher efficiency, but with modern compilers, you ought to get a tight final result even when doing things in a pretty verbose fashion.

However, a lot of the advice is very subtle but important. For example, the use of default parameters and the order of parameters. If you add their advice to the official style guide, you should be well on your way to creating really great Arduino libraries.

Of course, you also need a great idea for a library or an improved library that doesn’t already exist. That may be your most difficult task. Sometimes it makes sense to port something over instead of starting from scratch.

MIL-SPEC Keyboard Now Salutes USB

When [easyjo] picked up this late ’80s Marconi mil-spec keyboard for cheap, he knew it wouldn’t be easy to convert it to USB — just that it would be worth it. Spoiler alert: those LEDs aren’t a mod, they’re native. They get their interesting shape from the key traces, which are in the four corners.

Despite having way-cool buttons such as WPNS HOLD, and the fact that Control is on the home row where it belongs, this keyboard does not look fun to type on at all for any length of time. Of course, the point of this keyboard is not comfort, but a reliable input device that keeps out dust, sweat, liquids, and the enemy.

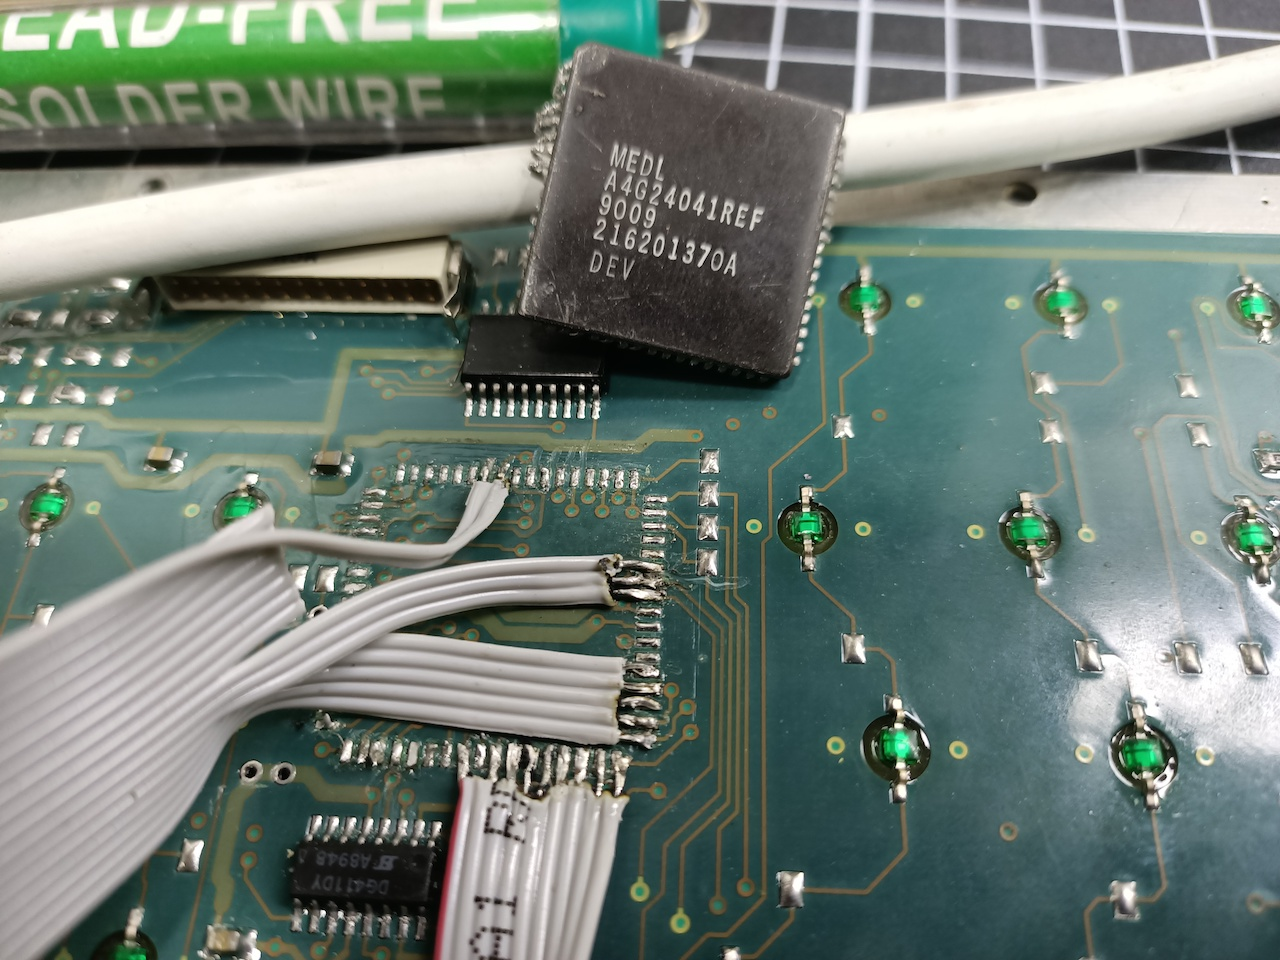
This is probably why the controller is embedded into the underside of the key switch PCB instead of living on its own board.  [easyjo] tried to analyze the signals from the existing 26-pin connector, but it didn’t work out.

So once he was able to decode the matrix, he removed the controller chip and wired the rows and columns directly to an Arduino Leonardo. Fortunately, the LEDs were just a matter of powering their columns from the front side of the board.

The availability of certain kinds of military surplus can make for really interesting modernization projects, like adding POTS to a field telephone.

Via r/duino

An Arduino-enabled observatory dome door opener

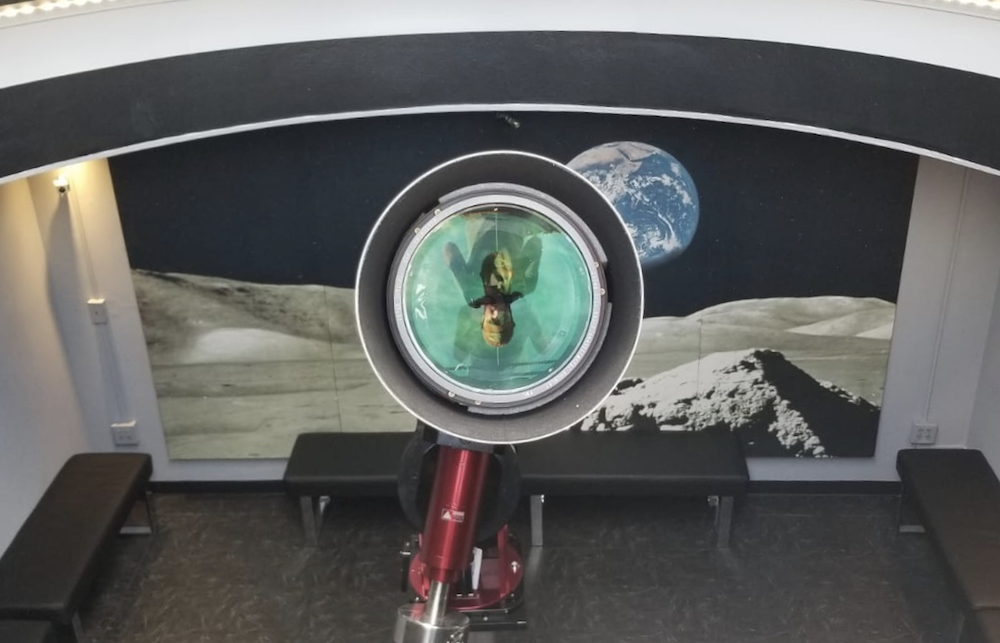
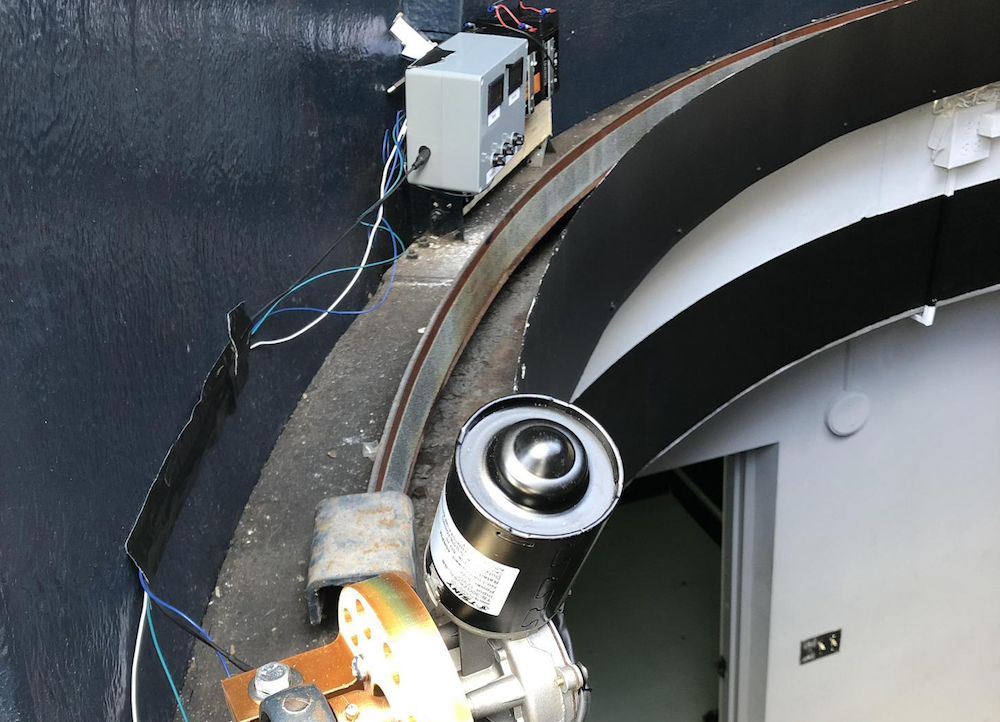
The South Florida Science Center recently commissioned a beautiful new 10” aperture refactor telescope. Its dome, however, was opened by hand; so in an effort to modernize this part of the setup, Andres Paris and his brother “patanwilson” added a windshield wiper-style DC motor to automate the process.

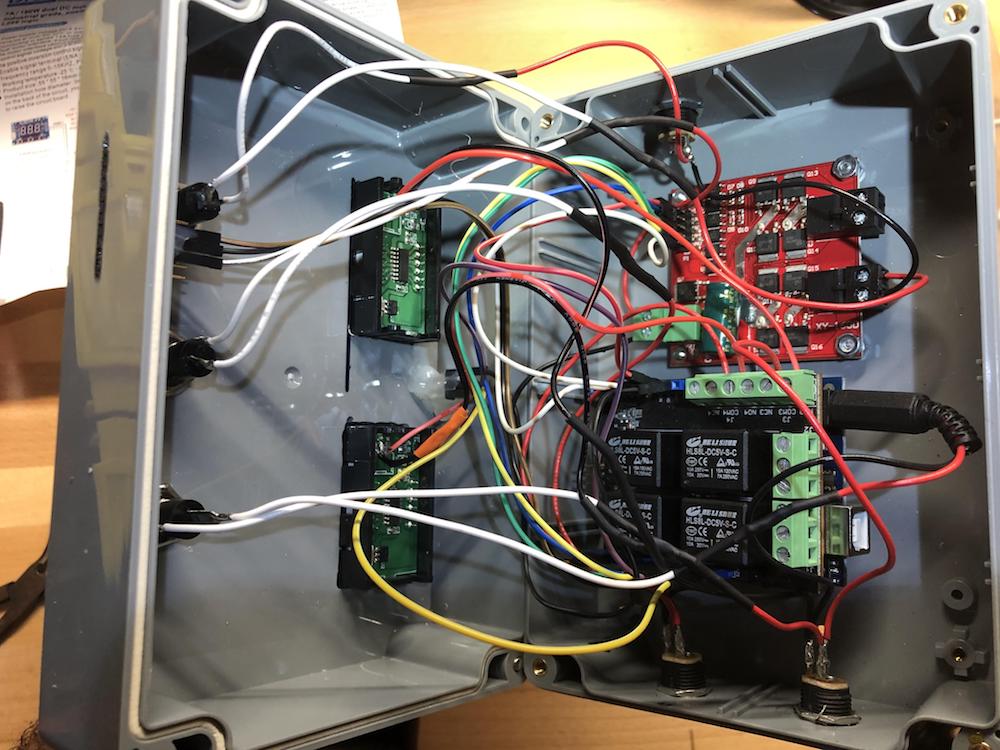
The “window to the heavens” is now operated by an Arduino Uno via a high current H-bridge capable of passing along up to 20 amps. User interface is provided by an IR remote control and reed switches stop the door’s motion at the appropriate points. 

A pair of 12V batteries enable the system to move within the dome and the voltage displays — that can be turned off remotely — to show how much power is left.

More details on the project can be found on Reddit.

Arduino Blog 27 Feb 22:21
arduino  uno