

Hacker Driven to Build R/C Forza Controller
Generic video game console controllers have certainly gotten better and more ergonomic since the hard corners of the Atari joystick. As beautiful and engrossing as games have become, the controller is still the least engaging aspect. Why race your sweet fleet of whips with an ordinary controller when you could pretend they’re all R/C cars?
 [Dave] found an affordable 4-channel R/C controller in the Bezos Barn and did just that. It took some modifications to make it work, like making a daughter board to turn the thumb grip input from a toggle button to a momentary and figuring out what to do with the three-way slider switch, but it looks like a blast to use.
The controller comes in a 6-channel version with two pots on the top. Both versions have the same enclosure and PCB, so [Dave] already had the placement molded out for him when he decided to install a pair of momentary buttons up there. These change roles based on the three-way slider position, which switches between race mode, menu mode, and extras mode.
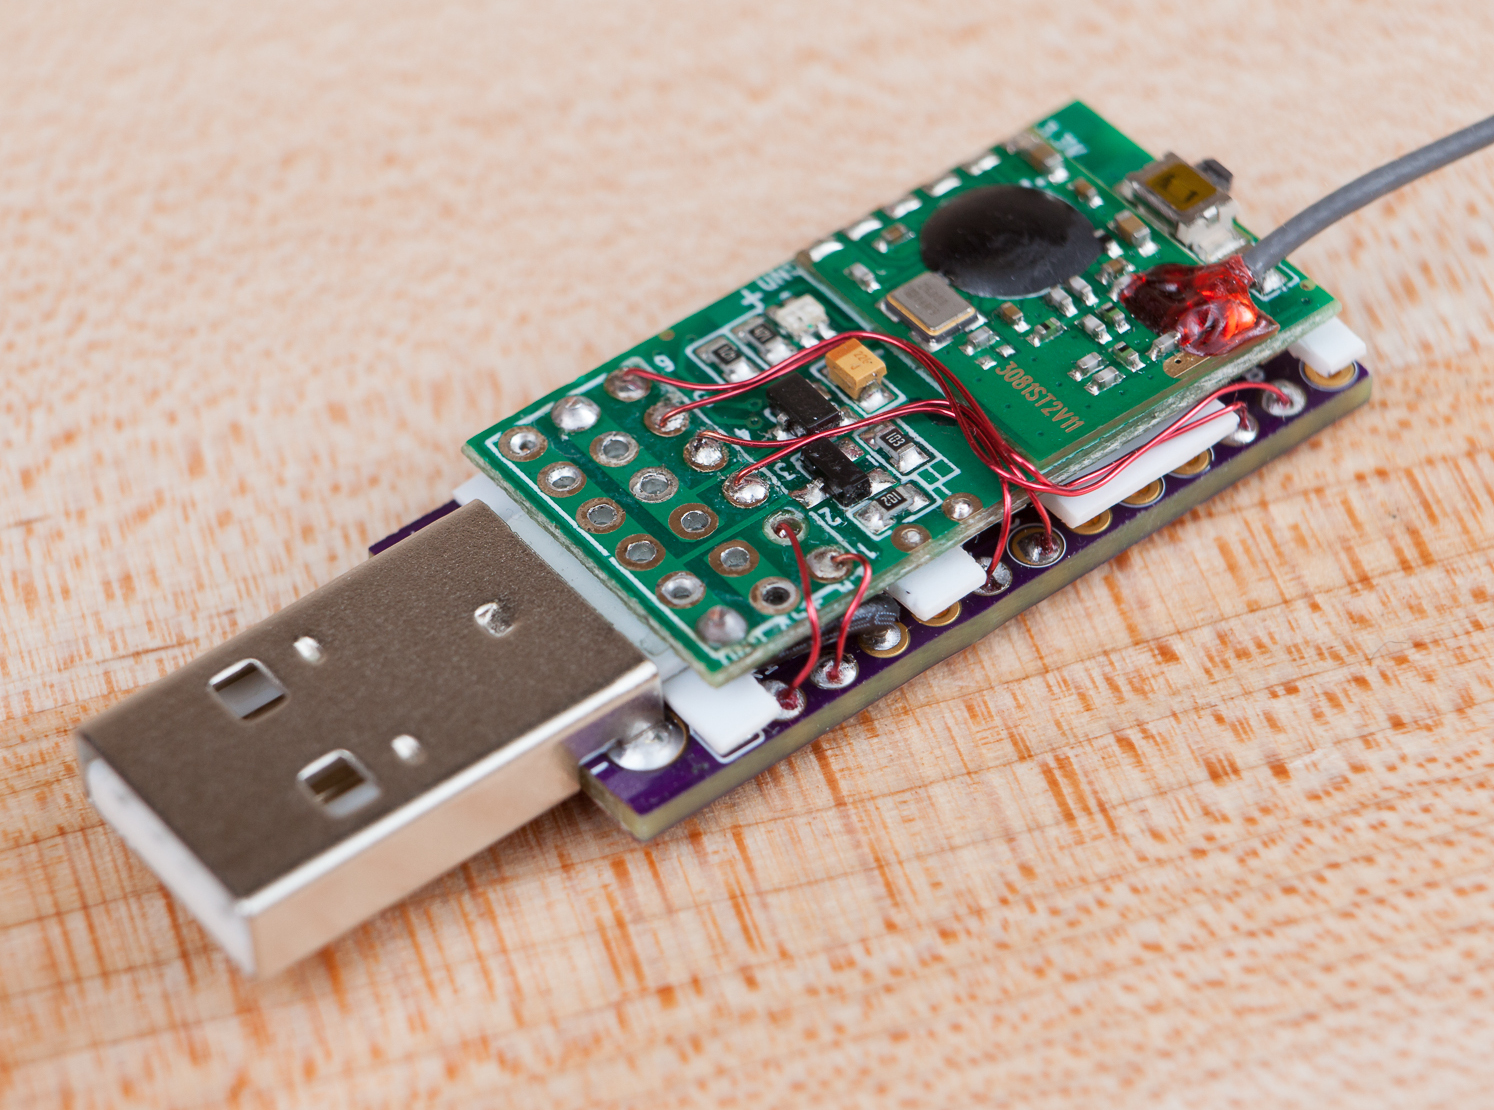
We love the way [Dave] turned the original receiver into a USB dongle that emulates an Xbox 360 controller — he made a DIY Arduino Pro Micro with a male USB-A, stripped down the receiver board, and wired them together. There’s an entire separate blog post about that, and everything else you’d need to make your own R/C controller is on GitHub. Check out the demo and overview of the controls after the break.
[Dave] is no stranger to making game controllers — we featured his DJ Hero controller modified to play Spin Rhythm XD a few months ago.
Via r/duino


