Bookcase automatically opens to reveal secret lair

A secret lair isn’t much fun if it’s a pain to get into, so Instructables user SPECTREcat decided to automate his hidden doors using an Arduino Uno. This drives four linear actuators via a MultiMoto shield, which both pull and turn the bookshelf in such a way that the books stay in place.
When opening, the doors first pull apart with one set of actuators, then turn with the other two to allow enough space for a person to pass through. Instead of drilling a hole through the maple plywood shelves, SPECTREcat chose to use a reed switch that’s activated on the other side by a magnet taped inside a DVD cover.
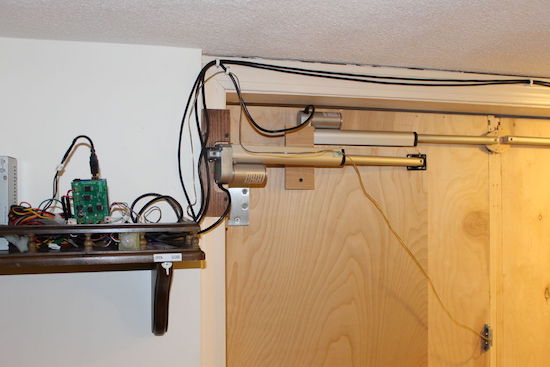
Beyond that, there’ s a PIR sensor that automatically closes the doors if motion isn’t detected for two hours. There’s also an emergency ingress/egress feature in the event of a power failure.
Looking for a hidden bookcase of your own? You can find more on the project’s electronics here, and see how the doors were constructed mechanically in this separate write-up.
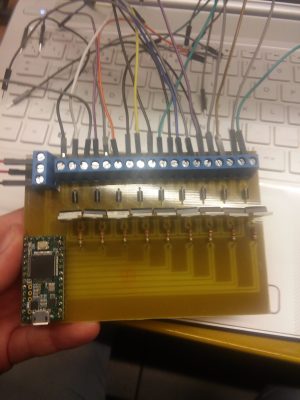 A Teensy 3.2 programmed using the Teensyduino IDE drives the solenoids. The board reads MIDI command sent over USB from a PC and translates them into the commands for this excellent driver board. It connects TIP31C transistors, along with flyback diodes, to the solenoids via a terminal strip.