Emulate a Commodore 64 keyboard with a modern PC and an Arduino
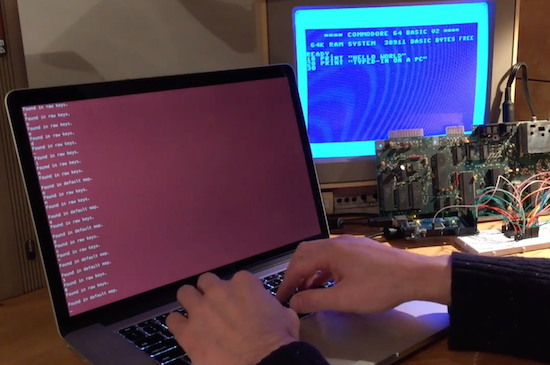
Using an Arduino, Adam Podstawczynski is able to translate keystrokes on his notebook to character inputs on a C64.
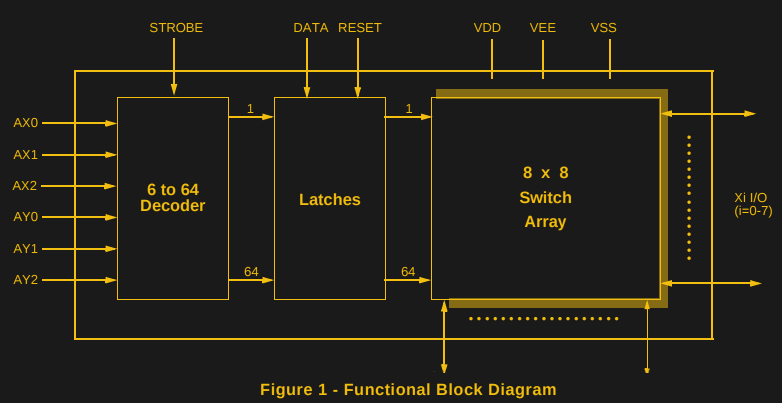
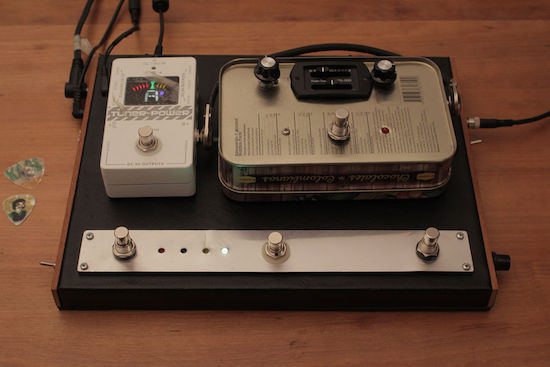
If you enjoy using a Commodore 64, but either don’t like (or perhaps don’t have) its keyboard, Podstawczynski’s project could be a great solution. His build runs a Python script on a PC, Mac, or Linux computer, which maps Commodore keys to a series of binary digits. It then sends this data over USB to an Arduino Mega, which in turn uses an MT8088 crosspoint switch to interface with the mainboard of a C64, allowing for hardware keyboard emulation.
This setup can act as a simple keyboard interface from the computer, or could be employed as a macro generator for demonstration purposes. It could even enable you to input an entire BASIC program on your PC, then send it to the C64 as desired!
Check out Podstawczynski’s page for more info on this work in progress.