

Friday Hack Chat: Tenaya Hurst From Arduino
Join us this Friday at noon PDT for a Hack Chat with Tenaya Hurst of Arduino. If you’ve been one of the big Maker Faires over the last few years (or innumerable other live events) and stopped by the Arduino area you’ve probably met Tenaya. She is the Education Accounts Manager for Arduino and loves working with wearable electronics.
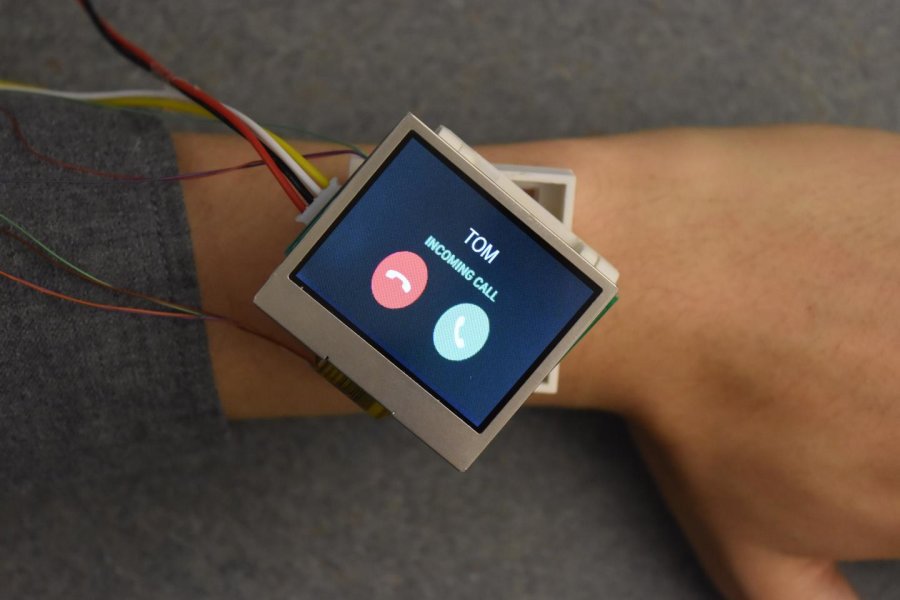
Come and discuss maker education and the role Arduino is playing in getting our students excited about electronics, and STEAM education in general. Tenaya will also be discussing a new wearable tech kit she’s been working on. We hope to see the gear in person at Bay Area Maker Faire next week.
Here’s How To Take Part:
 Our Hack Chats are live community events on the Hackaday.io Hack Chat group messaging.
Log into Hackaday.io, visit that page, and look for the ‘Join this Project’ Button. Once you’re part of the project, the button will change to ‘Team Messaging’, which takes you directly to the Hack Chat.
You don’t have to wait until Friday; join whenever you want and you can see what the community is talking about.
Filed under: Arduino Hacks, Hackaday Columns, wearable hacks


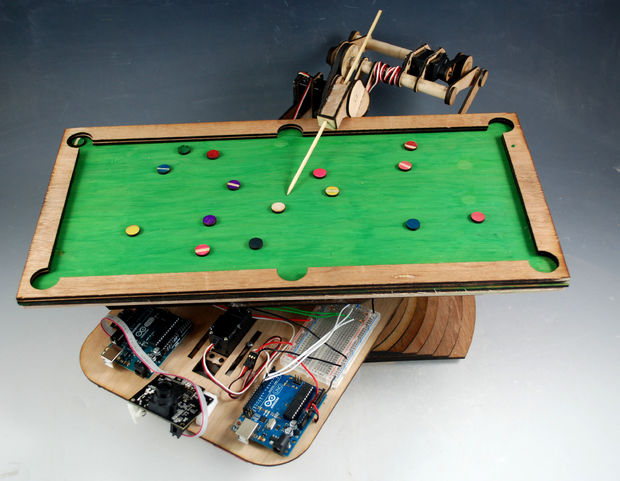
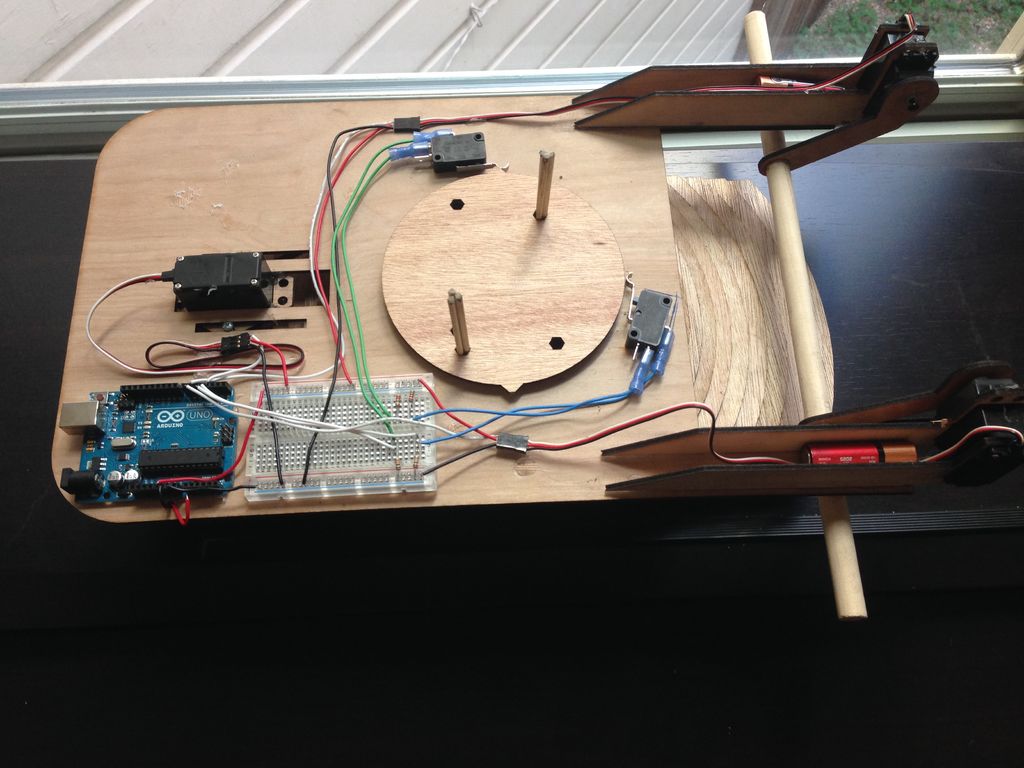
 [VijeMiller] has aluminum extrusion tastes on a cardboard budget, but don’t let that put you off this clever build. The idea is pretty simple: a two-axis plotter that moves a rotary-action business end to any point within a V-shaped work envelope. The Arduino in the base talks to a smartphone app that lets you point to exactly the spot in need of attention on what for most of us would be an incredibly optimistic photorealistic map of the dorsal aspect of the body (mildly NSFW photo in the link above dips below the posterior border). Point, click, sweet relief.


