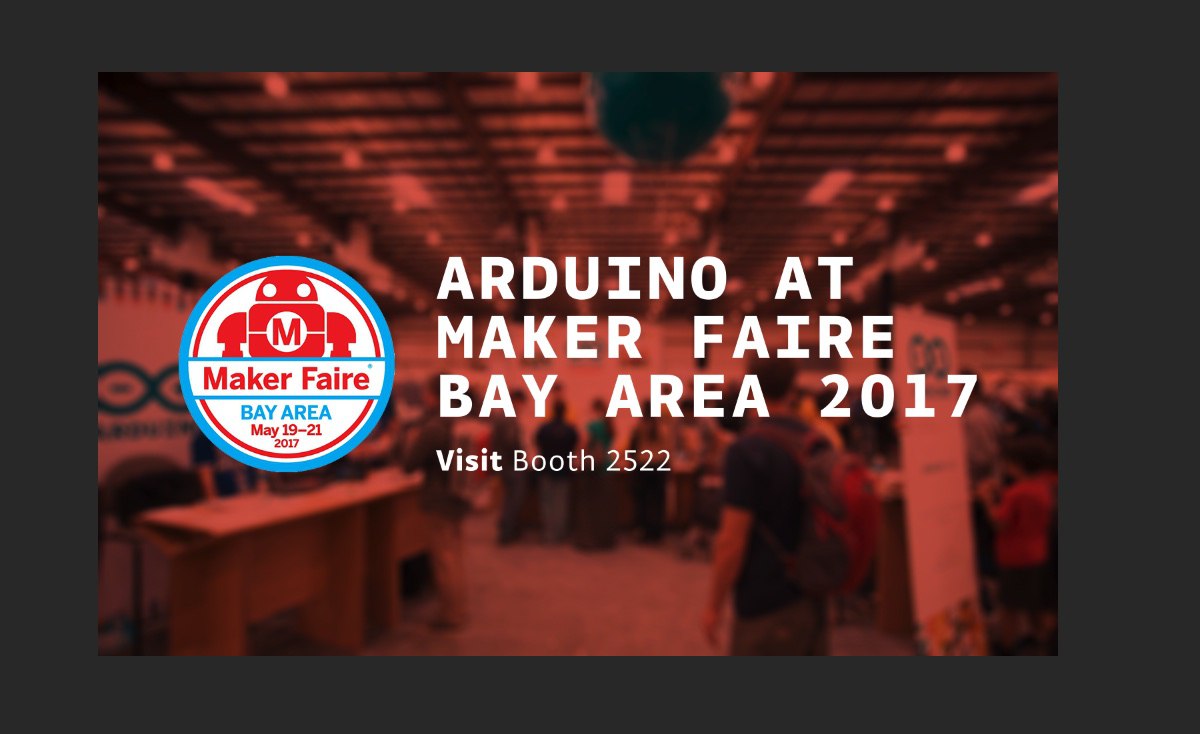
Posts with «arduino» label

Turn your door into an ‘alien portal’ using Arduino

As YouTuber Evan Kale puts it, his set is was kind of boring. He decided to spruce things up by turning his ordinary door into an “alien portal,” lining it with a strip of RGB LEDs. Though this may not be the first time you’ve seen this type of lighting in action, he directs our attention to a few interesting details about using them in typical Kale style.

One interesting note comes around the 4:50 mark, where he points out his portal is controlled using Hue Saturation Lightness (HSL) via a potentiometer instead of RGB. This keeps the glowing effect consistent, while allowing color adjustment.

For this project, he employed an Arduino Nano, which looks like a great choice since it needs a limited amount of I/O. Using this tiny board, the entire control package can fit into his small 3D-printed enclosure.

You can see a demo of Kale’s “alien portal” below, and check out his channel for more fun Arduino projects!

Arduino Blog 15 May 20:01

Arduino device helps keep dogs safe from overheating

Pets bring an untold amount of joy into our lives, but unfortunately they aren’t allowed to go everywhere that humans are. Of course this makes sense in many situations, but if you’d like to take your dog with you wherever you go, this means occasionally leaving poochie in the car. Along with leaving the sunroof and windows open, this project’s author also came up with a transmitter and receiver to monitor the temperature inside of the car with a series of LED pulses.

The car unit consists of an Arduino Mega, along with a temperature sensor and LoRa transciever. The receiver takes this wireless information, which can be reliably read at a range of 250 meters (820 feet) in an urban environment, and gives the user a series of blinks to assure Max’s (the dog) human that he’s not overheating!

You can find the entire build’s write-up here, or check out its code on GitHub.

CNC Machine Boasts Big Bed, Impressive Power from Off-the-Shelf Parts

A lot of homebrew CNC machines end up being glorified plotters with a router attached that are good for little more than milling soft materials like wood and plastic. So if you have a burning need to mill harder materials like aluminum and mild steel quickly and quietly, set your sights higher and build a large bed CNC machine with off-the-shelf components.

With a budget of 2000 €, [SörenS7] was not as constrained as a lot of the lower end CNC builds we’ve seen, which almost always rely on 3D-printed parts or even materials sourced from the trash can. And while we certainly applaud every CNC build, this one shows that affordable and easily sourced mechatronics can result in a bolt-up build of considerable capability. [SörenS7]’s BOM for this machine is 100% catalog shopping, from the aluminum extrusion bed and gantry to the linear bearings and recirculating-ball lead screws. The working area is a generous 900 x 400 x 120mm, the steppers are beefy NEMA23s, and the spindle is a 3-kW VFD unit for plenty of power. The video below shows the machine’s impressive performance dry cutting aluminum.

All told, [SörenS7] came in 500 € under budget, which is a tempting price point for a machine this big and capable.


Filed under: cnc hacks
Hack a Day 15 May 12:00
arduino  cnc  cnc hacks  extrusion  gantry  gerbl  steppers  vfd  

Grow your own salad with this rotating hydroponic system

You likely know that growing plants via hydroponics involves some sort of water and fertilizer solution. Perhaps, however, you don’t realize that these plants need to be removed from the water occasionally in order to air out the roots. Normally, this means that the water is raised and lowered.

Peter Fröhlich, though, decided to go a different route, and came up with a device to physically raise and lower the plants using a large wheel, resembling a sort of Ferris wheel for plants!

The frame itself is a plastic bin he purchased at a local hardware store, while the wheel and its arms were made with components lying around his lab and other laser-cut parts. To make this interesting setup turn, he used a stepper motor from an old printer, controlled by an Arduino and stepper driver.

Want to grow your own salad right inside your home? You can find more details of this fascinating build in Fröhlich’s project write-up and on Hackaday here.

Smell the rainbow with this olfactory device

Do you ever wonder what certain colors would smell like? Perhaps red would emit the fragrance of a rose, while blue may be reminiscent of the ocean.

During a recent workshop at ÉCAL in Lausanne, Switzerland, Niklas Roy challenged students to come up with new communication devices. In response, they devised an Arduino-based machine that senses a color and translates it into a certain smell.

The resulting mechanism, which they’ve dubbed “Bouquet,” comes in the form of a cone with an optical sensor on one end, and a stepper motor-controlled disc on the other that turns pads with according scents under the nose of the art connoisseur.

As seen here, they topped the project off with a series of colorful posters that could be experienced in a new way! You can find more of this project on Roy’s website, as well as in this Creative Applications article.

Arduino Blog 11 May 21:26

Translate Color to Smell with Bouquet

Hope springs eternal for Smell-O-Vision. [Niklas Roy] recently taught a workshop called Communication Devices at ÉCAL in Lausanne, Switzerland. Four of his Media & Interaction Design students built a scanner that detects colors and emits a corresponding scent.

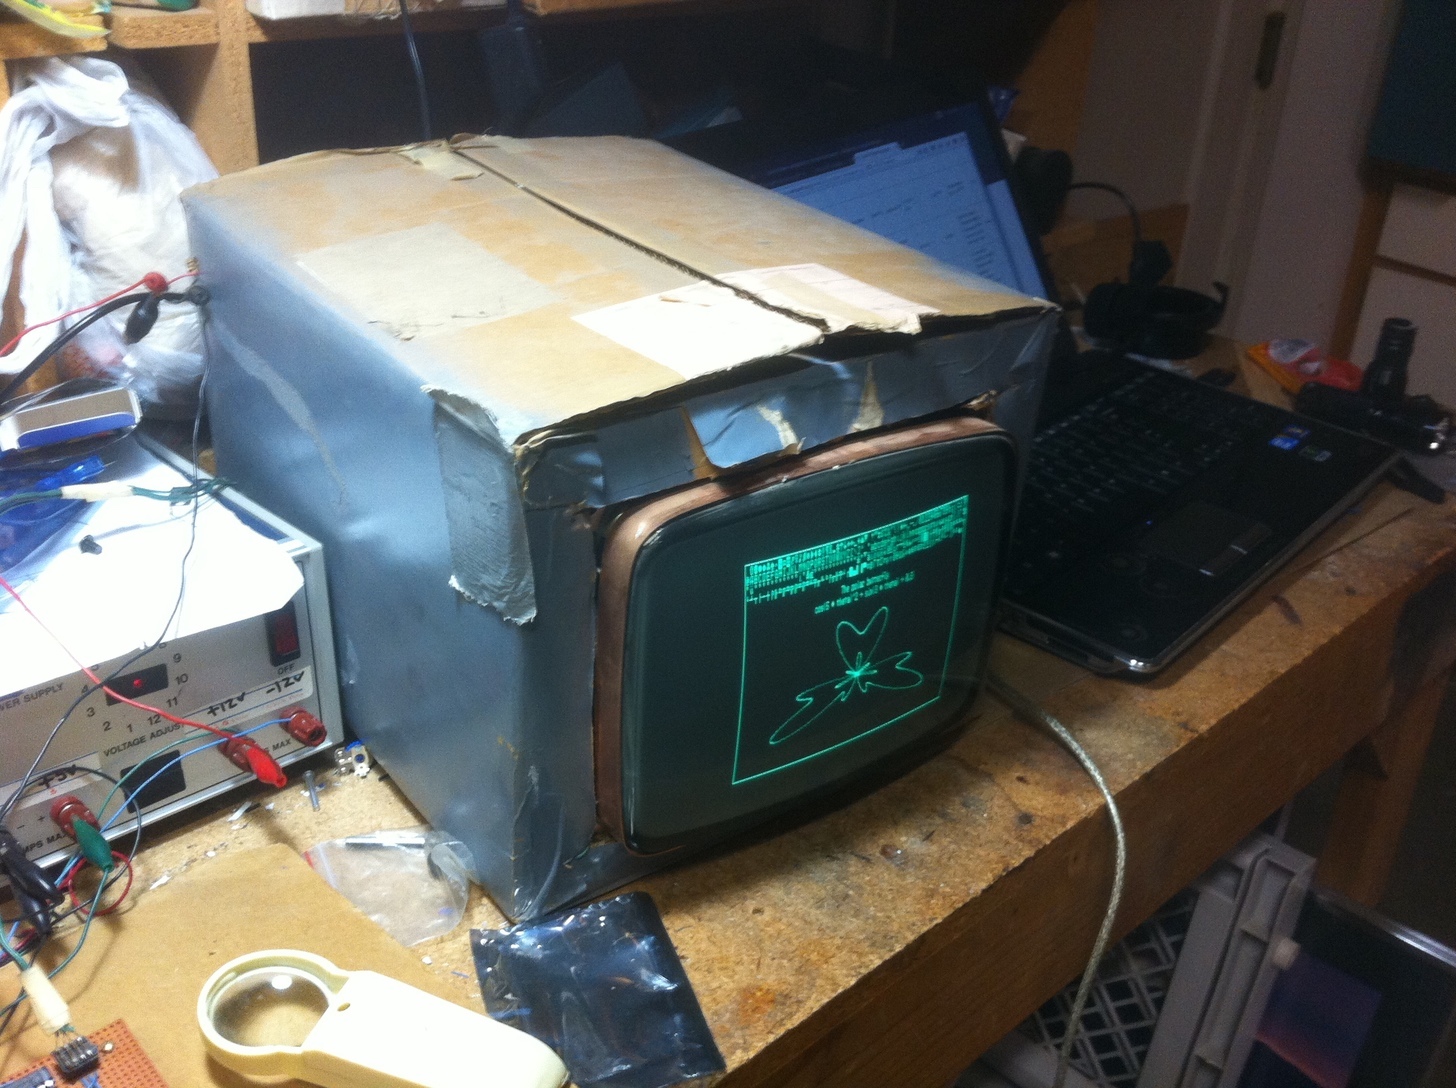
The project consists of an Arduino connected to a color sensor as well as a SparkFun EasyDriver. The EasyDriver controls a stepper motor which rotates a disc of scent swatches so you sniff the swatch corresponding with the color. The students chose strawberry for red, and blue ended up being “ocean”-scented room spray.

With design students involved it’s no surprise the project looked good. Bouquet’s creators [Erika Marthins], [Arthur Moscatelli], [Pietro Alberti] and [Andrea Ramìrez Aburto] gave the device an intriguingly featureless look, and the “olfactory graphic design” posters they created to demonstrate it look great as well.

[Niklas Roy]’s excellent projects have graced the pages of Hackaday many times before. Be sure to check out his RC Beer Crate, his Music Construction Machine, and his Thermal Imaging Rig if you haven’t already.


Filed under: Arduino Hacks

EduExo is a DIY exoskeleton kit

You’ve seen exoskeletons in movies such as Aliens and Iron Man, and perhaps even heard about current experiments with human use. Unfortunately though, if you want to learn about this technology, the barrier to entry is very high.

EduExo, now available on Kickstarter, is an attempt by robotics researcher Volker Bartenbach to bring this technology to the masses. Based on an Arduino Uno, the device takes the form of an upper and lower arm cuff, along with a motor and force sensor to allow it to be used for haptic control.

It’s available for you to 3D print and assemble yourself, or for a larger pledge, you can receive all the parts needed to build it. Interested? Check out Bartenbach’s campaign!

Friday Hack Chat: Tenaya Hurst From Arduino

Join us this Friday at noon PDT for a Hack Chat with Tenaya Hurst of Arduino. If you’ve been one of the big Maker Faires over the last few years (or innumerable other live events) and stopped by the Arduino area you’ve probably met Tenaya. She is the Education Accounts Manager for Arduino and loves working with wearable electronics.

Come and discuss maker education and the role Arduino is playing in getting our students excited about electronics, and STEAM education in general. Tenaya will also be discussing a new wearable tech kit she’s been working on. We hope to see the gear in person at Bay Area Maker Faire next week.

Here’s How To Take Part:

Our Hack Chats are live community events on the Hackaday.io Hack Chat group messaging.

Log into Hackaday.io, visit that page, and look for the ‘Join this Project’ Button. Once you’re part of the project, the button will change to ‘Team Messaging’, which takes you directly to the Hack Chat.

You don’t have to wait until Friday; join whenever you want and you can see what the community is talking about.


Filed under: Arduino Hacks, Hackaday Columns, wearable hacks

Smartwatch convenience ‘moves’ to the next level

To address the limitations of today’s fixed-face watches, researchers have come up with an actuated smartphone concept that physically moves itself using an Arduino Due, Bluetooth and several motors.

Receiving Internet notifications has gone from using a computer, to checking them on your smartphone, to now simply seeing them come in on your wearable device. On the other hand, you still have to rotate your wrist into the right position to see the screen. Worse yet, if you want to show others what is on your wrist, you may even have to twist your arm awkwardly.

Fortunately, there is a possible solution to this scourge in the form of Cito, which bills itself as “An Actuated Smartwatch for Extended Interactions.” This design can move in five different directions–rotates, hinges, translates, orbits and rises–potentially making viewing more convenient, or even providing haptic feedback. Prototype electronics are housed inside a control box on the upper arm, but presumably would become much smaller in a production version.

You can see the team’s entire paper here, or read this write-up for a more involved summary.

Photo: Jun Gong

DIY Tiny Single-PCB Synthesizer

[Jan Ostman] has been pushing the limits of sound synthesis on the lowly AVR ATMega microcontrollers, and his latest two project is so cute that we just had to write it up. The miniTS shares the same basic sound-generation firmware with his previous TinyTS, which we’ve covered here before, but adds a lot more keys, an OLED, and MIDI, while taking away some of the knobs.

Both feature keyboards that are just copper pads placed over a ground plane, and the code does simple capacitive-sensing to figure out if they’re being touched or not. The point here is that you could pick up a PCB from [Jan] on the cheap, and experiment around with the code. Or you could just take the code and make a less refined version for yourself with a cheapo Arduino and some copper plates.

Either way, we like the combination of minimal materials and maximum tweakability, and think it’s cool that [Jan] shares the code, if not also the PCB designs. Anyone with PCB layout practice could get a clone worked up in an afternoon, although it’s going to be cheaper to get these made in bulk, and you’re probably better off just buying one from [Jan].


Filed under: musical hacks