CasioKeyBot plays electronic keyboard with automated fingers
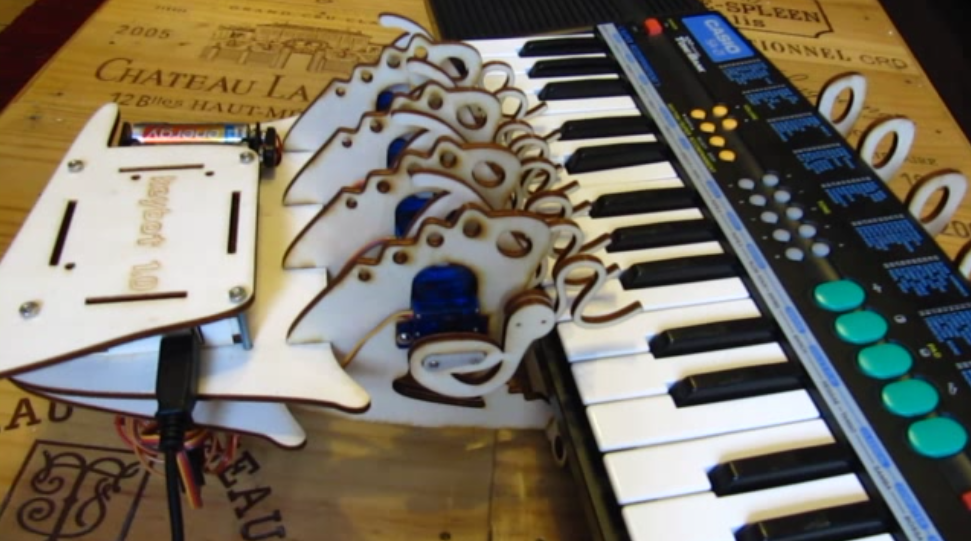
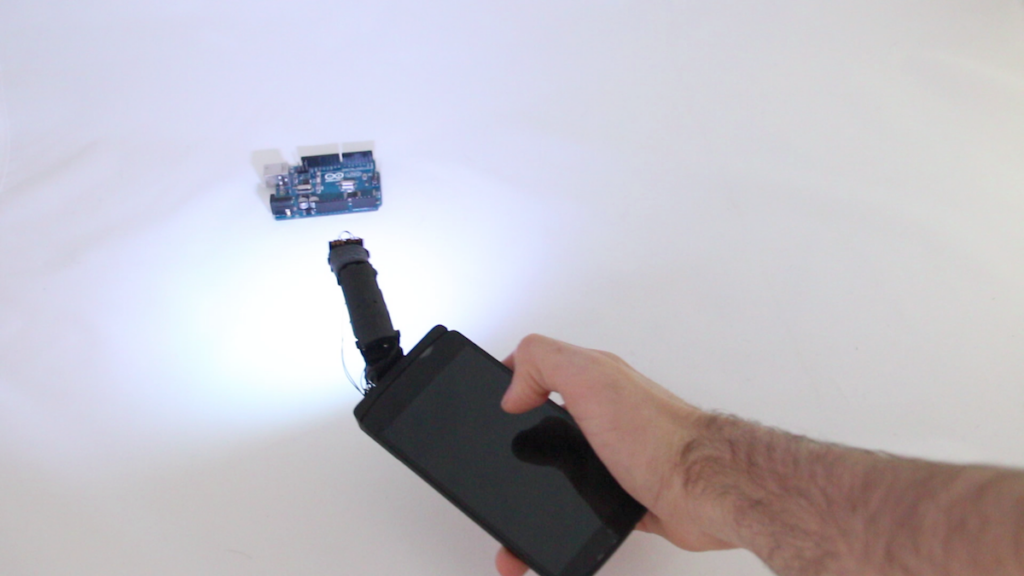
Electronic keyboards have been around for many years, taking human input and translating it into a variety of sounds. In a strange twist on this technology, Igor Angst has decided to substitute a robot in to push the synthesizer’s keys, using a laser-cut finger setup controlled by an Arduino Uno.
The MIDI sequence/notes to be played are provided by a computer running ALSA (Advanced Linux Sound Architecture), and interpreted by a C program that translates it into USB serial signals that the Uno can use. It then actuates its wooden fingers, playing a pleasing tune along with apparently keyboard-provided accompaniment in the video below.
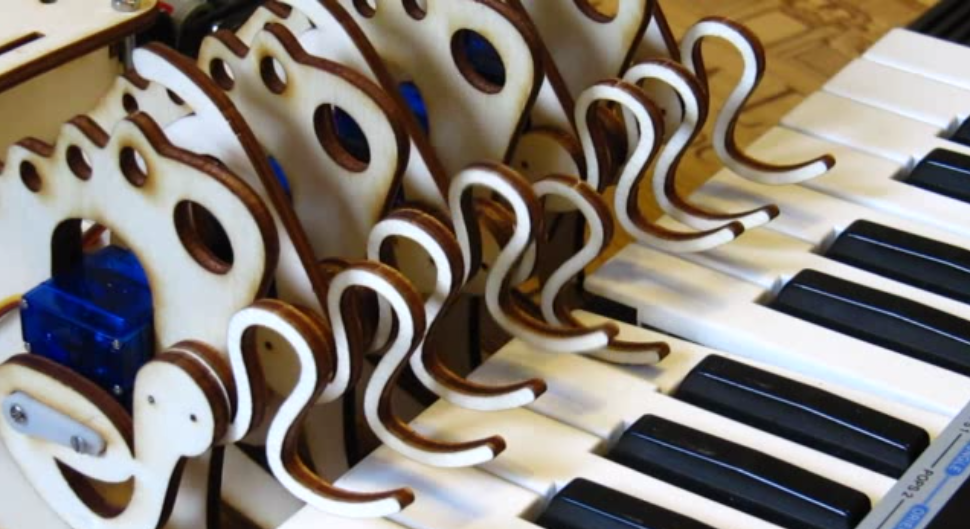
I really like the crappy sound of those ‘80s toy keyboards. Unfortunately, I am a lousy live keyboarder and I only have so many hands. So I thought about adding MIDI capability to my good old Casio SA-21. The simplest way to do this is obviously building a robotized hand with 8 servo motors controlled by an Arduino microcontroller, which in turn receives its commands through the serial-over-USB interface sent by a tiny C application that connects to the ALSA sequencer world of my Linux live music setup.
Laser cutter files are available on the project’s write-up and code can be found on GitHub.