Posts with «arduino» label

Hack a cheap remote light switch with an Arduino Leonardo

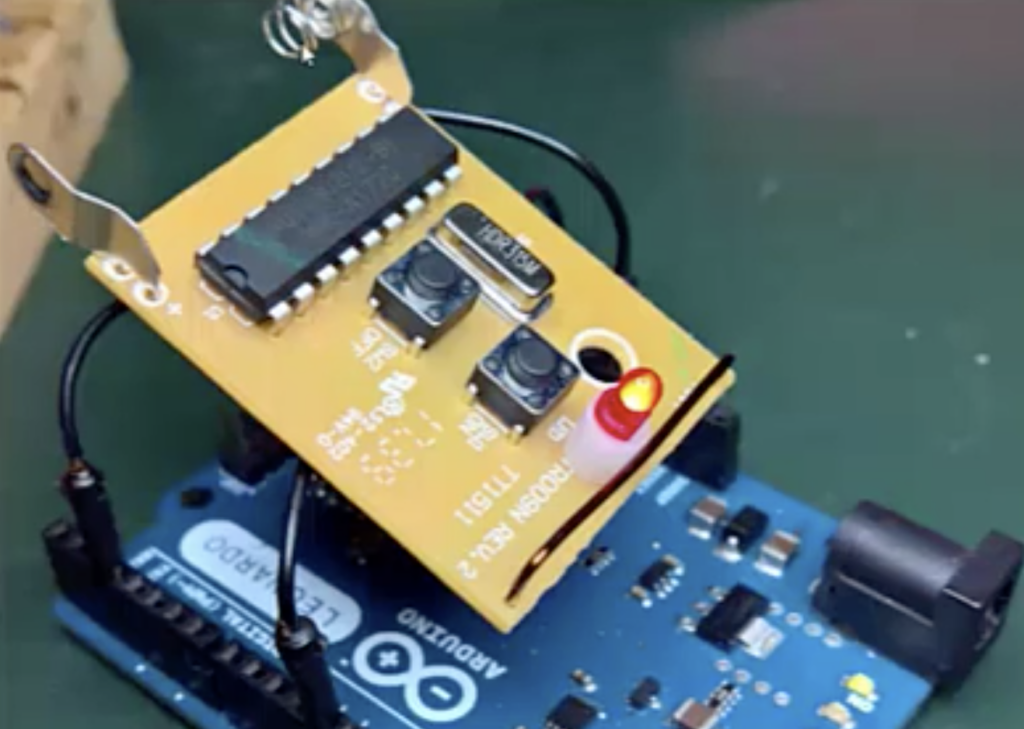
Chris Lovett used a cheap wireless remote to control his Christmas lights; however, when the fob’s A53G 12V battery died, he decided to go a different direction. Rather that just replace the battery, he hooked up an Arduino Leonardo for full lighting automation.

For this hack, he bypassed the onboard IC and instead sent a simulated signal produced by the Leonardo through the wireless transmitter. The appropriate signals were decoded by a logic analyzer, then sent using one output pin to power the transmitter and a second to output the correct pulses. Full automation was accomplished via a Python Script running on a computer to activate the Leonardo at sunset and sunrise. 

Arduino code can be found here, along with the Python script, if you’d like to try something similar.

Treasure Trove of Projects Provides Endless Examples

Sometimes, traveling the internet feels a little like exploring an endless cave system looking for treasure. Lots of dark passageways without light or life, some occasional glimmers as you find a stray gold doubloon or emerald scattered in a corner. If we take the metaphor too far, then finding [Paul]’s “Little Arduino Projects” repository is like turning an unremarkable corner only to discover a dragon’s hoard.

LEAP (as [Paul] also refers to the collection) is a numbered collection of what looks like more or less every electronics project he has completed over the last few years. At the time of writing there are 434 projects in the GitHub repository and tagged and indexed in a handy blog-style interface. Some are familiar, like a modification to a Boldport project. Others are one-off tests of a specific concept like driving a seven segment display (there are actually 16 similar projects if you search the index for “7-Segment”). On the other end are project builds with more detailed logs and documentation, like the LED signboard for monitoring the status of 24 in-progress projects, mounted in a guitar fret board.

LEAP reminds us of the good old days on the internet, before it felt like 50% trolling and 50% tracking cookies. Spend a few minutes checking out [Paul]’s project archive and see if you find anything interesting! We’ve just scratched the surface. And of course, send a tip if you discover something that needs a write-up!

Stream weather conditions to the cloud!

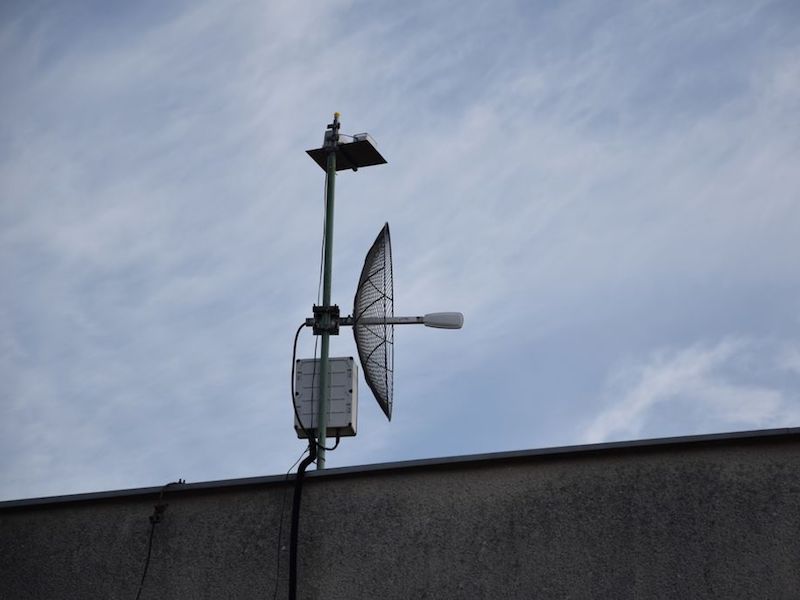
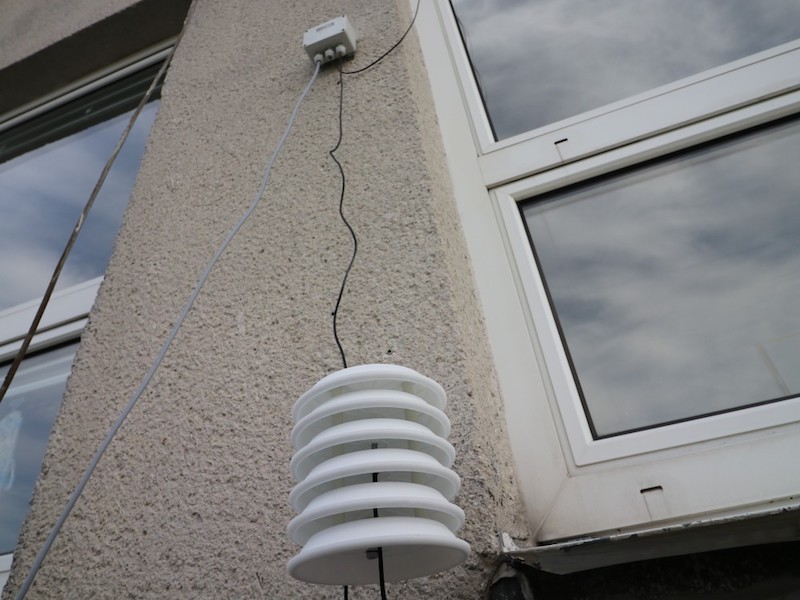
Weather reports on the news, your computer, or smartphone are very good—something that people 100 years ago could only dream of—but what if you want to know the exact weather in a fixed location from anywhere in the world? One solution would be Jakub Nagy’s excellent cloud-connected station.

It uses an Arduino Uno to collect data from temperature, humidity, pressure, and UV index sensors, along with a Nano to read a rain gauge. The data, with images from a webcam, are passed along to a service called Weathercloud, where this report out of the Slovak Republic can be viewed remotely. 

If you’d like to assemble a similar device to measure conditions in your area, instructions are available in his write-up, including a parts list that will run around $130.

Rotary phone transformed into home automation device

While once an essential communication tool, rotary phones in the wild are quite a rarity today. Still, they do hold a certain charm, and hacker Kristiaan N. decided to turn one of these units into a clever home automation interface.

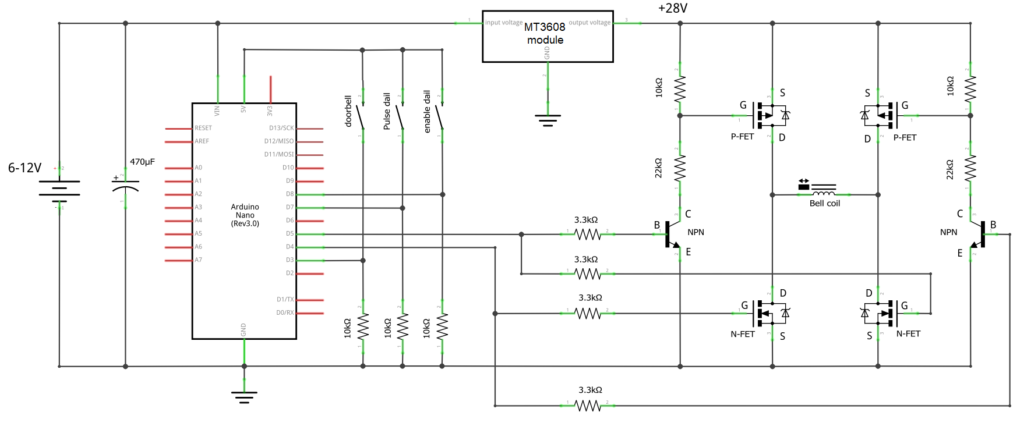
The original idea was to use the phone as a doorbell. Like many projects, this simple job turned into something much more involved, with an Arduino Nano and a bevy of complimentary electronics being installed in the housing. This allows it to respond to doorbell presses as intended, and it’s now also able to ring in different patterns via wireless input from a smartphone. 

Most impressively, the modified phone can signal up to 10 devices using the rotary input, using the MySensors Arduino library and a Domoticz setup. The system’s capabilities are demonstrated in the video below, switching lights, and showing off its multi-ring capability.

The current version features the following functions:

  • Doorbell function with simple button
  • MySensors integration with NRF24 radio
  • Wirelessly activate 5 different ringtones
  • Alarm signal
  • Working dial with 10 virtual switches

The idea is basically that it will ring just like a old phone when somebody presses the doorbell button. If you don’t want any wires for that, you can just sent a command from any button attached to your Domoticz controller. You can also set your Domoticz controller to ring different ringtones for any events like a door that has open, or a set timer that has passed.

The dial also acts like 10 virtual switches. Your Domitcz controller will see these as 10 different switches that will be turned on and immediately be turned off again. You can use this to trigger events like turning a light on, or set the heating to a different setpoint.

The wireless function is done by the incredible MySensors library. In my opinion its one of the best platforms for home build sensors and actors. Its cheap to build, very reliable, and the possibilities are endless. You will need a MySensors gateway attached to your Domiticz controller. I’m using the USB version. Building one is very easy and doesn’t require knowledge of MySensors, Arduino, or electronics. If you just want the doorbell, don’t worry about all the other functions. Just leave out the radio and the connections to the dial. The Arduino code will work fine without.

Upgrade a sewing machine into an automatic embroidery rig

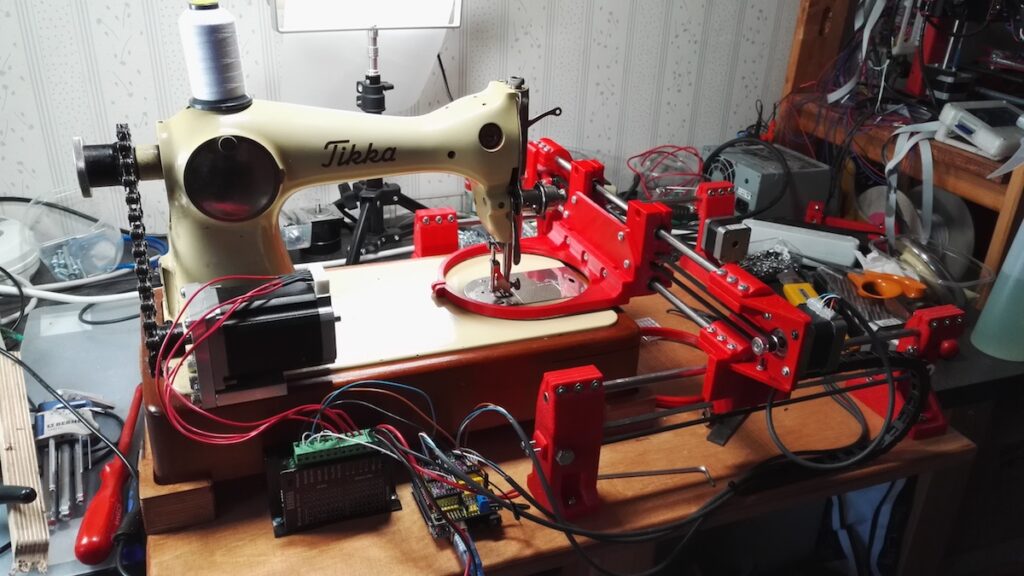
A needle and thread is extremely useful if you need to fasten a few pieces of fabric or sew on a button, and a sewing machine takes things up several notches in speed an accuracy. This venerable machine, however, can now be enhanced with a trio of stepper motors under Arduino Uno GRBL control to take things to an entirely new level.

The “Self-Made Embroidery Machine” employs a setup very similar to a 3D printer or CNC router. Two steppers move the fabric around, while a third actuates the needle. This allows the user to program in decorative shapes and patterns as shown in the video below, and the build process is well documented if you’d like to build your own!

Sewing machine part is any old or new sewing machine. Only change for original is stepper motor with synchronised pulley system (chain/belt drive) and more embroidery friendly presser foot. It is recommended to use older sewing machine, way more convenient to mount stepper motor to cast iron and prices are relatively cheap.

XY movement consists mainly 3D printed parts, 12 pcs and similar parts known from self build 3D printers. Both axes use GT2 belts, NEMA 17 steppers and both directions are fully scalable.

Synchronous movement comes from Arduino powered GRBL G-code interpreter, it is mouthful, but basically machine moves using G-code send to Arduino. It is not that complicated and it is only carrier like any other one when going from system to another one.

Now we have movement and code, but how to make nice shapes and export to G-code. It is nothing to do with medieval sorcery, it is a matter of downloading Inkscape and extension called Inkstitch.

Help and examples how to use Inkstitch extension can be found address above. End result should be really close to hobby level embroidery machines, just slower speed. After all, embroidery machine is nothing more than overgrown sewing machine.

Convert a Dremel tool into an Arduino-controlled CNC machine

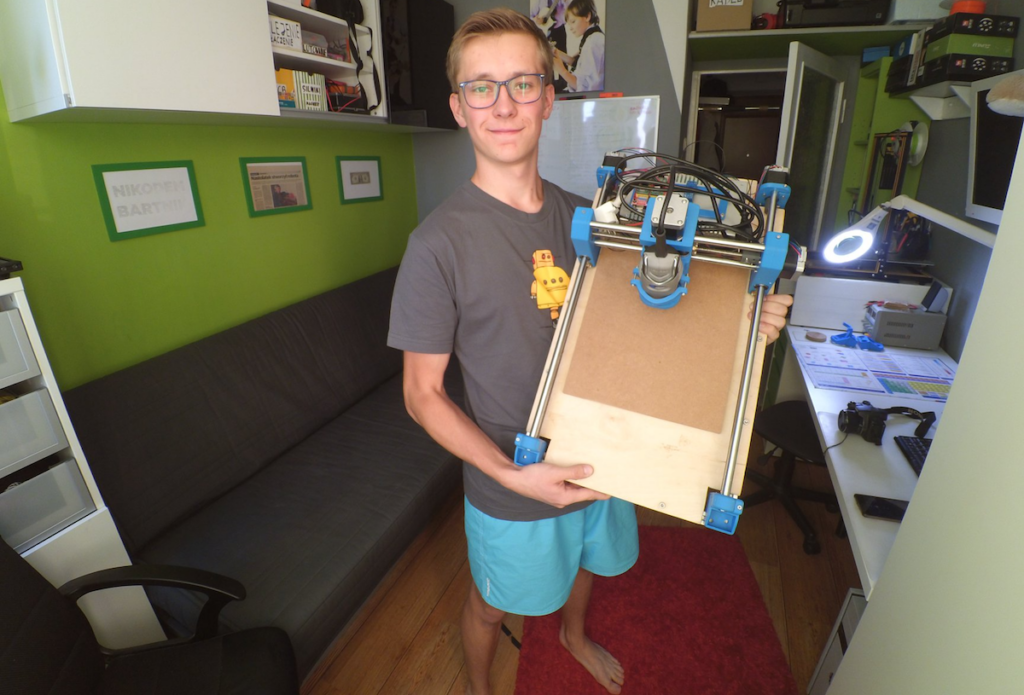
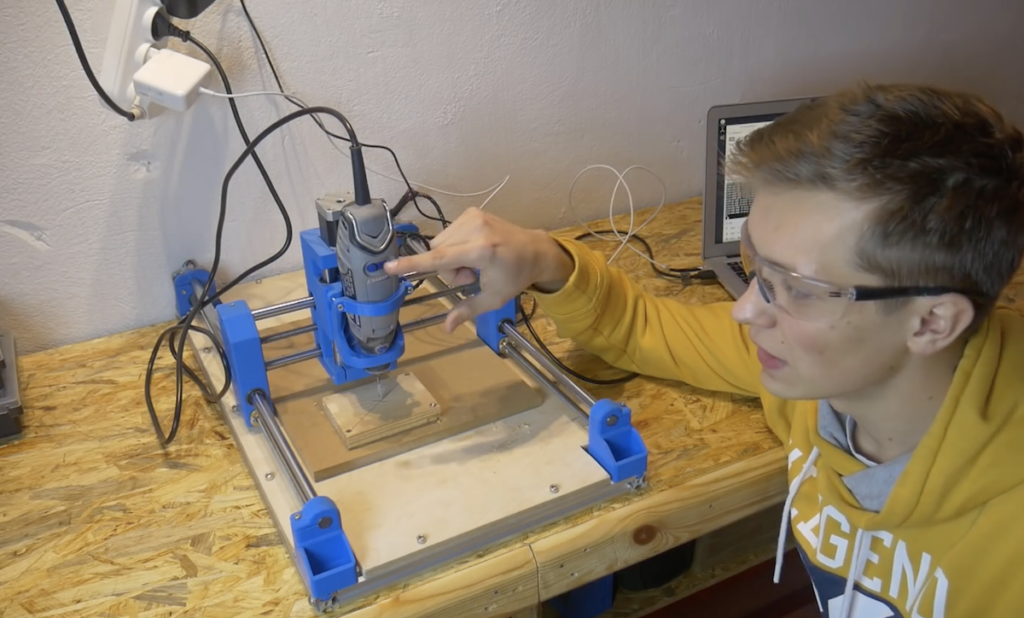
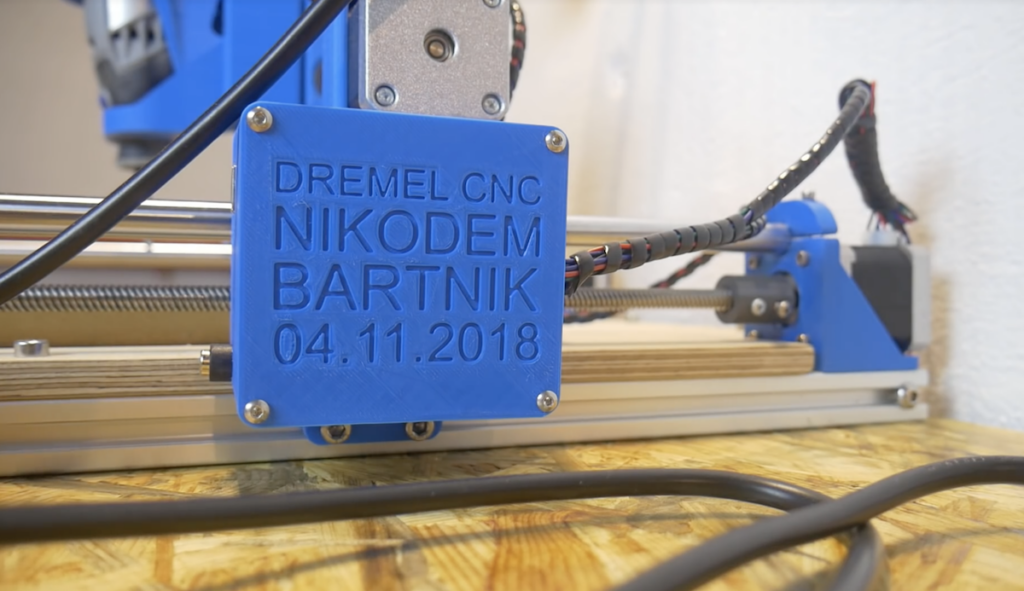
3D printers get most of the attention in maker-fabrication news, but other computerized tools, like laser cutters and CNC routers, can also be extremely useful. In fact, Nikodem Bartnik decided to create his own Dremel-based machine constructed out of 3D-printed parts and aluminum profiles. 

Electronics include an Arduino Uno and CNC stepper shield running GRBL for control, along with some NEMA 17 steppers and motor drivers, a relay for the Dremel, and a 12V / 30A power supply.

As with many other projects, his build went through several iterations, but the final results—seen in the video below—are quite good. The machine, which only cost him around $300, is able to mill MDF and acrylic.

If you’d like to make your own, Bartnik outlines his design in the first video below, then shows how to use it in the second. 

Customize your coffee cups with the Mug-O-Matic!

In order to inspire the next generation of scientists and engineers, Michael Graham (AKA EngineerDog) has come up with a robot that automatically draws on coffee mugs with a marker—and potentially much more. 

In its nominal configuration, the Mug-O-Matic is controlled by an Arduino Nano with a custom TinyCNC board, and uses a trio of small servo motors for cup plotting.

Additionally, the device can be reconfigured into a wide variety of robotic forms, and features 60+ compatible parts with which to do so. 

Mug-O-Matic is a 3-axis drawing robot that can customize coffee mugs! This capable little robot can draw anything you want via manual control, Bluetooth, calculated algorithms, or even g-code. So you can enjoy your custom mug creation, then wipe it clean. You could make it totally different every day for a year, and not make the same thing twice!

Its little buddy, the Desktop Sentry, is a pan-tilt turret that guards your desk! Also controlled via joystick, Bluetooth, algorithms, or G-code, this device can automatically guard your space with a laser or a rubber band launcher, or be used for light writing.

The intent of this project is to produce fun and accessible educational tools. We want to encourage people to engage in tinkering and making things, because the creative process is a powerful way to learn.

If you’d like to get to work on your own Mug-O-Matic, more info can be found here, including a parts list for the build. It is also slated for a release on Crowd Supply, which will likely make things easier and less expensive if you’re willing to wait!

(Almost) autonomous kids’ vehicle with Arduino

While the world seems to be focusing on self-driving cars, maker Sieuwe Elferink has instead turned his attention to creating a semi-autonomous kids’ four-wheeler. As of now, the modified device can steer itself within a set of lines, and stop for pedestrians and inanimate objects.

The augmented vehicle uses an Arduino Nano for control, plus a pair of TCRT5000 sensors attached to tubing on the sides to pick up boundary lines. Obstacle avoidance is via an ultrasonic sensor on the front. Four relays are used to activate a former windshield wiper motor for steering through a chain and sprocket system, along with the vehicle’s original motor for propulsion.

The build process is documented here, while code and an electrical schematic is available on GitHub.

Creep out guests with an Arduino-controlled teddy bear

Halloween has become something of a hacker holiday, giving creative people the world over a chance to show off their spooky animatronic inventions outside without neighborhood scrutiny. This year, Instructables user “gocivici” created a display inspired by the doll in a rocking chair featured in the movie Anabelle, but decided to use an Arduino-infused teddy bear instead. 

The setup is simple but effective, using an Arduino Nano and solenoid to rock the chair. The bear’s head rotates using another Arduino board—an Uno this time—along with a second solenoid and 3D-printed assembly stuffed inside. Control is accomplished via a small wireless remote, though a motion sensor could also be employed.

Arduino PRO Gateway for LoRa now available for pre-order

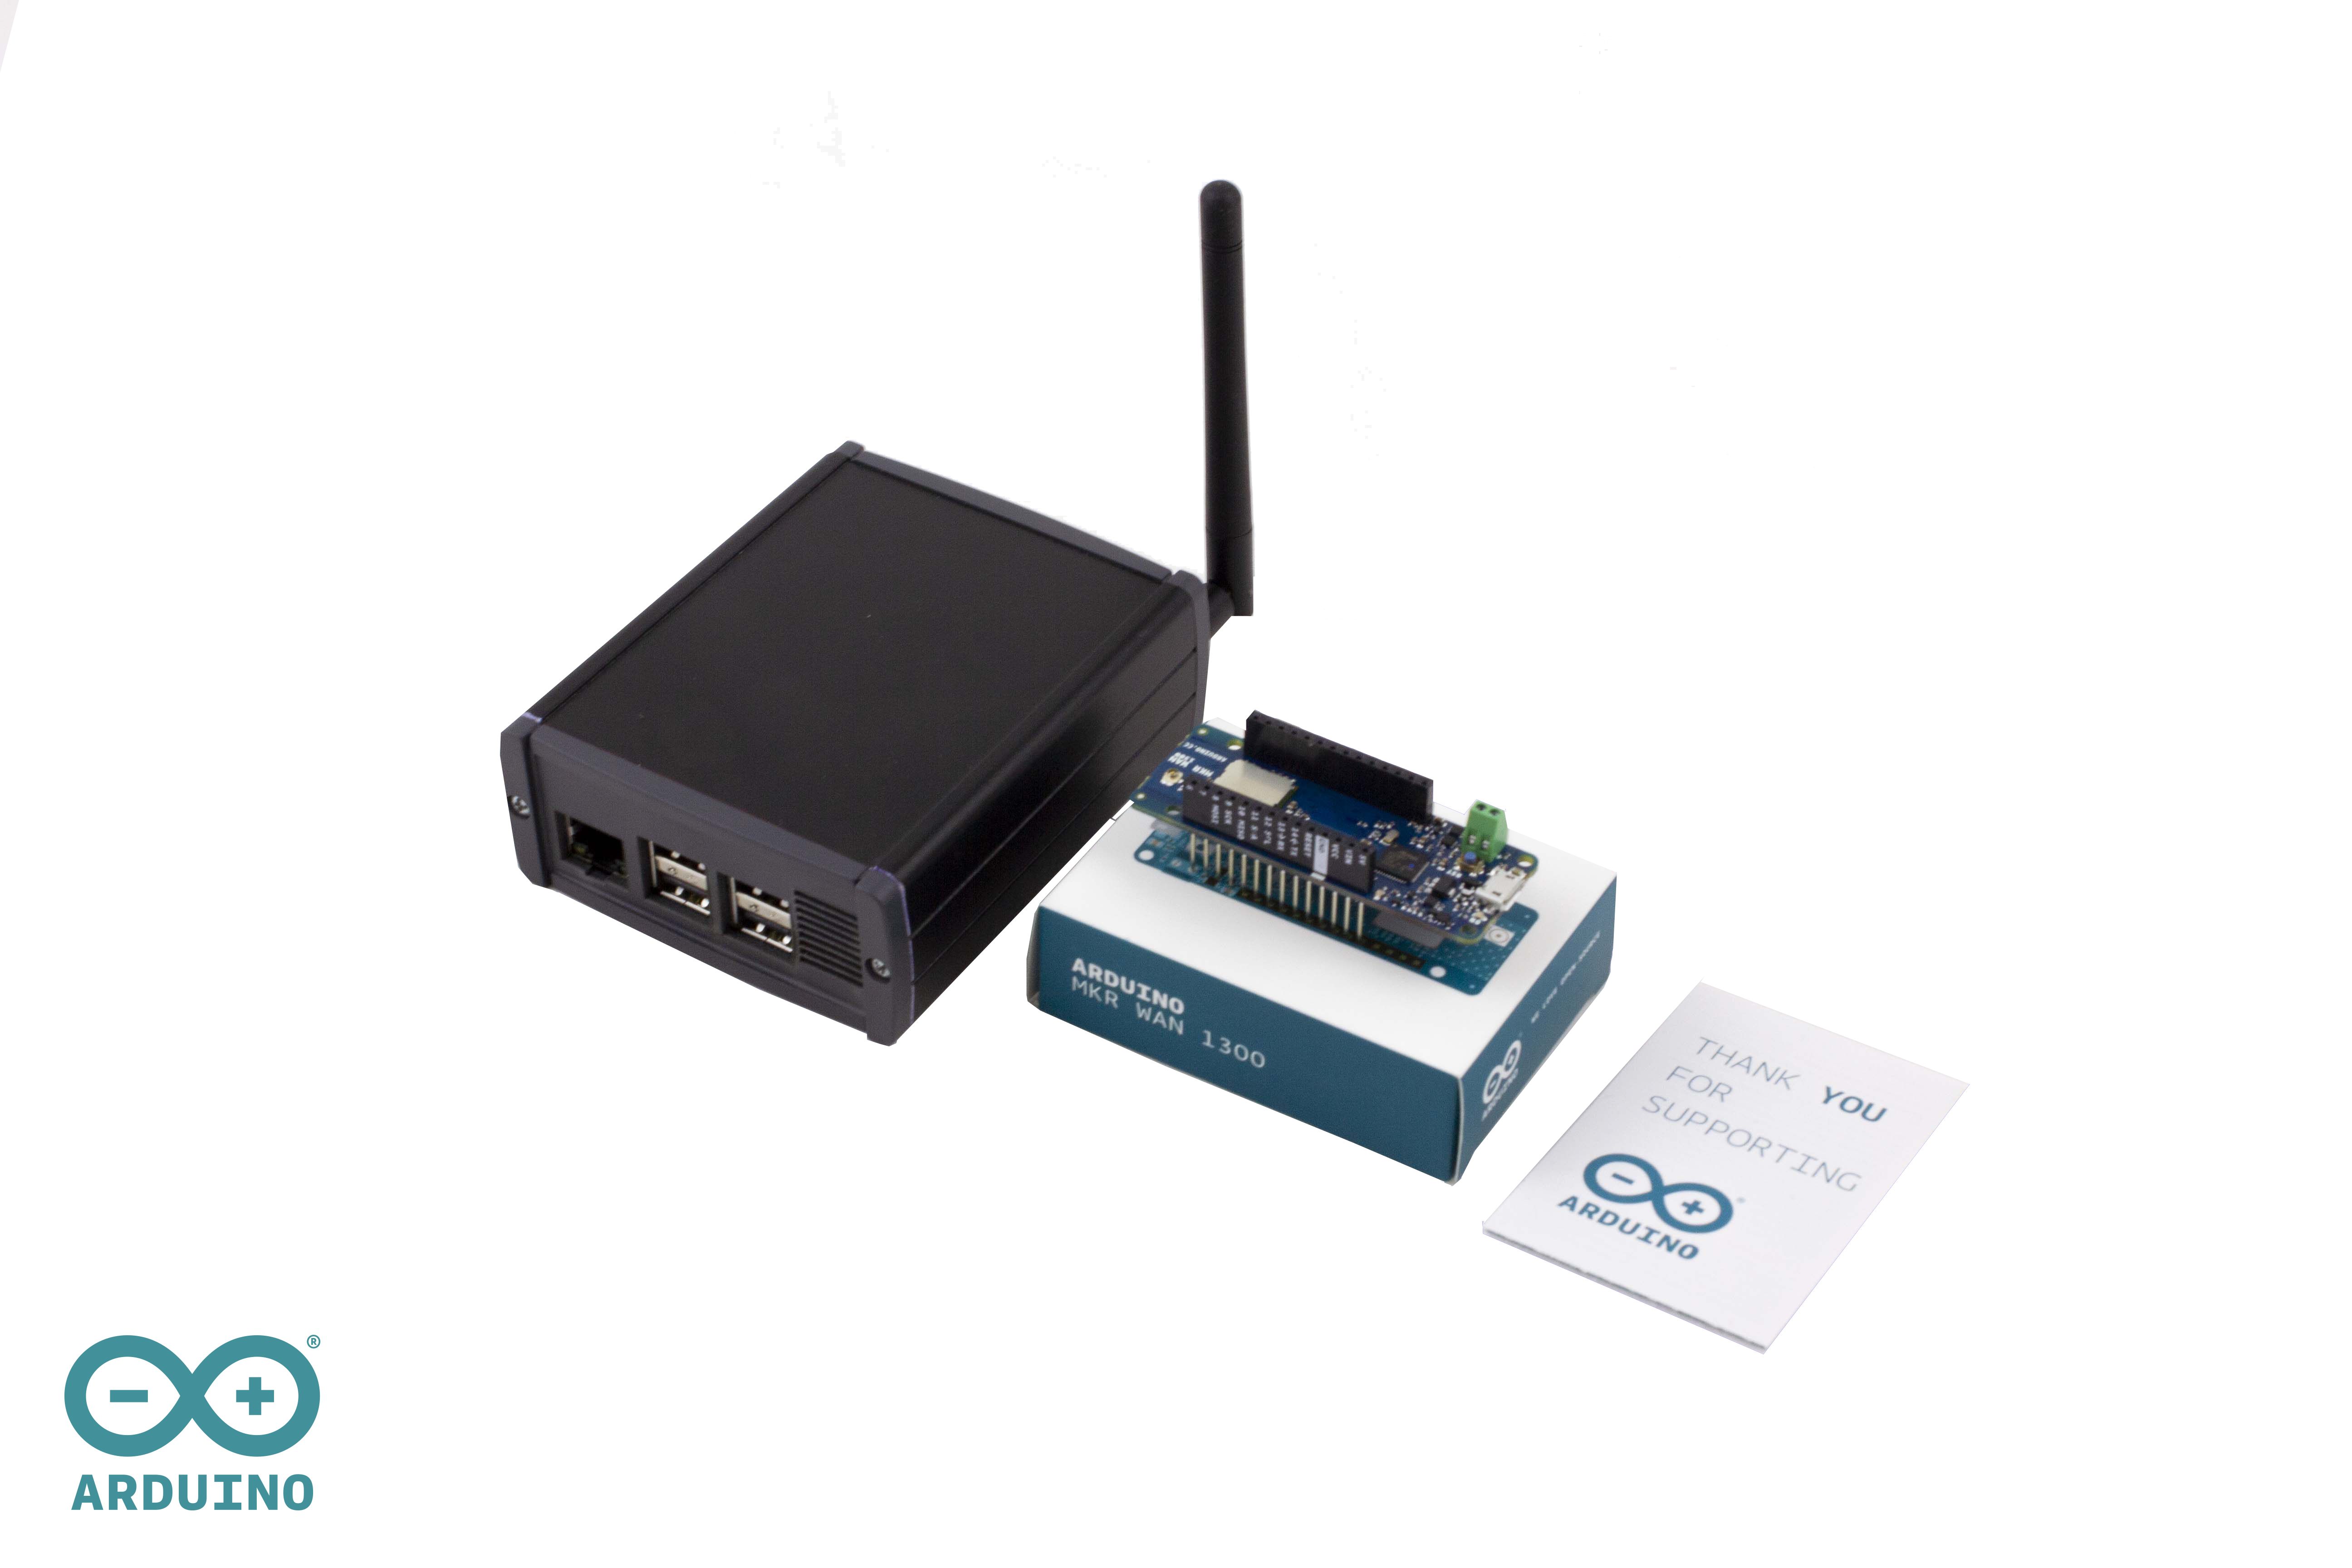
We are very happy to announce the Arduino PRO Gateway for LoRa!

Combined with Arduino MKR WAN 1300 IoT nodes it makes an ideal solution for a wide range of applications, like smart agriculture, smart cities and building automation – and many other remote monitoring applications requiring long range, low power wireless connectivity.

The gateway can be used globally and enables multiple channel management. By supporting advanced features like Listen Before Talk (LBT), it allows users to transmit at higher power on the first free channel, achieving longer ranges than conventional gateways for LoRa. 

Arduino continues its mission of making complex technology easy enough for anyone to use. Customers of the Arduino PRO Gateway will be given exclusive beta access to the Arduino IoT Cloud, which makes installation, provisioning and remote management of the gateway incredibly simple through the popular Arduino Create cloud platform.

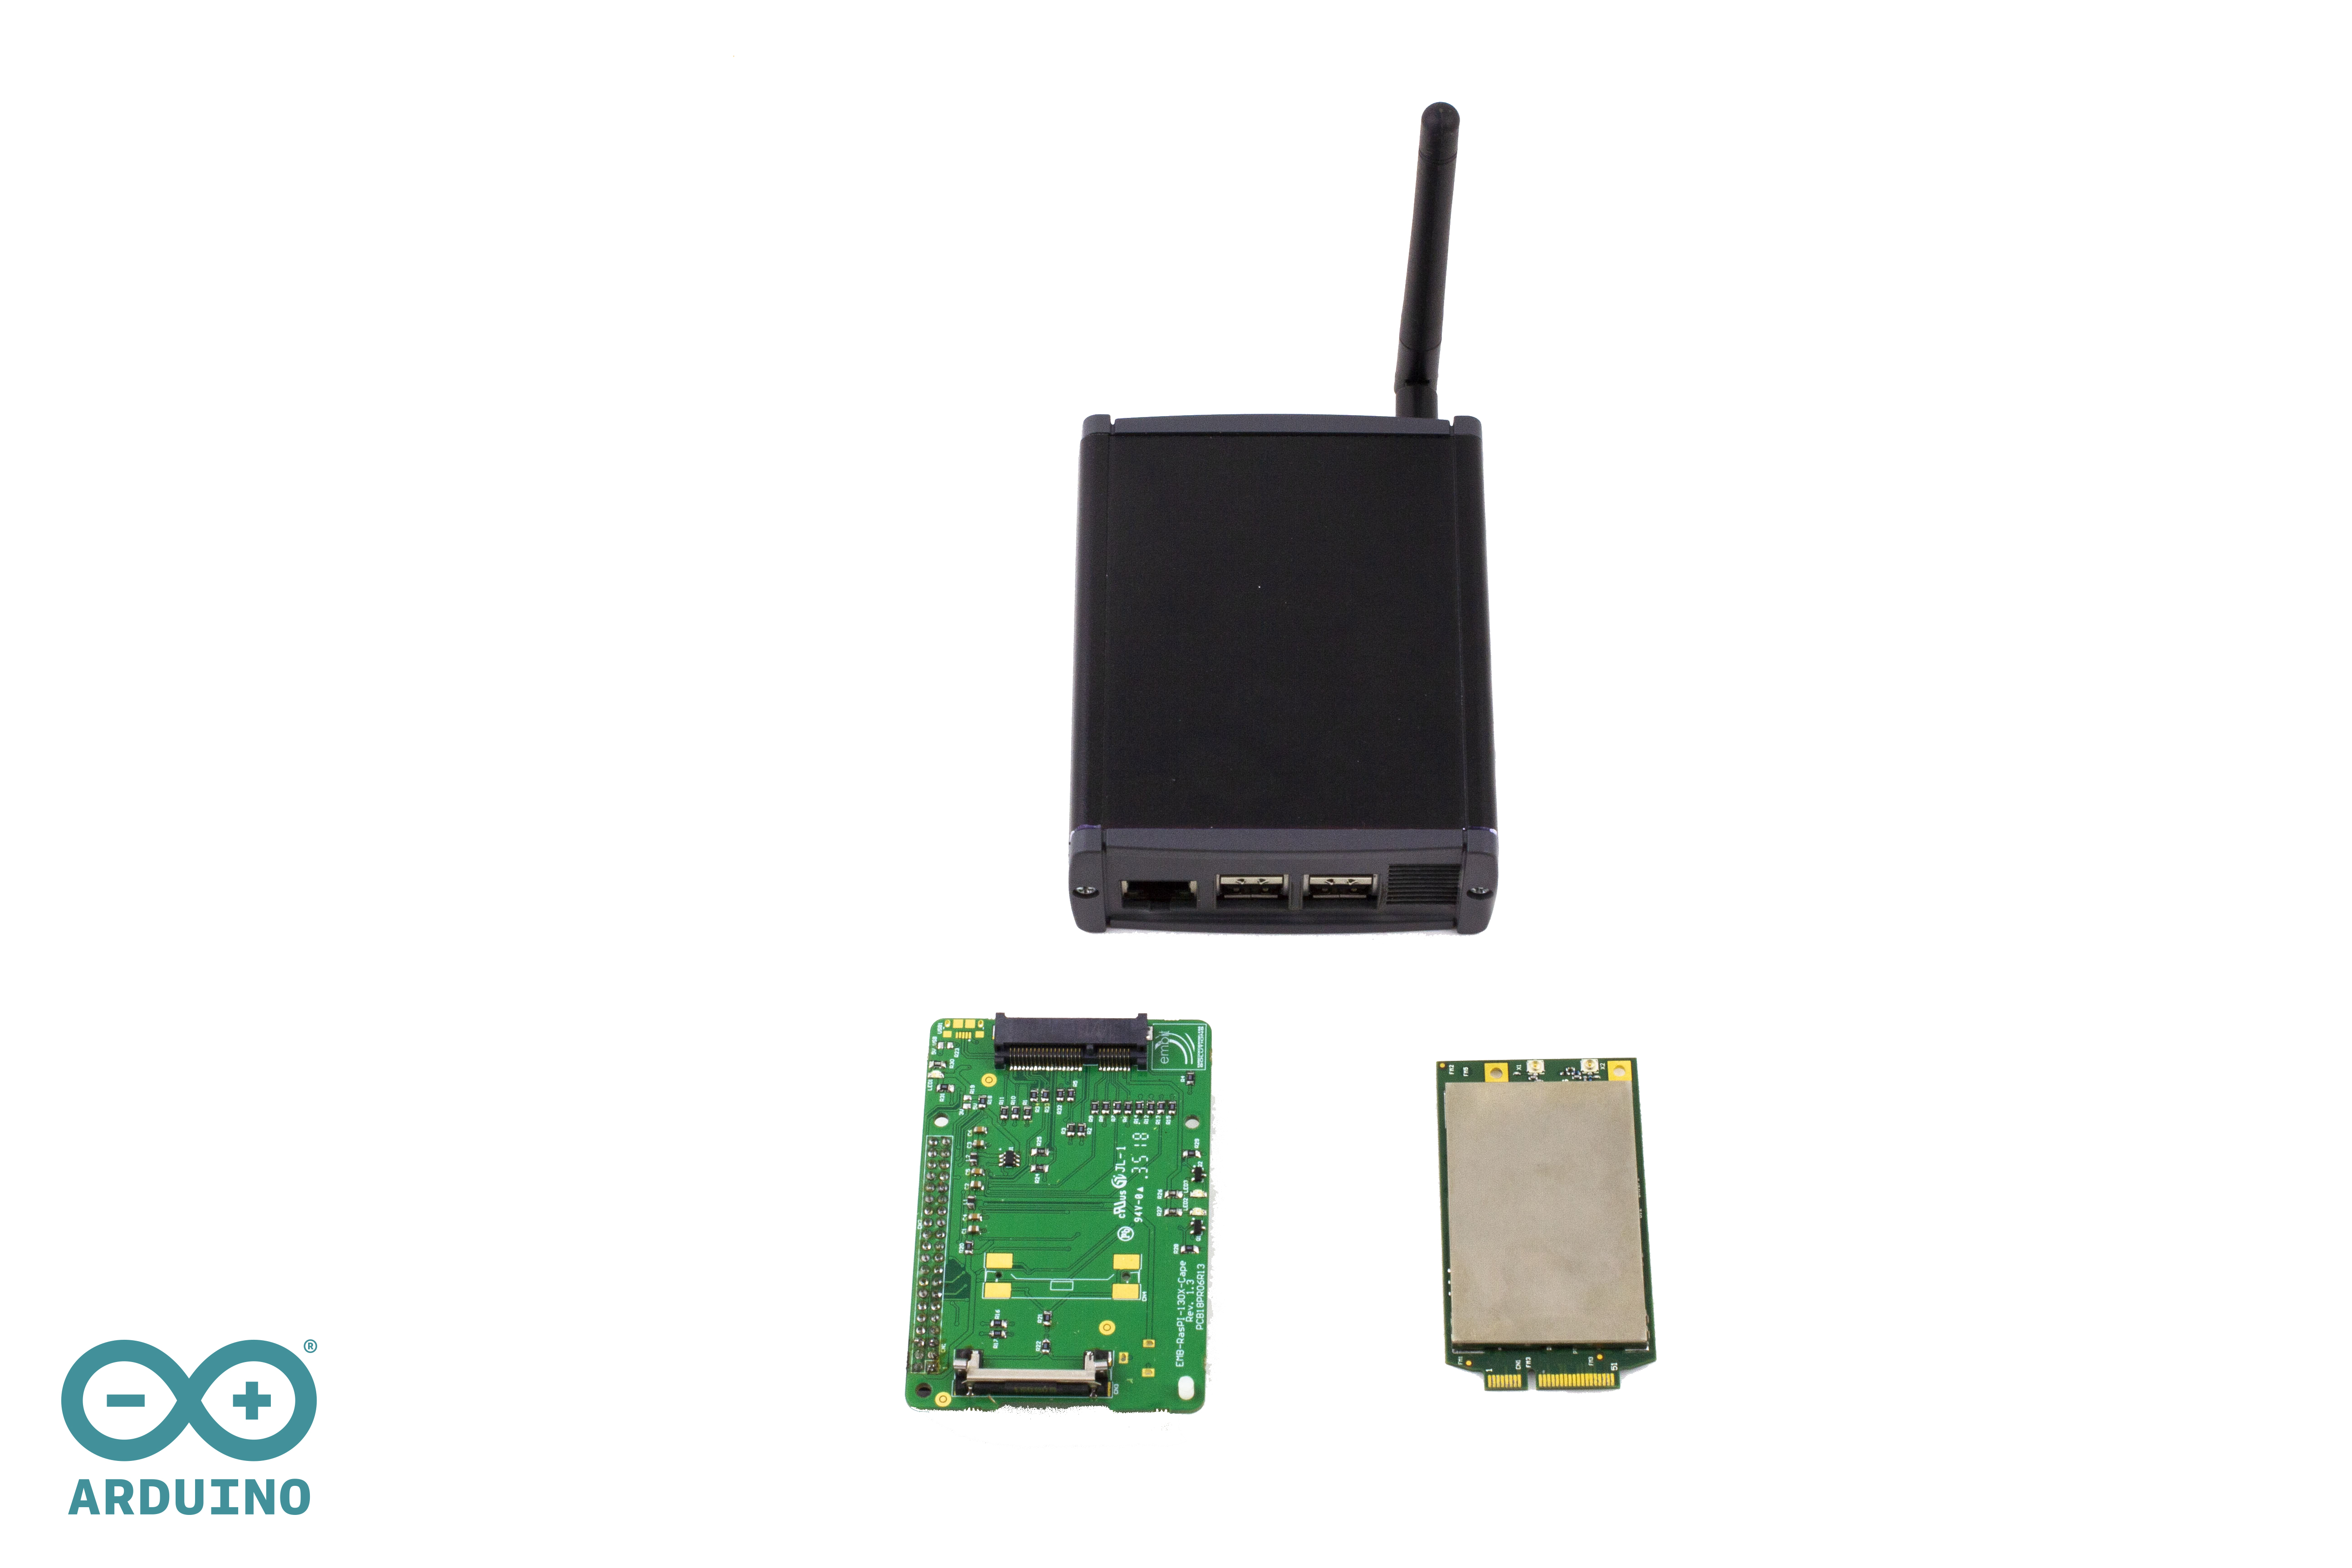
The gateway features the advanced Embit EMB-LR1301-mPCIe module, hosted by a Raspberry Pi 3 B+ SBC, in a rugged aluminum enclosure. The gateway comes pre-installed with an optimized packet forwarder and a carrier grade Network server for LoRa WAN that is running on the Arduino Cloud provided by A2A Smart City (part of the A2A Group).

Technical Specifications

  • Chipset: Semtech SX1301
  • Modulation: LoRa Spread Spectrum, FSK, GFSK 868MHz (EU) / 915MHz (US)
  • Number of Channels: 8 LoRa Channels
  • Operating Frequency: 868MHz (EU) / 915MHz (US)
  • Frequency Range: 860MHz to 1020MHz
  • Operating Temperature: -40°C to +85°C
  • RF Output Power: Up to +27dBm
  • Sensitivity: Up to -137dBm
  • Interfaces for the LoRa Module:  mPCIe (SPI / I2C / UART / GPIOs) :
  • Dimensions: 71x40x1mm
  • Operating Voltage: +5V
  • Additional Features:
    • Listen Before Talk (LBT) Capability (for improved transmission power management),
    • On-board uFL antenna connector
    • FPGA support for LoRa Spectral Scan


The Arduino Pro Gateway for LoRa (868 MHz , EU version) can be pre-ordered from the Arduino Store.

Arduino Blog 14 Nov 10:39