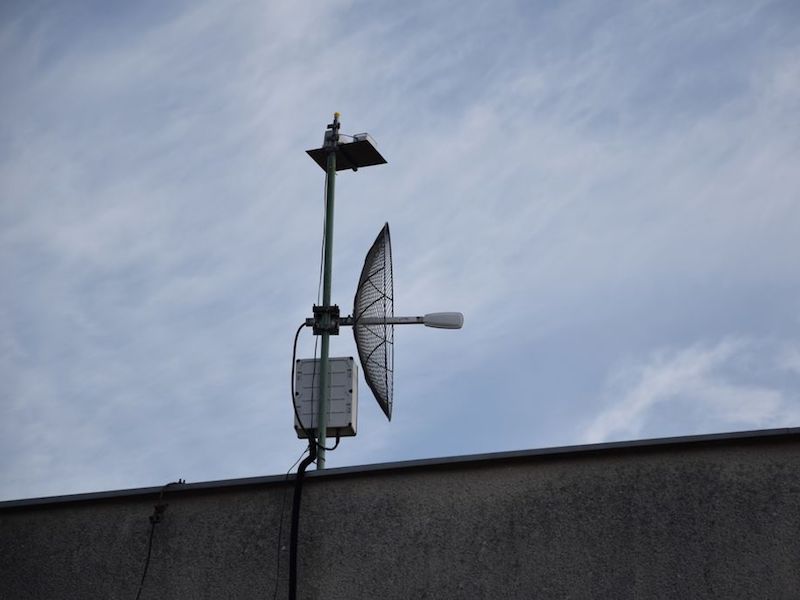
If you need to know the forecast, generally you can look outside, listen to a weather report, or take advantage of the wide range of online services available. For something local to your dwelling place, however, this 3D-printed weather measurement device gives a great way to see what’s going on.
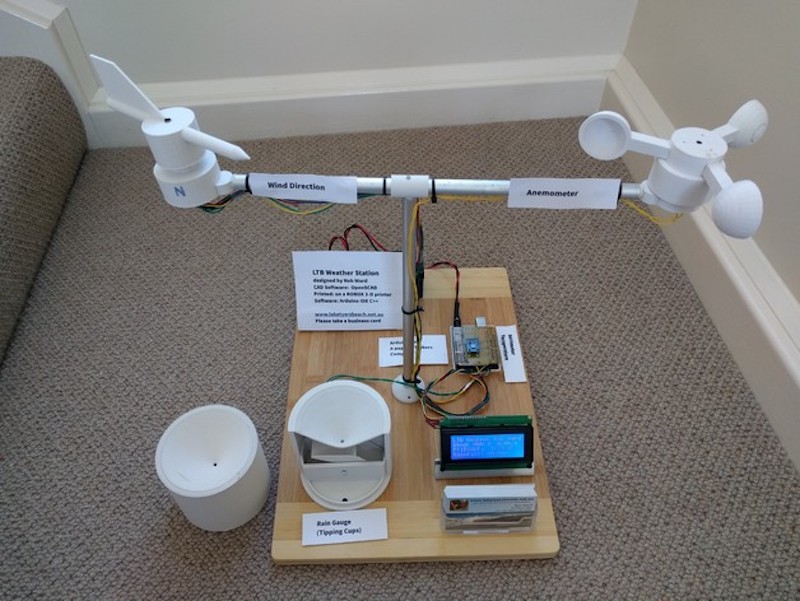
The system features a 3D-printed rain gauge, anemometer, and weather vane, along with a barometer and temperature sensor. Information from these sensors is piped to an Arduino Uno and displayed on a 4×20 character LCD.
While meant as a demonstration for an arts/science exhibition and would need to be calibrated for real world use, it is a perfect starting point if you’d like to build your own personal station!
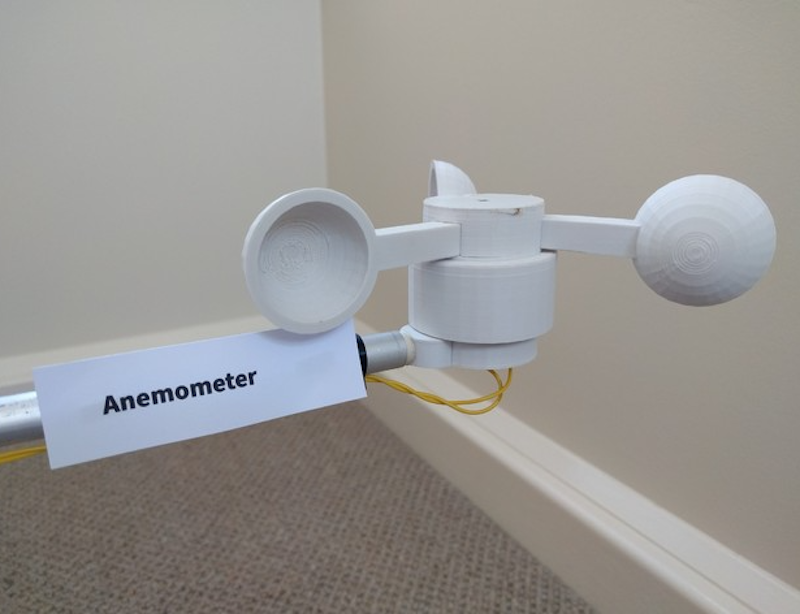
The thrust bearings should be a tight fit and not require glue. The 5mm brass tube for the axles though will benefit from some cyanoacrylate on the ABS to hold them in place. Rough the tube up a bit with sandpaper or a file to help adhesion. The temperature and barometric pressure does not need calibrating. However rainfall (it is fairly close) and wind speed will need calibration. As long as the magnet in the wind direction sensor is close enough to trigger two adjacent reed switches when half way between the two reeds, it will allow 8 reed switches to reliably indicate 16 directions.
The reed switches in the direction indicator are vertical and are not trimmed, just the top end curled over to allow easy soldering to the common earth wire ring. Extra spacing maybe required, eg a small ring of heat shrink tubing to keep the moving parts of the anemometer and wind speed separated and seated on the bearings in the stationary base. This was too fine to print.
All the magnets N-S poles should be aligned along the line of the reed switch. The magnet lines of force between N-S have the best switching effect, not one of the poles, N or S, on its own. This also helps eliminate bounce, or multiple triggering.
More details on the project can be found on Thingiverse.