Search for coins and jewelry with this DIY metal detector
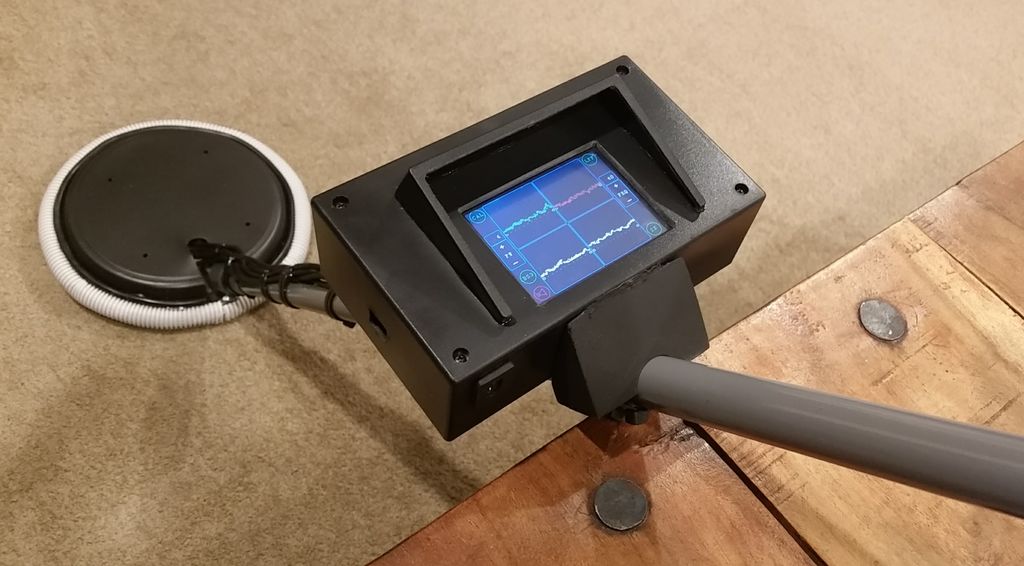
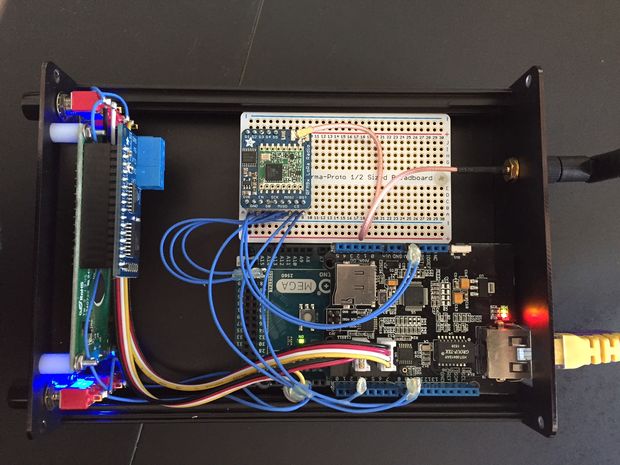
While using a metal detector to find valuable jewelry, and less valuable aluminum cans, can be interesting, the more accurately you can pinpoint the “treasure,” the easier it is. For excellent accuracy while maintaining a wide sensing field, Maker “TechKiwiGadgets” built a detector with not one, but four sets of sensing coils, all controlled using an Arduino Mega.
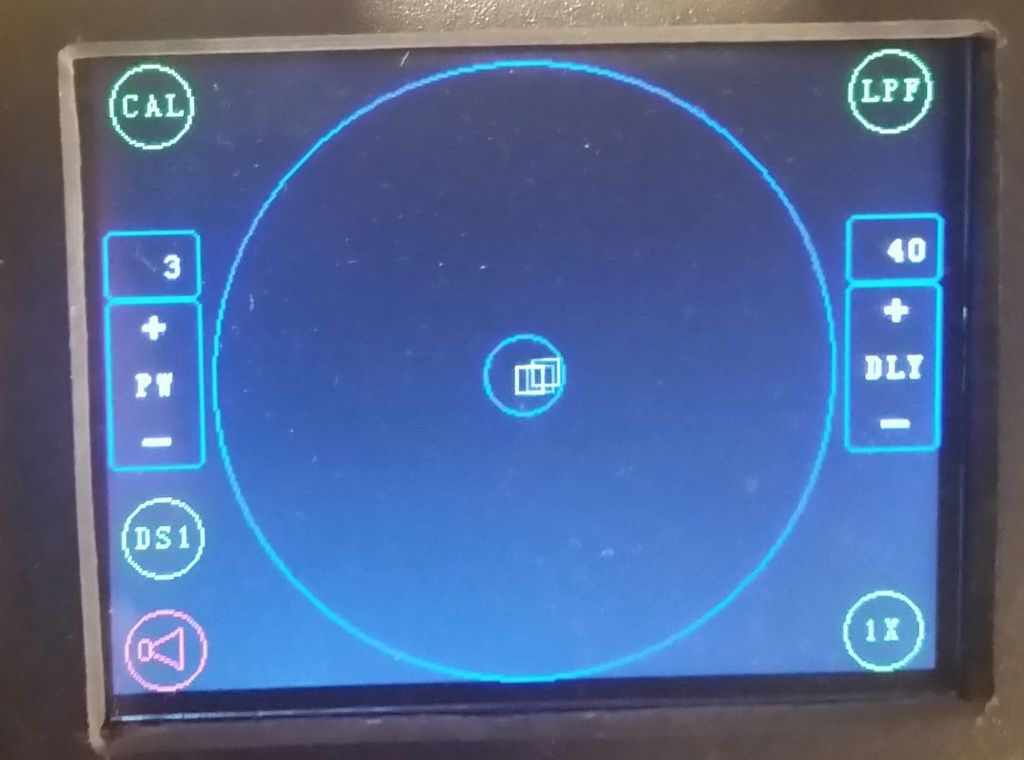
The device generates and senses a magnetic pulse from each set of coils, which is modified if there is a metallic object present. In search mode, the four signals are combined into a single display, and once an object is located, the four sensors can be shown in a split-screen. You can then dig where, and only where, it’s needed, minimizing work and your environmental impact!
Want to create your own? Check out TechKiwiGadgets’ Instructables page for more details and see a demo of it below!