Posts with «arduino hacks» label

Arduino Wannabe Should Have Used a 555. Oh Wait, It Does.

It’s a little known secret that when the Hackaday writers gather in their secret underground bunker to work on our plans for world domination, we often take breaks to play our version of the corporate “Buzzword Bingo”, where paradigms are leveraged and meetings circle back to loop in offline stakeholders, or something like that. Our version, however, is “Comment Line Bingo”, and right in the middle of the card is the seemingly most common comment of all: “You should have used a 555,” or variations thereof.

So it was with vicious glee that we came across the Trollduino V1.0 by the deliciously named [Mild Lee Interested]. It’s the hardware answer to the common complaint, which we’ll grant is often justified. The beautiful part of this is that Trollduino occupies the same footprint as an Arduino Uno and is even pin-compatible with the microcontroller board, or at least sort of. The familiar line of components and connectors sprout from the left edge of the board, and headers for shields line the top and bottom edges too. “Sketches” are implemented in hardware, with jumpers and resistors and capacitors of various values plugged in to achieve all the marvelous configurations the indispensable timer chip can be used for. And extra points for the deliberately provocative use of Comic Sans in the silkscreen.

Hats off to [Lee] for a thoroughly satisfying troll, and a nice look at what the 555 chip can really do. If you want a more serious look at the 555, check out this 555 modeled on a breadboard, or dive into the story of the chip’s development.

Hack a Day 17 Jan 09:00

USB-C Programmable Power Supply For Any Project

USB-C Power Delivery 3.0 (PD3.0) introduces a new Programmable Power Supply (PPS) mode, which allows a device to negotiate any supply of 3.3-21 V in 20 mV steps, and up to 5 A of current in 50 mA steps. To make use of this new standard, [Ryan Ma] create the PD Micro, an Arduino-compatible development board, and a self-contained software library to allow easy integration of PD3.0 and the older PD2.0 into projects.

The dev board is built around an ATMega32U4 microcontroller and FUSB302 USB-C PHY. The four-layer PCB is densely packed on both sides to fit in the Arduino Pro Micro Form factor. The board can deliver up to 100W (20 V at 5 A) from an appropriate power source and shows visual feedback on the PD status through a set of LEDs.

The primary goal of the project is actually in the software. [Ryan] found that existing software libraries for PD take up a lot of memory, and are difficult to integrate into small projects. Working from the PD specifications and PD PHY chip data sheet, he created a lighter weight and self-contained software library which consumes less than 8 K of flash and 1 K of RAM. This is less than half the Flash and RAM available on the ATmega32U4.

[Ryan] is running a Crowd Supply campaign (video after the break) to get some of these powerful boards out in the wild, and has released all the source code and schematics on GitHub. The PCB design files will be released during the last week of the campaign, around 25 January 2021.

USB-C and power delivery are not simple standards, but the ability to add a high-speed data interface and a programmable power supply into almost any project has real potential.

Remote Control Robot Deals Dominoes

Oh, dominoes — the fun of knocking them down is inversely proportional to the pain of setting them all up again. [DIY Machines] is saving loads of time by automating the boring part with a remote control domino-laying machine. If only it could pick them back up.

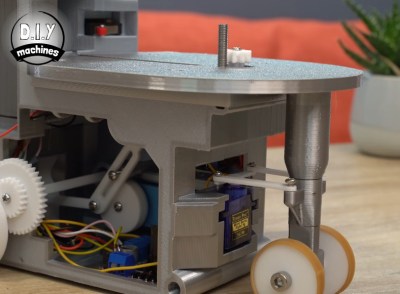
This machine can be driven directly over Bluetooth like an R/C car, or programmed to follow a predetermined path via Arduino code. Here’s how it works: an Arduino Uno drives two servos and one motor. The 1:90 geared motor drives the robot around using a 180° servo to steer. A continuous servo turns the carousel, which holds nearly 140 dominoes. We love that the carousel is designed to be hot-swappable, so you can keep a spare ready to go.

[DIY Machines] really thought of everything. Every dozen or so dominoes, the machine leaves a gap in case one of the dominoes is tipped prematurely. There are also a couple of accessories for it, like a speedy domino loading stick and a fun little staircase bridge to add to your domino creations. Though all the machine files are freely available, [DIY Machines] requests a small donation for the accessories files. Check out the complete build video after the break, followed by a bonus video that focuses on upgrading the machine with an HM10 Bluetooth module for controlling it directly with a phone.

This certainly isn’t the first domino-laying device we’ve seen, though it might be the most accessorized. [Matthias Wandel]’s version uses only one motor to move and deal the dominoes.

Rhythm Game Controller Can’t Be Beat

There’s this whole class of vertically scrolling rhythm games that take both hands and look really fun to play, albeit hard on the joints. You can buy specialized controllers for them, but they’re ridiculously expensive for what they are — just a handful of switches and two knobs. It’s exactly the kind of thing you should build to your taste for far less money.

Inspired by a pocket version of the Voltex controller that is also pretty darned expensive, [OmniSaiRen] set out to make their own on the cheap by building an awesome little macro keyboard that’s smaller and easier to use than the specialized controller. Inside there’s an Arduino Pro Micro taking input from eight Cherry MX switches and two optical encoders. The game treats the encoders as vertical and horizontal mouse movements, so [OmniSaiRen]’s code scans the encoders for their positions.

[OmniSaiRen] wrote their own matrix code and says it’s ugly, but it works well enough to play the game. What more can you ask for? A cool sticker to go on the top? Done. It’s too cold outside to paint, anyway. If it’s a one-handed game pad you need, check out this sweet little thing.

Via r/duino

A Tubular Fairy Tale You Control with Your Phone

At first glance, this might appear to be a Rube Goldberg machine made of toys. The truth isn’t far off — it’s a remote-control animatronic story machine driven by its spectators and their phones. [Niklas Roy] and a team of volunteers built it in just two weeks for Phaenomenale, a festival centered around art and digital culture that takes place every other year.

A view of the tubes without the toys.

A red ball travels through a network of clear acrylic tubes using 3D printed Venturi air movers, gravity, and toys to help it travel. Spectators can change the ball’s path with their phones via a local website with a big picture of the installation. The ball triggers animations along its path using break beam detection and weaves a different story each time depending on the toys it interacts with.

Here’s how it works: a Raspberry Pi 4 is responsible for releasing the ball at the beginning of the track and for controlling the track switches. The Pi also hosts a server for smartphones and the 25 Arduino Nanos that control the LEDs and servos of the animatronics. As a bonus animatronic, there’s a giant whiteboard that rotates and switches between displaying the kids’ drawings and the team’s plans and schematics. Take a brief but up-close tour after the break.

This awesome art project was a huge collaborative effort that involved the people of Wolfsburg, Germany — families in the community donated their used and abandoned toys, groups of elementary school kids were brought in to create stories for the toys, and several high school kids and other collaborators realized these drawings with animatronics.

Toys can teach valuable lessons, too. Take this body-positive sushi-snarfing Barbie for example, or this dollhouse of horrors designed to burn fire safety into children’s brains.

An Arduino And A CD-ROM Drive Makes A CD Player

In an age of streaming media it’s easy to forget the audio CD, but they still remain as a physical format from the days when the “Play” button was not yet the “Pay” button. A CD player may no longer be the prized possession it once was, but it’s still possible to dabble in the world of 120 mm polycarbonate discs if you have a fancy for it. It’s something [Daniel1111] has done with his Arduino CD player, which uses the little microcontroller board to control a CD-ROM drive via its IDE bus.

The project draws heavily from the work of previous experimenters, notably ATAPIDUINO, but it extends them by taking its audio from the drive’s S/PDIF output. A port expander drives the IDE interface, while a Cirrus Logic WM8805 S/PDIF transceiver handles the digital audio and converts it to an I2S stream. That in turn is fed to a Texas Instruments PCM5102 DAC, which provides a line-level audio output. All the code and schematic can be found in a GitHub repository.

To anyone who worked in the CD-ROM business back in the 1990s this project presses quite a few buttons, though perhaps not enough to dig out all those CDs again. It would be interesting to see whether the I2S stream could be lifted from inside the drive directly, or even if the audio data could be received via the IDE bus. If you’d like to know a bit more about I2S , we have an article for you.

Hack a Day 03 Jan 12:00

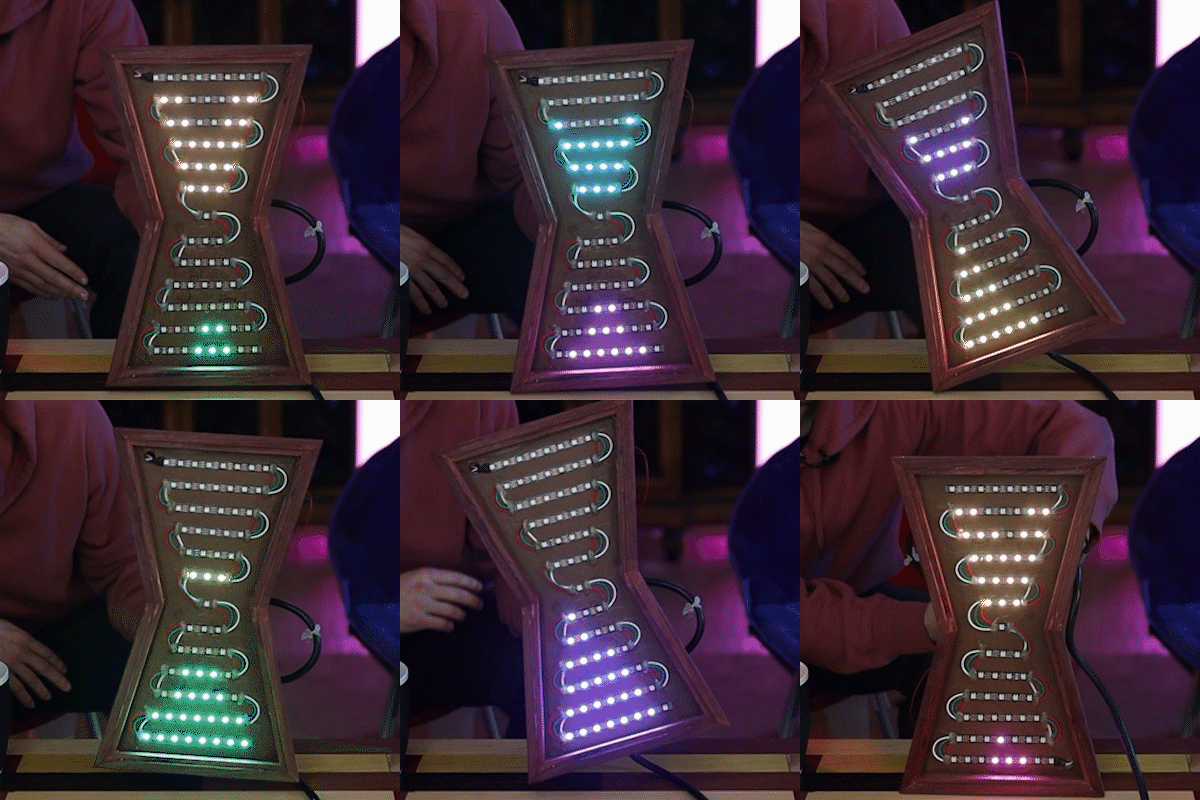
Ambience Lamp Ripples Like Water

After the year humanity has endured, we could all use a little more relaxation in our lives. This atmosphere lamp is just the thing to set a relaxing ambience for work, studying, or hanging out. Just touch the surface and the light ripples to life, resembling the concentric circles that form on the surface of still water when it is touched. When the light settles, it looks like an inviting pool that’s ready for a nighttime swim.

There aren’t really any surprises inside — the lamp is operated via capsense by touching the center of the top. Three NeoPixel rings and an RGB LED strip provide the lighting, and an Arduino UNO runs the show. [Qttting_F] used an inexpensive ceramic bowl with a piece of acrylic for a lid, but this could just as easily be printed in white PLA or something. Check it out in action after the break.

Ambience is nice, but sometimes you need something more functional. Those types of lamps can be printed, too.

Co41D 2020 MIDI Theremin Sounds Pretty Sick

As the pandemic rages on, so does the desire to spend the idle hours tinkering. [knaylor1] spent the second UK lockdown making a sweet Theremin-inspired noise machine with a low parts count that looks like a ton of fun.

It works like this: either shine some light on the photocells, cover them up, or find some middle ground between the two. No matter what you do, you’re going to get cool sounds out of this thing.

The photocells behave like potentiometers that are set up in a voltage divider. An Arduino UNO takes readings in from the photocells, does some MIDI math, and sends the serial data to a program called Hairless MIDI, which in turn sends it to Ableton live.

[knaylor1] is using a plugin called TAL Noisemaker on top of that to produce the dulcet acid house tones that you can hear in the video after the break.

If you’ve never played with light-dependent resistors before, do yourself a favor and spend a little bit of that Christmas cash on a variety pack of these things. You don’t even need an Arduino to make noise, you can use them as the pots in an Atari Punk console or make farty square waves with a hex inverting oscillator chip like the CD40106. Our own [Elliot Williams] once devoted an entire column to making chiptunes.

A Tiny LED Matrix is Better With Friends

When we last heard from [lixielabs] he was building Nixie tube replacements out of etched acrylic and LEDs. Well he’s moved forward a few decades to bring us the Pixie, a chainable, addressable backpack for tiny LED matrix displays.

Each Pixie module is designed to host two gorgeous little Lite-On LTP-305G/HR 5×7 LED dot matrix displays, which we suspect have been impulse purchases in many a shopping cart. Along with the displays there is a small matrix controller and an ATTINY45 to expose a friendly electrical interface. Each module is designed to be mounted edge to edge and daisy chained out to 12 or more (with two displays each) for a flexible display any size you need. But to address the entire array only two control pins are required (data and clock).

[lixielabs] has done the legwork to make using those pins as easy as possible. He is careful to point out the importance of a good SDK and provides handy Arduino libraries for common microcontrollers and a reference implementation for the Raspberry Pi that should be easy to crib from to support new platforms. To go with that library support is superb documentation in the form of a datasheet (complete with dimensions and schematic!) and well stocked GitHub repo with examples and more.

To get a sense of their graphical capabilities, check out a video of 6 Pixie’s acting as a VU meter after the break. The Pixie looks like what you get when a hacker gets frustrated at reinventing LED dot matrix control for every project and decided to solve it once and for all. The design is clean, well documented, and extremely functional. We’re excited to see what comes next!

ESP32 with an I2S mic running FFT with 1024 cells, with each octave overlaid to make a 12-note chromagram, being rendered live by Pixies!https://t.co/0nWQfX0W6W pic.twitter.com/UZgh5ymWAw

— Lixie Labs (@lixielabs) September 22, 2020

Automatic Sanitizer for Your Cupholder

Why is it so hard to remember to use hand sanitizer between going into the store and driving back home? We tried hanging a bottle off the windshield wiper stalk, but it gets in the way and is hard to use and share with passengers. The ideal thing would be to have a hands-free pump in the car that reminds you to use it.

You don’t have to wire this to the ignition or anything — all you have to do is power it with the cigarette lighter (or straight-up outlet, if you’re lucky). Every time you turn the key, this pump powers up and performs a little song to remind you to use it. Electronically speaking, it couldn’t be simpler — an Arduino UNO reads your hand from the distance sensor and activates a servo that dispenses three short pumps of isopropyl alcohol. Check it out in action after the break.

Want a hands-free solution for the house? Just build something you can step on.