Posts with «neopixel ring» label

Ambience Lamp Ripples Like Water

After the year humanity has endured, we could all use a little more relaxation in our lives. This atmosphere lamp is just the thing to set a relaxing ambience for work, studying, or hanging out. Just touch the surface and the light ripples to life, resembling the concentric circles that form on the surface of still water when it is touched. When the light settles, it looks like an inviting pool that’s ready for a nighttime swim.

There aren’t really any surprises inside — the lamp is operated via capsense by touching the center of the top. Three NeoPixel rings and an RGB LED strip provide the lighting, and an Arduino UNO runs the show. [Qttting_F] used an inexpensive ceramic bowl with a piece of acrylic for a lid, but this could just as easily be printed in white PLA or something. Check it out in action after the break.

Ambience is nice, but sometimes you need something more functional. Those types of lamps can be printed, too.

Dad Scores Big with DIY Indoor Hockey Game

We suppose it’s a bit early to call it just yet, but we definitely have a solid contender for Father of the Year. [DIY_Maxwell] made a light-up hockey game for his young son that looks like fun for all ages. Whenever the puck is hit with the accompanying DIY hockey stick (or anything else), it lights up and produces different sounds based on its acceleration.

Inside the printed puck is an Arduino Nano running an MPU6050 accelerometer, a 12-NeoPixel ring, and a piezo buzzer. [DIY_Maxell] reused a power bank charging circuit to charge up the small LiPo battery.

The original circuit used a pair of coin cells, but the Arduino was randomly freezing up, probably because of the LEDs’ current draw. Be sure to check out the video after the break, which begins with a little stop motion and features a solder stand in the shape of a 3D printer.

Got a house full of carpet or breakables? You could always build an air hockey table instead.

Open Laser Blaster Shells Out More Bang for the Buck

[a-RN-au-D] was looking for something fun to do with his son and dreamed up a laser blaster game that ought to put him in the running for father of the year. It was originally just going to be made of cardboard, but you know how these things go. We’re happy the design went this far, because that blaster looks fantastic.

Both the blaster and the target run on Arduino Nanos. There’s a 5mW laser module in the blaster, and a speaker for playing the pew pew-related sounds of your choice. Fire away on the blaster button, and the laser hits a light-dependent resistor mounted in the middle of the target. When the target registers a hit, it swings backward on a 9g servo and then returns quickly to vertical for the next shot.

There are some less obvious features that really make this game a hit. The blaster can run in 10-shooter mode (or 6, or whatever you change it to in the code) with a built-in reload delay, or it can be set to fully automatic. If you’re short on space or just get sick of moving the target to different flat surfaces, it can be mounted on the wall instead — the target moves forward when hit and then resets back to flat. Check out the demo video we loaded up after the break.

No printer? No problem — here’s a Node-RED shooting gallery that uses simple wooden targets.

Mood Lighting with LEDs and an Arduino

Regular candles can be awfully boring at times. They can only produce one color and the flicker is so… predictable. They can’t even be controlled by an infrared remote control, not to mention the obvious fire hazard. Now, however, [Jose] has come up with an LED candle that solves all of these problems. (Original link to the project in Spanish.)

The heart of the project is an Arduino Pro Mini, which is especially suited for this project because of its size. [Jose] put the small form-factor microcontroller in the base of a homemade wax enclosure and wired it to a Neopixel WS2812b LED strip. The strip can produce any color, and has some programmed patterns including flicker, fade, rainbow, and fire.

The artificial candle is controlled with an infrared remote control, and all of the code for the project is available on the project site if you want to build your own. [Jose] has been featured here before for his innovative Arduino-driven RGB lighting projects, and this is another great project which builds on that theme!


Filed under: Arduino Hacks

Arduino-based LED Wedding Lights

[Rob] created these amazing Bluetooth controlled LED lights for his daughter’s wedding adding a colorful ambient glow to the ceremony. Each item held a Neopixel ring and an Arduino microprocessor with a wireless module that could be individually addressed over a ‘mini-network.’ The main master station would receive commands from a Windows Phone. Usually we see Arduino-based projects being run with Android apps, so it’s nice to see that Microsoft is still present in the maker community.

The enclosures and translucent vases that sit atop the devices were 3D printed. All eight of the matrimonial units synchronized with each other, and the colors could be changed by sliding the settings bar on the app.  [Rob] says that it was a lot of fun to build, and jokingly stated that it kept him “out of all the less important aspects of the ceremony. (food choice, decor, venue, who to marry etc etc).” The outcome was a beautiful arrangement of tabletop lighting for the wedding. A demo of [Rob]‘s setup can be seen in the video below.


Filed under: led hacks

The RC White House Robot

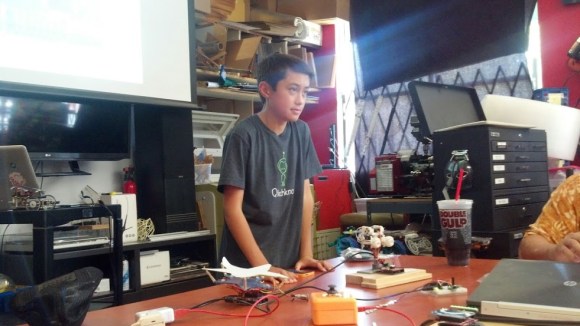
This remote controlled, Arduino-based robot was created by a young student named [Quin] who likes to teach electronics classes at hackerspaces. It is an adaptation of this awesome, fast, fully autonomous mini Roomba that has since driven its way into the Presidential building during the 1st ever White House Maker Faire.

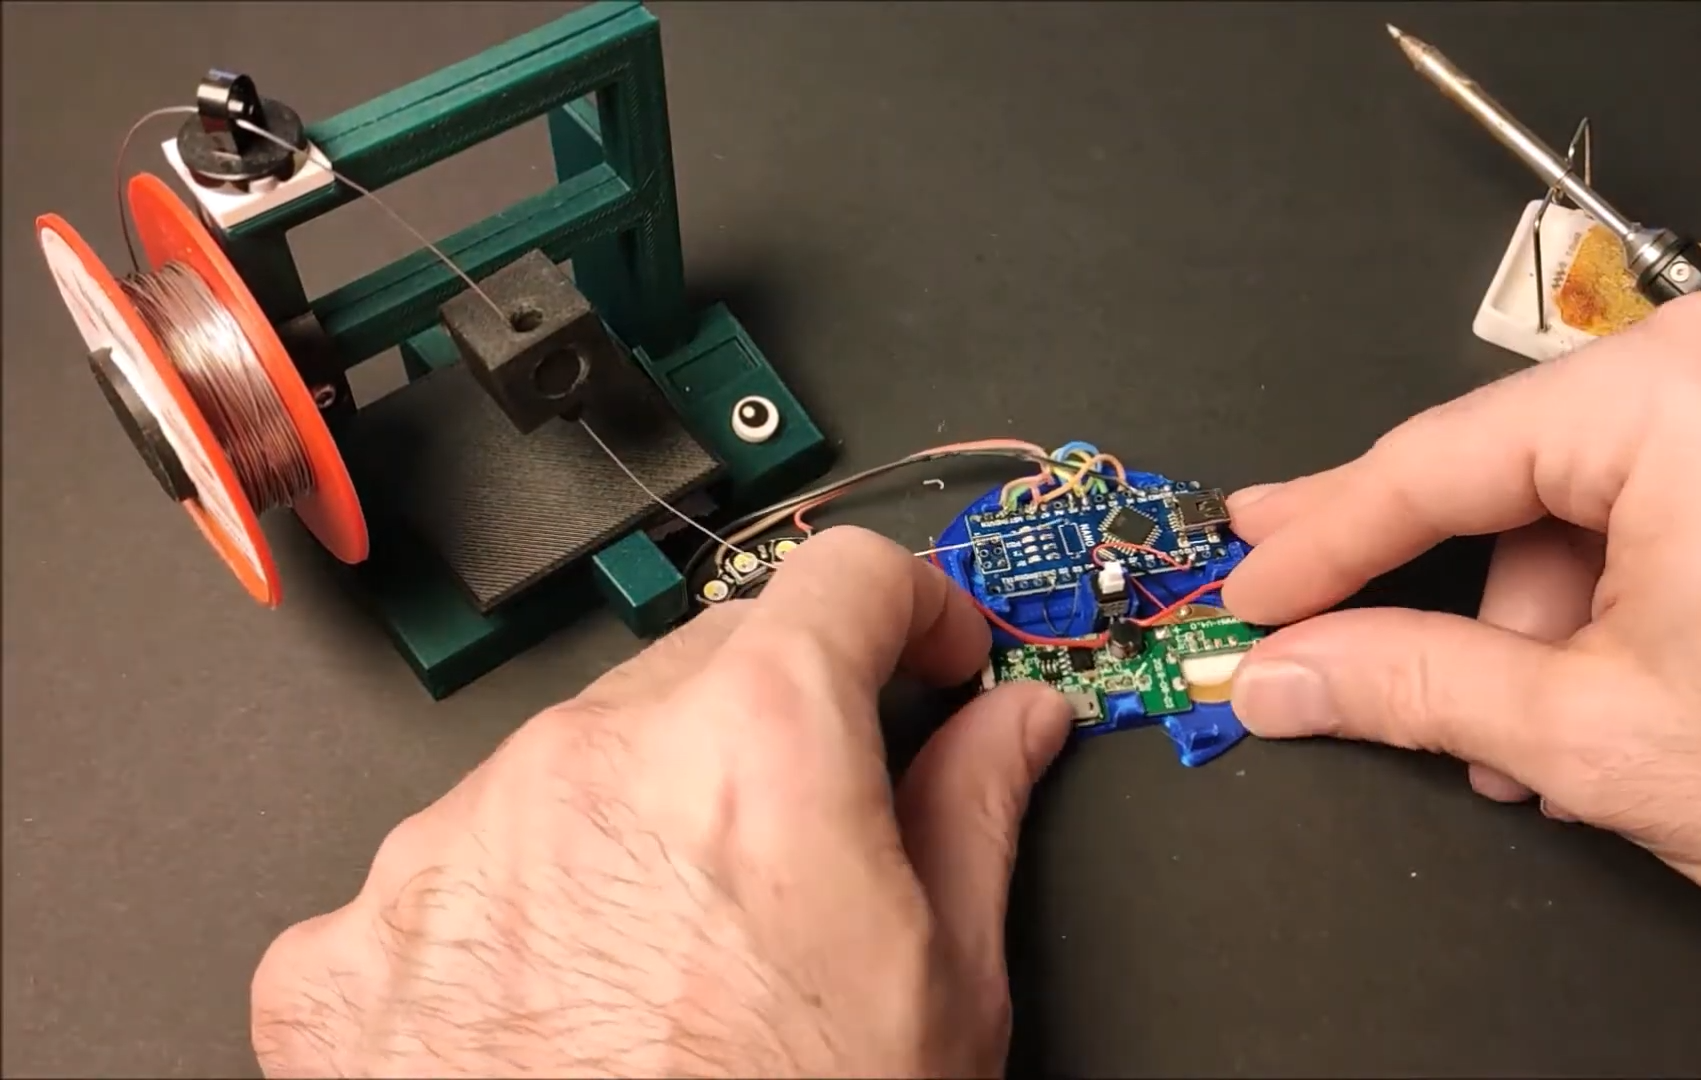
The quick, little device uses a robot chassis kit with an XBee wireless module so that the controller and the robot can be connected together. An NFC Shield was hacked and split in half so that the wires could be soldered in place.

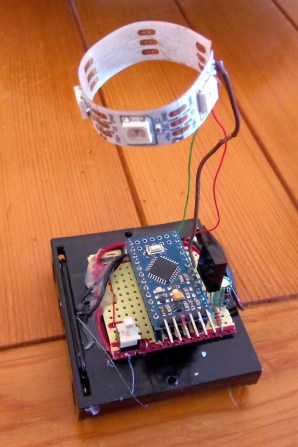
[Quin]‘s goal was to develop a fun game that records the number of times the robot drives over NFC tags laid across a flat surface. Points are shown in the form of blinking lights that illuminate when the device goes over the sensors, keeping track of the score.

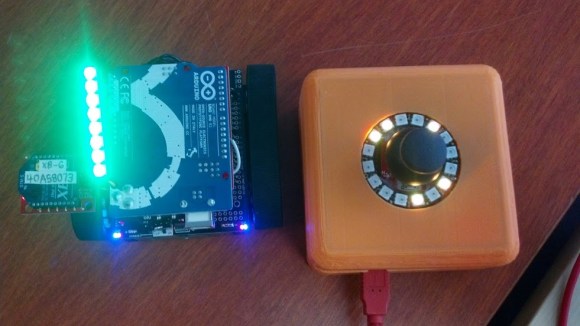
The controller container was made with an open source 3D printer called a Bukobot. The enclosure holds an Arduino and another XBee shield along with a joystick and a neopixel ring, giving it a nice polished look complete with a circle of beautiful, flashing LED’s.

We saw the robot in action during an Arduino workshop at a local 3D printing store/makerspace in Pasadena called Deezmaker. [Quin] told us that will.i.am, the musician, tried it out during the Maker Faire in Washington DC. He also said that he met Bill Nye the Science Guy there as well.

This simple project, and more inventions of his, has opened up many doors in the maker community. And yet [Quin] seems unphased by all the attention, staying very focused on teaching his skills to anyone who is eager to learn.

Documentation of the project is on his website (Qtechknow) along with this color-changing Christmas star; which is perfect for sprucing up a holiday Christmas tree. Another project is this methane sensing fart cap. All 3 can be seen in the photo below.

A video with the robot being demoed comes next. In it, [Quin] talks about what it was like to be invited into the White House.

Also, check out this spectacular video about the Maker Movement with [Quin] in it.

In addition, here is a Popular Science article and this feature in Make Magazine about him.


Filed under: robots hacks