Harp Uses Frikin’ Lasers
We aren’t sure if you really need lasers to build [HoPE’s] laser harp. It is little more than some photocells and has an Arduino generate tones based on the signals. Still, you need to excite the photocells somehow, and lasers are cheap enough these days.
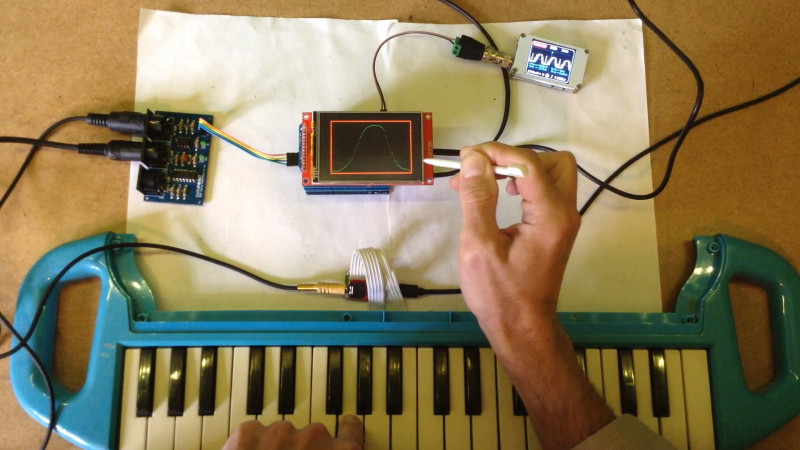
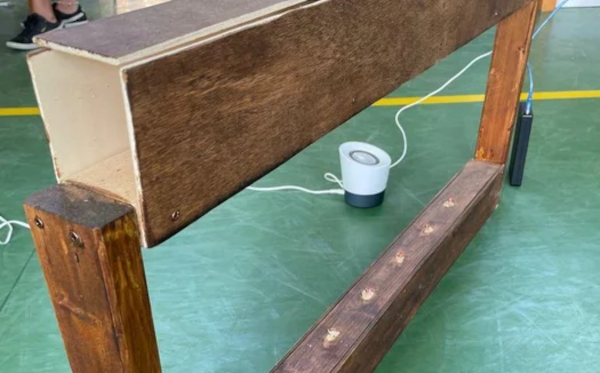
Mechanically, the device is a pretty large wooden structure. There are six lasers aligned to six light sensors. Each sensor is read by an analog input pin on an Arduino armed with a music-generation shield. We’ve seen plenty of these in the past, but the simplicity of this one is engaging.
We’ve used the copper tape writing trick ourselves and it is quite effective. The tape is often used for stained glass work and sticks to many surfaces. You can solder to it and solder overlaps where you need connections. The results are often as good as a simple single-sided PCB.
The code attached to the post is fairly straightforward and the MIDI shield does the bulk of the work. It should also make it easy to create some really impressive musical effects with a bit of extra coding.
If you want an artsy self-contained version, check out this previous Hackaday Prize entry. We’ve seen several of these at different levels of complexity.