Posts with «uno» label

Rapidly create your own capacitive multi-touch sensors with this kit

You likely use touchscreens every day when interacting with your phone — perhaps even to read this article — but prototyping your own capacitive matrix is unfortunately out of reach for most makers and electronics novices. As seen here, researchers have devised a new technique that will allow for easier prototyping of this type of interface, which can function on both flat and curved surfaces, over a variety of materials.

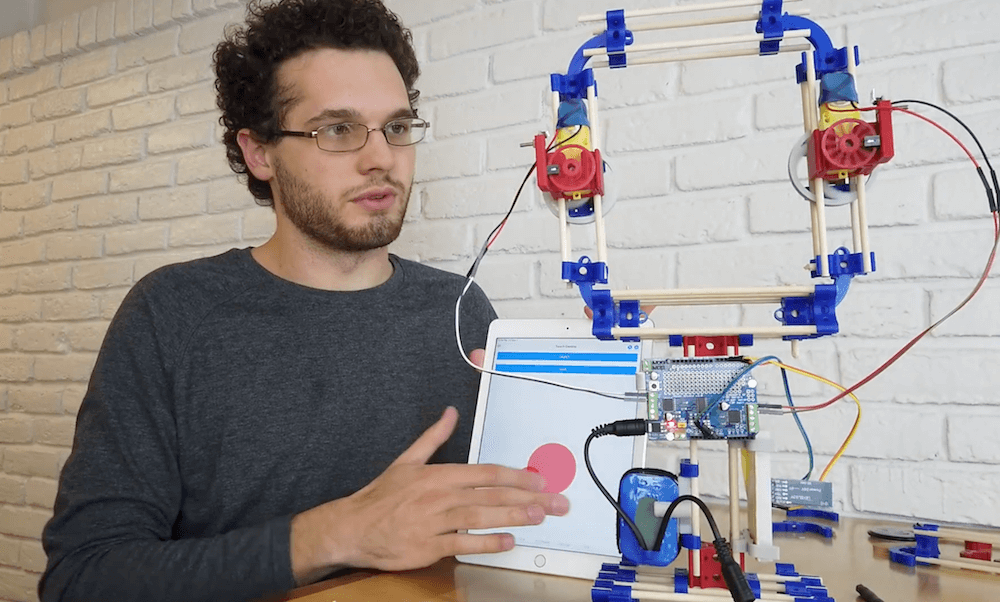
To accomplish this, the team developed an Arduino library, as well as one for Processing, and used OpenCV to track multiple finger positions. Interactions have been tested with an Uno, Mega and LilyPad, and would presumably work with almost any other Arduino board as needed!

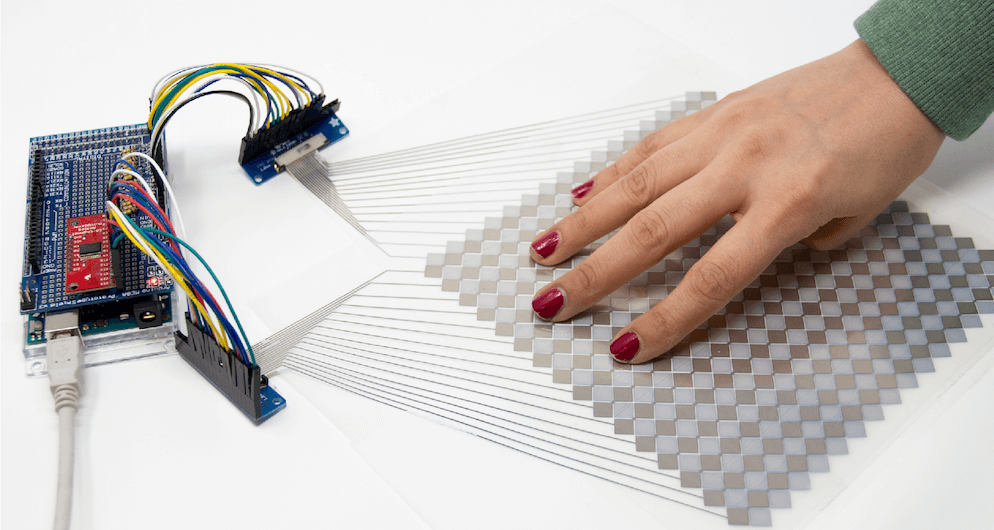
We introduce Multi-Touch Kit, a low-cost do­ it-yourself technique to enable interaction designers, makers, and electronics novices alike to rapidly create and experiment with high-resolution multi-touch sensors of custom sizes, ge­ometries, and materials. 

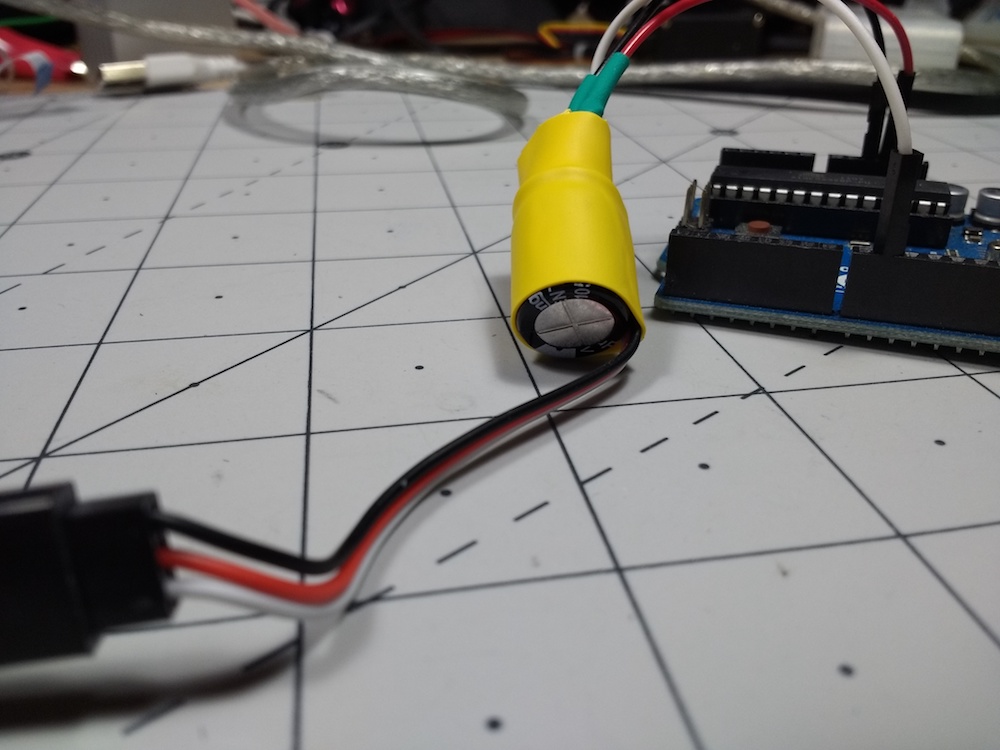
In contrast to existing solutions, the Multi-Touch Kit is the first technique that works with a commodity microcontroller (our implementation uses a standard Arduino) and does not require any specialized hardware. As a technical enabler, we contribute a modified multi-touch sensing scheme that lever­ ages the human body as a transmission channel of MHz range signals through a capacitive near-field coupling mechanism. This leads to a clean signal that can be readily processed with the Arduino’s built-in analog-to-digital converter, resulting in a sensing accuracy comparable to industrial multi-touch con­ trollers. Only a standard multiplexer and resistors are required alongside the Arduino to drive and read out a touch sensor matrix. 

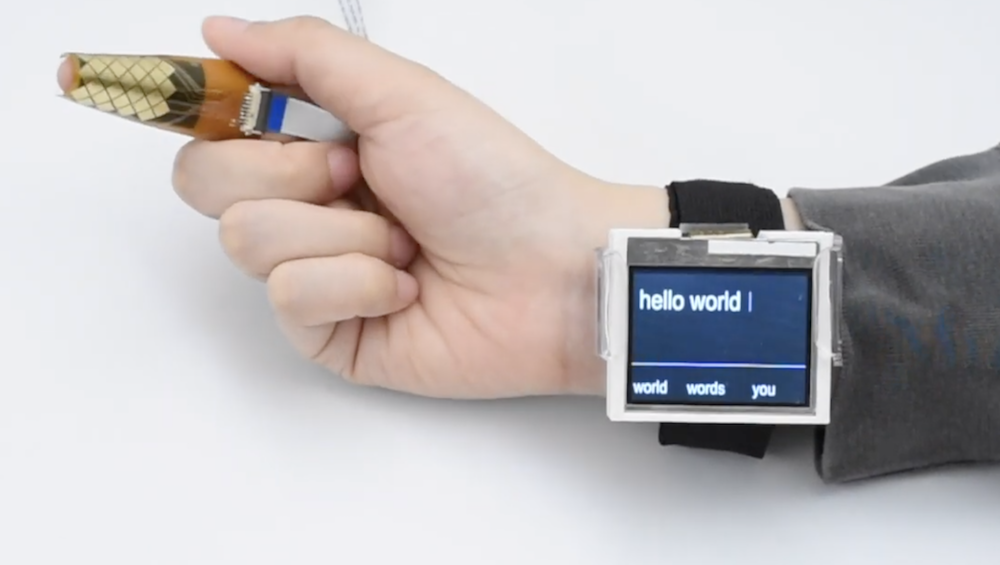
The technique is versatile and compatible with many types of multi-touch sensor matrices, including flexible sensor films on paper or PET, sensors on textiles, and sensors on 3D printed objects. Furthermore, the technique is compatible with sensors of various scale, curvature, and electrode materials (silver, copper, conductive yarn) fabricated using conductive printing, hand-drawing with a conductive pen, cutting, or stitching. 

An IMU ring for low-latency mixed reality input

Because of their ability to visually sense the environment, head-mounted mixed reality (MR) systems can detect when a user touches a wall or other surface. These surfaces can then become interactive panels, with the small caveat that they traditionally treat a finger coming within 10mm of the surface as a touch. 

While this leads to sometimes inaccurate readings, researchers at Tsinghua University in Beijing have implemented an inertial measurement unit (IMU) ring apparatus for contact sensing to increase precision from around 85% to just under 99%. 

The experimental setup for this exercise used an Arduino Uno to read accelerometer data, along with a capacitive arrangement to confirm when a touch actually took place. Accelerometer data was compared with readings from a Leap Motion optical sensor, which in addition to greater accuracy, also reduced latency.

Arduino Blog 12 Nov 21:20

Rolling robot transformed into a zip lining contraption

MOREbot is an Arduino-powered educational robotic platform that’s currently available for pre-order. While the base kit is geared (literally and figuratively) towards building a small two-motor robot, MORE Technologies CEO Canon Reeves shows off how it can be reconfigured into an RC zip lining device in the video below.

The project uses the kit’s DC motors for traversing the cable, with O-rings that normally form the tires taken off in order to grip the top of a paracord. Everything is controlled by an Arduino Uno and a motor shield, while a Bluetooth module provides wireless connectivity. Control is via an iPad app, which simply rotates both motors at the same time as needed.

Since the parts are all modular, Reeves is planning on adding a few other attachments including a GoPro camera mount and perhaps even a servo that lets him drop a payload like a water balloon from it.

Arduino Blog 11 Nov 19:46

TipText enables one-handed text entry using a fingertip keyboard

Today when you get a text, you can respond with message via an on-screen keyboard. Looking into the future, however, how would you interact unobtrusively with a device that’s integrated into eyeglasses, contacts, or perhaps even something else?

TipText is one solution envisioned by researchers at Dartmouth College, which uses a MPR121 capacitive touch sensor wrapped around one’s index finger as a tiny 2×3 grid QWERTY keyboard.

The setup incorporates an Arduino to process inputs on the grid and propose a number of possible words on a wrist-mounted display that the user can select by swiping right with the thumb. A new word is automatically started when the next text entry tap is received, allowing for a typing speed of around 12-13 words per minute.

Proxino takes your virtual circuit into the real world

While circuit simulation tools become more accessible all the time, at some point it’s necessary to actual build your device and test it. Proxino, developed by researchers at Dartmouth College, takes a different approach, and enables you to virtually create a circuit, then test parts of it as needed with electronic components via physical proxies. 

To accomplish this, Proxino hardware sits on an Arduino Uno as a shield, and generates the virtual circuit’s responses to inputs. This setup allows for the implementation of physical elements like buzzers, lights, and sensors to complement the simulated environment, which can even be shared by remote collaborators in different locations. 

Proxino certainly looks like it could be an excellent instructional tool, or perhaps more!

Some tips and tricks for controlling a servo with an Arduino

Servos aren’t particularly hard to control with Arduinos, and in fact there’s a library available just for that purpose. Actually making the connection between the board and servo and managing one’s power usage will require a bit more finesse.

In the video below, Jeremy S. Cook explains how you can create an adapter that goes between your servo and an Uno, including a capacitor to help even out voltage spikes. While in most cases you would want to supply power your servos separately from the Arduino, this technique seems to work well in a quick round of tests. 

In addition, the clip shows how to attach a servo and then detach it to cut it off, using a function outside of the main loop and no additional hardware. This would be very helpful in applications where power is at a premium — or if you just don’t want the servo jittering back and forth!

Arduino Blog 06 Nov 19:26
arduino  servo  servo motors  uno  

Every jack-o’-lantern needs a pair of animatronic eyes

If you’d like your jack-o’-lantern to stand out, a pair of animatronic eyes should do the trick. While there are numerous ways that you can go about this, few (if any) look as good as the set made by Will Cogley in the first video below.

The incredibly realistic 3D-printed eyeballs are installed into the hollowed out pumpkin using skewers as supports, and glance in all directions, along with orange eyelids that open and close for an even more human(ish) appearance. 

The second clip delves deeper into the eyeballs themselves, which come in several forms. Control is via a Wii Nunchuk-esque joystick interface, with the help of an Arduino.

Pen plotter? Laser engraver? This DIY machine gives you both!

If you find yourself debating between a pen plotter or laser engraver, this project by Patrick Panikulam lets you have the best of both worlds in style. The DIY device pulls a writing instrument in the X-axis using a belt-driven overhead system, while the base itself moves in the Y direction.

Motion is handled by an Arduino Uno, along with a CNC shield and two A4988 drivers that actuate modified 28BYJ-48 steppers. The shield also outputs laser control signals, which are converted into PWM signals for the lifting servo when in pen mode. 

It’s an extremely clean build, and even features a Bluetooth module for wireless communication with your computer. Panikulam provides more details here if you’d like to create your own!

A couple of months back while checking out a few laser engravers on aliexpress, I came across some USB powered laser engravers. It was awesome that these could engrave on a variety of materials and also cut out shapes and designs from sticker sheets and paper and doing all this powered by a 5V USB supply. But the downside of these engravers was that they had a small work area, in most cases just 40mm X 40mm which is definitely way too small for my needs.

So I thought why not design and 3D print my own laser engraver from scratch. I started the designing process in Fusion 360 while keeping in mind all the 3D printing tolerances. And finally came up with something really cool. Along the way, I decided to make the laser holder modular so that I can easily replace the laser with a pen or marker for pen plotting. I also added a Bluetooth connectivity feature so that wired connection between your PC and the engraver can be eliminated while transmitting G-codes.

5 Arduino projects to get you Halloween-spired

October 31st is almost here and we’re all super excited, because this is the perfect time for some DIY fun! Nothing to wear? Not a problem! Need a spook-tacular decoration? We’ve got just the thing.

To help get you into the spirit, we’ve selected a handful of Halloween-themed projects from the Arduino Project Hub that will surely catch the attention of trick-or-treaters (or send them screaming into the night.)  

Talking Triceratops Skull

Make your Echo Dot a bit more interesting than a hockey puck using an Arduino Uno, a Motor Shield, a 3.5mm TRS splitter, and an amplified speaker.

Animatronic Halloween Prop

This Arduino Mega-based robot can be operated remotely from your smartphone or move about autonomously, complete with creepy lights and a terrifying soundtrack.

LED Eye Mask

Stand out as you walk through the neighborhood by customizing a store-bought mask with an eye made of LEDs and a mouth that flashes red. 

Dropping Spider

Here’s a quick, last-minute scare prank for your porch. Drop a fake spider on anyone that tries to ring your doorbell via an Arduino Uno, an HC-SR04 ultrasonic sensor, and a servo. 

Ultimate Dry Ice Machine

Add some special effects to your party with a 3D-printed, Arduino Nano-powered fog machine that’s controllable over Bluetooth. 

Have a project of your own? Be sure to share it with us! 

Wall-mounted world map shines brightly with fiber optics

Apparently not content with looking at a map in a book or on a computer screen, YouTuber ShareAHack.com decided to CNC cut and mount a projection of the world onto his apartment’s wall! 

The build was completed in sections and pieced together to form the model, with moss-covered land masses and cities represented by fiber optic LEDs.

Illumination is provided by a series of LED units, which combine white and yellow light that is transmitted to small drilled-out holes via a large number of fiber optic strands. An Arduino controls the lighting via N-channel MOSFETs, allowing it to randomly vary the output for a pleasing and realistic effect. 

Files for the project are available here, though be warned that it took around six months to finish!