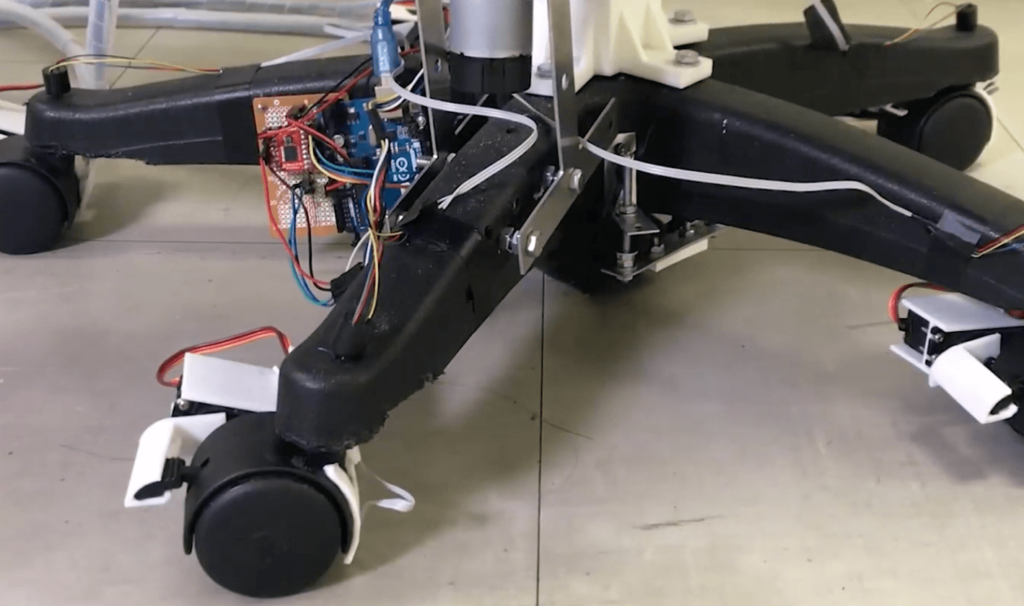
Desk chairs are essential tools for the office environment, so why not turn them into a computer input and feedback device? Aarnio, by researchers from several universities, adds this functionality via an Arduino board. It’s able to detect rotation and tilt via an MPU-6050 IMU, and how far it travels along the floor with an optical sensor from a computer mouse.
User feedback is provided by servo motors that can lock individual casters down. A brake setup is also implemented to inhibit rotation of the central axis and a spring is tightened as needed to modify tilt force.
Testing showed about a 90% feedback recognition in users, and applications could include use as a gaming controller or as an assistive device for those with limited mobility of their hands.
When you need to test a single servo, it’s a fairly straightforward task. Just hook it up to an Arduino to generate the proper PWM signal, along with an appropriate power supply, and you’re in business. If, however, you need to test a bunch of them at the same time, things get a bit more complicated.
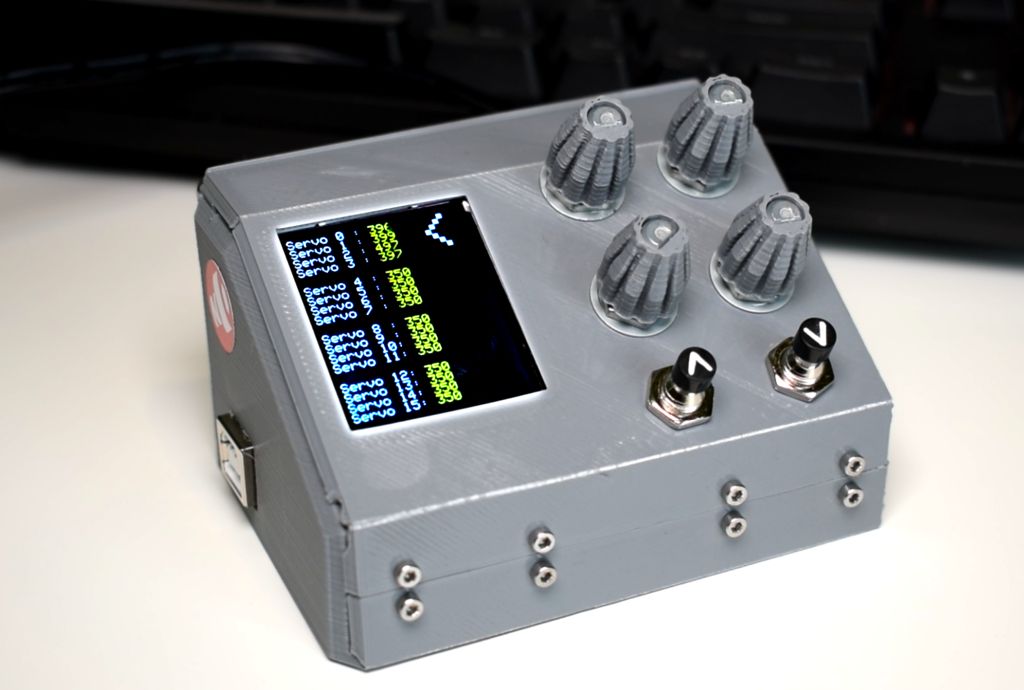
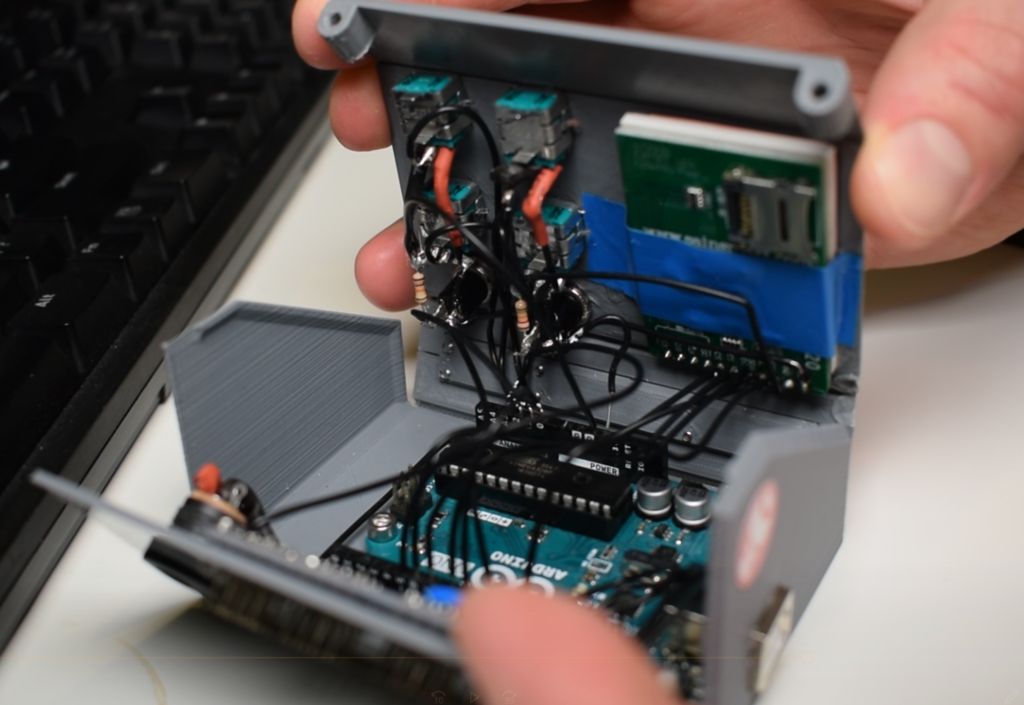
To solve this challenge for another project he’s working on, Will Cogley built a 3D-printed tester capable of experimenting with 16 servos at the same time.
The device runs on an Uno, and uses four potentiometers and two buttons for controlling the motors in sets of four. Settings from all 16 outputs are displayed on a 1.8” TFT screen and an Adafruit 16-channel driver is implemented to interface with the servos directly.
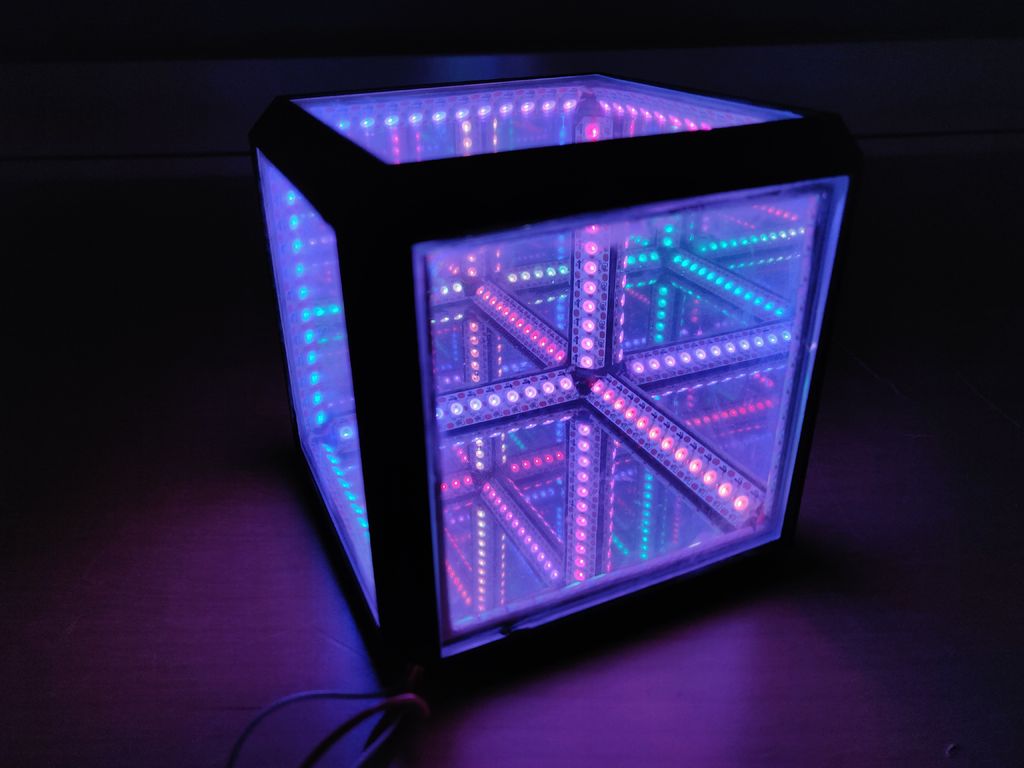
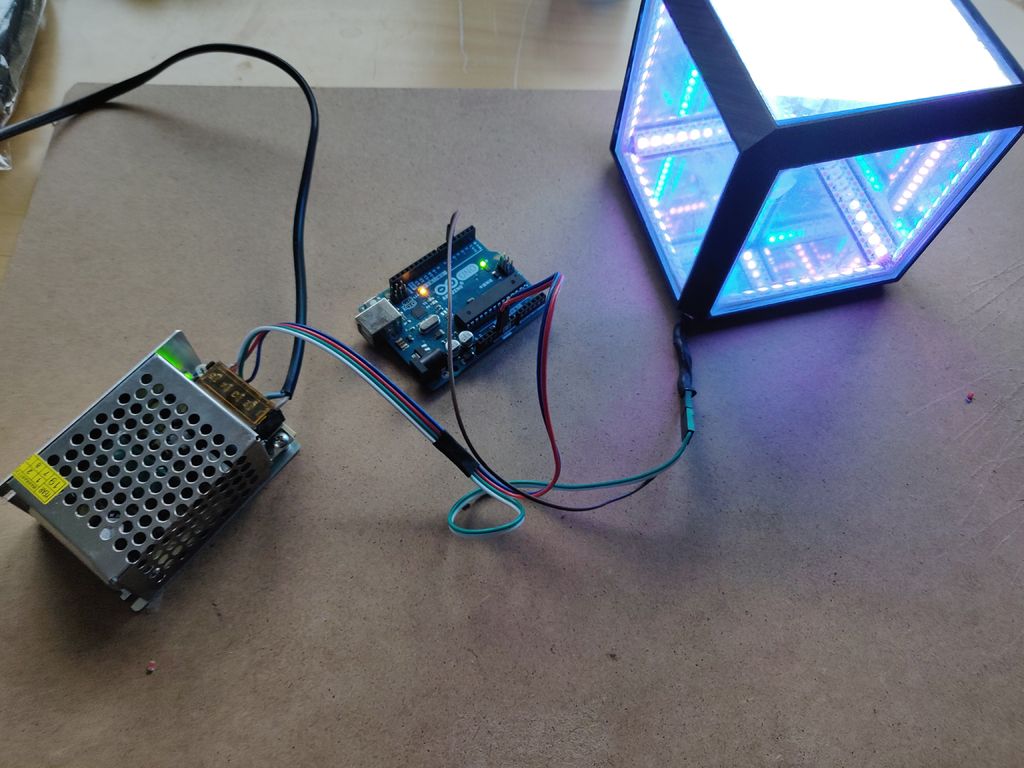
Infinity cubes use six mirrors arranged in such a way that they bounce light inside back and forth, making them appear to stretch on to infinity. While not the first to make such a device, Thomas Jensma created the frame for his as a single 3D-printed piece.
This method meant that the plexiglass mirrors surrounding the build are automatically quite flat, allowing the 144 LEDs inside to reflect beautifully with no adjustment. An external Arduino board controls the lights, producing an infinite number of patterns. A 5V supply is also used in order to power the assembly.
Instructions for the project can be found here, and with this simplified design, Jensma was able to construct his in a day for just $25 in parts.
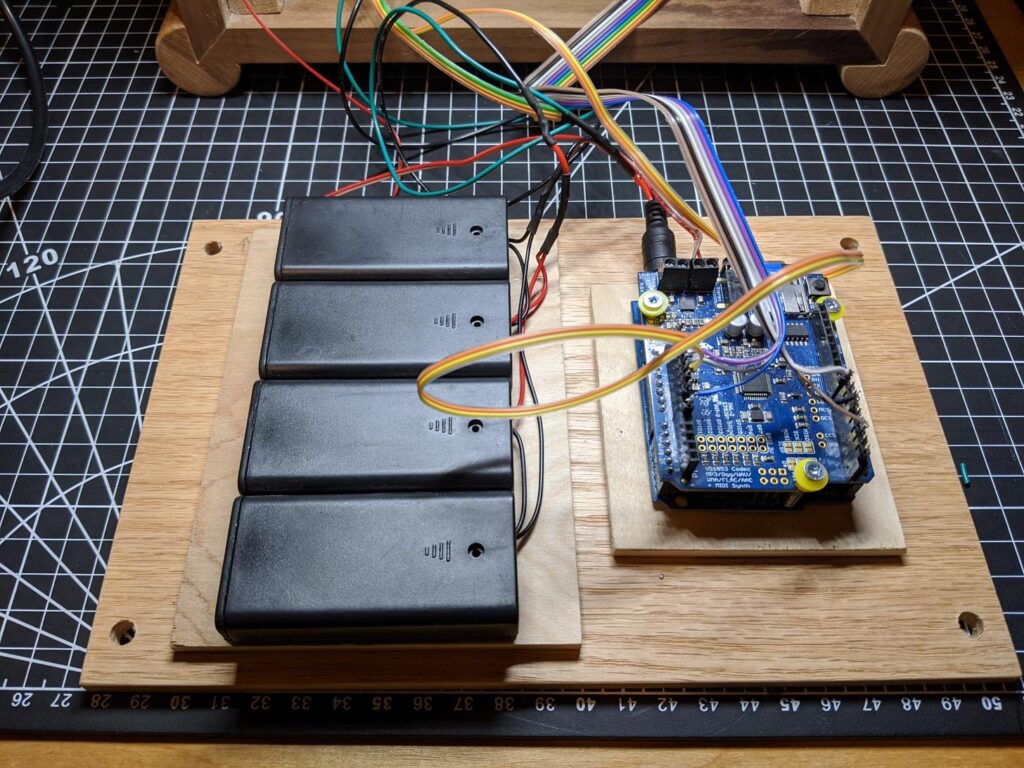
If your young child wants to listen to music, what better way than a beautiful wooden MP3 “radio,” with an array of buttons that select the album? After being inspired by a similar commercial product, Redditor “DerThes” decided to make such a device for a fraction of the cost using an Arduino Uno for control, along with a Music Maker Shield to play tunes off an SD card.
The toddler can select songs from a grid of 16 input buttons, which are sent to the Uno via a pair of shift registers. There’s also a “parent’s mode” with the ability to choose from up to 99 albums, and a volume knob for… adjusting the volume.
Finally, the unt features a beautiful enclosure made out of oak and black walnut, with corners softened by dowels to reduce collateral damage “after the player has gone airborne.” More details can be seen on Imgur here and on GitHub.
This is an easy to use MP3 player for small children. I made this for my 2 year old for Christmas. Each of the top 9 buttons will play an album. The black buttons on the bottom are prev – play/pause – next. The player also supports an alternative playback mode that can be activated using a special key combination. That combination will turn the buttons into a 10 digit input matrix allowing playback of up to 99 albums. That way the player can be used by parents as well.
When I first saw the Hoerbert at a friends place I wanted it for my child. After I heard of the $400 price tag I knew that I needed to spend 50 hrs and $100 to build my own.
Programming an Arduino to do simple things like turn on an LED or read a sensor is easy enough via the official IDE. However, think back to your first experiences with this type of hardware. While rewarding, getting everything set up correctly was certainly more of a challenge, requiring research that you now likely take for granted.
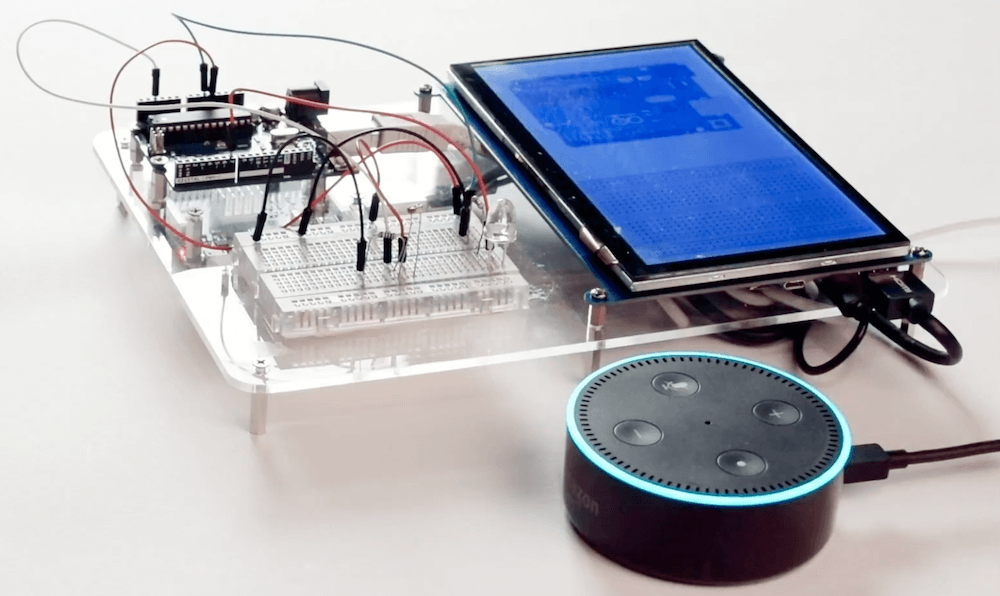
To assist with these first steps of a beginner’s hardware journey, researchers at KAIST in South Korea have come up with HeyTeddy, a “conversational test-driven development [tool] for physical computing.”
As seen in the video below, HeyTeddy’s voice input is handled by an Amazon Echo Dot, which passes these commands through the cloud to a Raspberry Pi. The system then interacts with the physical hardware on a breadboard using an Arduino Uno running Firmata firmware, along with a 7” 1024 x 600 LCD touchscreen for the GUI. Once programmed, code can be exported and used on the board by itself.
HeyTeddy is a conversational agent that allows users to program and execute code in real-time on an Arduino device without writing actual code but instead operating it through dialogue. This conversation can either be based on voice or text (through a Web chat). Commands spoken to HeyTeddy are parsed, interpreted, and executed in real-time, resulting in physical changes to the hardware. For example, the “write high” command configures an I/O pin to behave as a digital output with its internal state set to high (e.g., a 5V logic level), making driving an LED possible. Hence, the user does not need to write any code, compile it, deal with errors, and manually upload it on the hardware.
Furthermore, HeyTeddy supervises the user’s choices, preventing incorrect logic (e.g., writing an analog value to a digital pin), guiding the user through each step needed to assemble the circuit, and providing an opportunity to test individual components through separate unit tests without interrupting the workflow (i.e., TDD functionalities). Finally, the user has the option of exporting the issued commands as a written code for Arduino (i.e., an Arduino sketch in C++, ready for upload).
Astrophotography can be challenging, in a large part because your subject matter — or your base, the Earth rather — is constantly moving. In order to take excellent long exposures of far-off objects, Redditor intercipere came up with a beautiful 3D-printable, star-following mount that holds and rotates a DSLR camera.
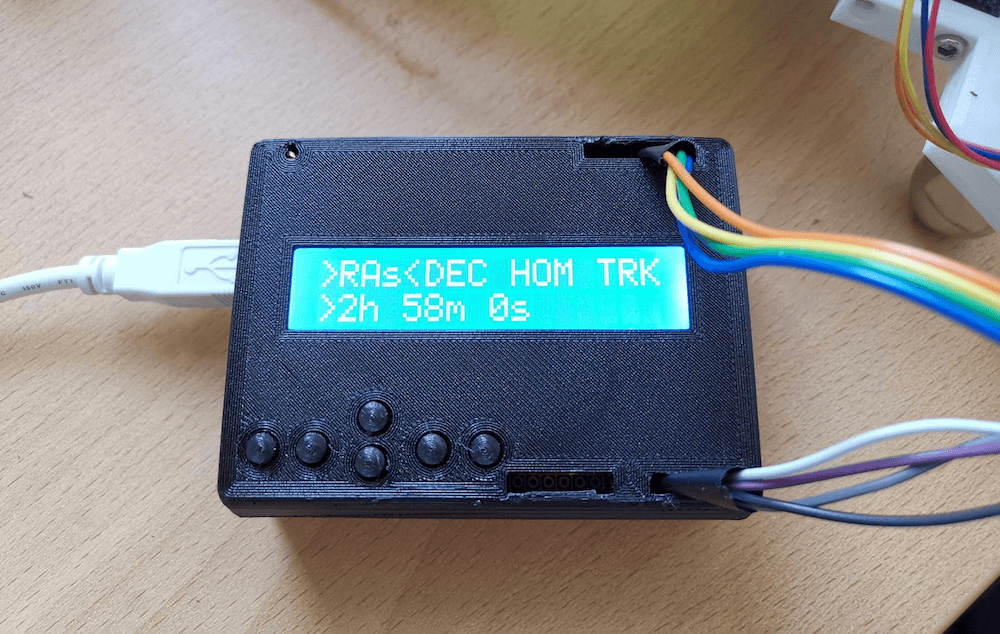
Now intercipere can simply input the RA/DEC coordinates and the device will automatically move to a desired target in the sky.
Motion is handled by an Arduino Uno and two small stepper motors, with a 16×2 LCD shield user interface. The rig is capable of tracking for at least four minutes, producing this photo of the Andromeda galaxy with a cheapo lens from a heavy light polluted area.
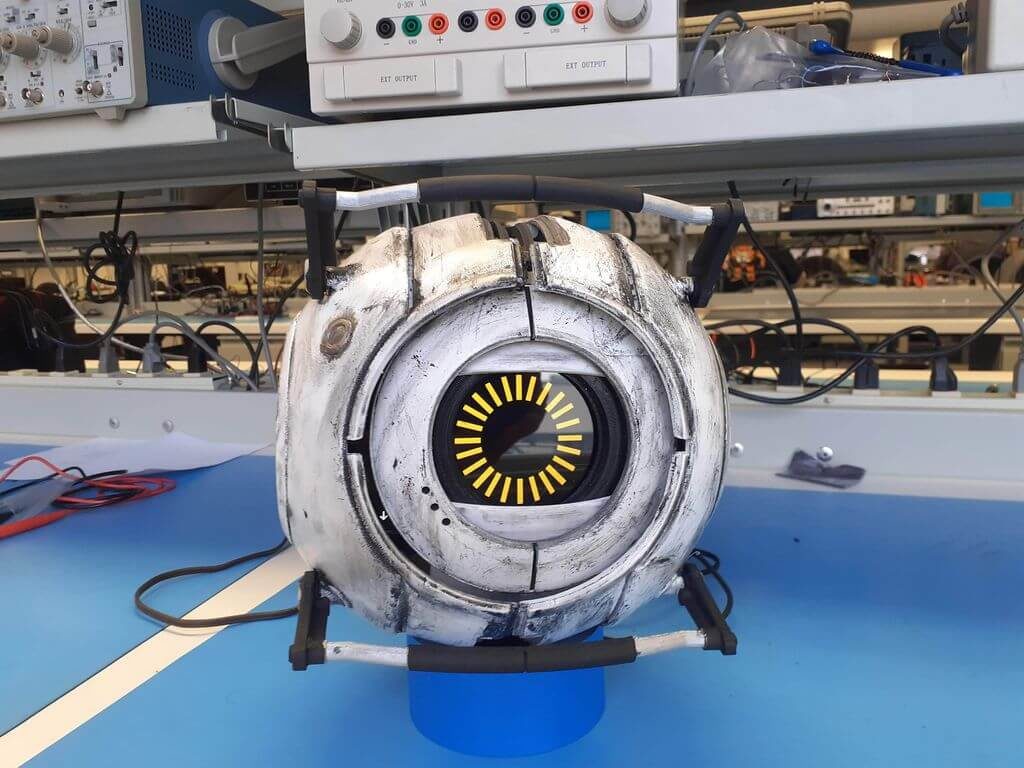
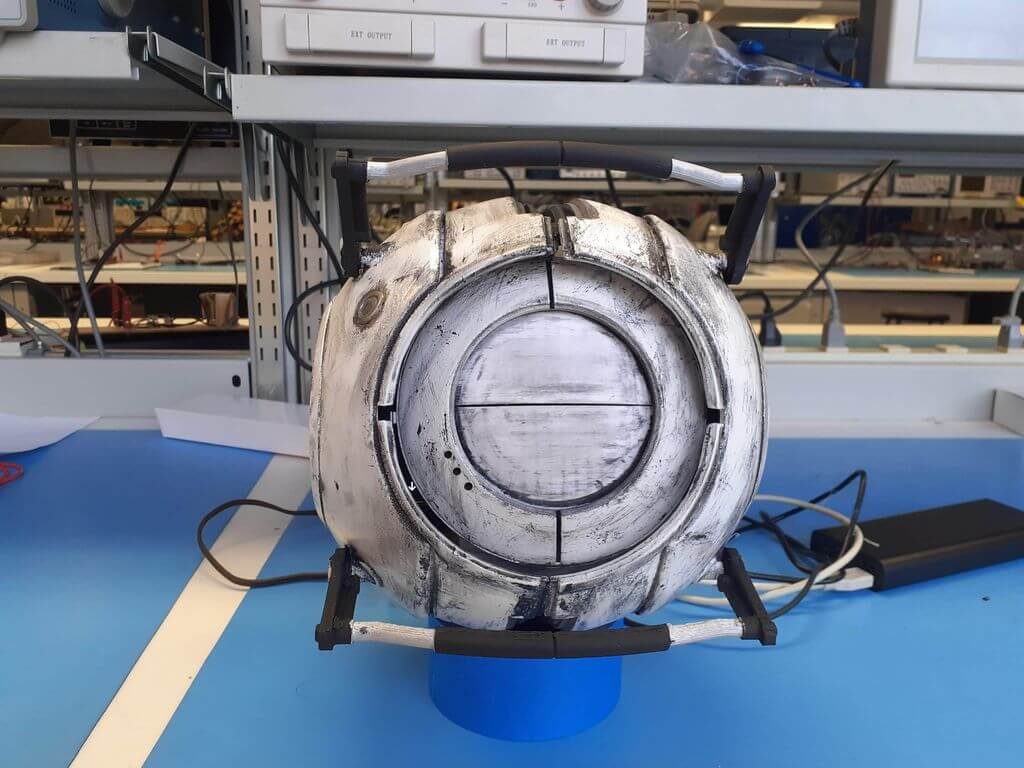
His Space Core is 3D-printed from a model that he found online, scaled up by 300% to fit the electronics inside, including an Arduino Uno and eight servo actuators. As with many projects, there was barely enough room to fit the electrical components, but as seen in the video below, it looks delightfully glitchy.
The Arduino controls the servo-driven eye movement and is linked to a smartphone over Bluetooth for remote operation. A second phone is integrated into the moving eye section, which displays an image of the personality core’s iris, and plays game quotes through its music app.
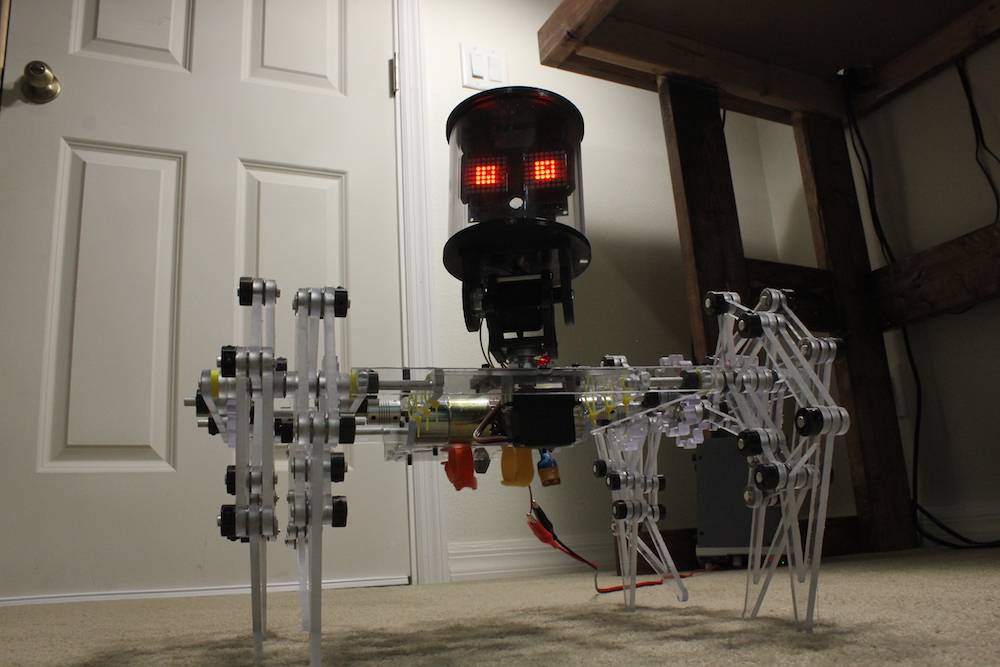
Maker Jeremy S. Cook has been building Theo Jansen-style walkers for literally years, and after several iterations has come up with what he calls the “ClearCrawler.”
This little guy stands at just over 15 inches tall — including its comparatively large clear cylindrical head — and travels around via a pair of motors that move four legs on either side like tank treads.
For control, Cook is using an Arduino Nano onboard, along with a motor driver, plus an Uno and joystick shield as the remote unit. Communication between the two is accomplished by a pair of nRF24L01+ radio modules.
Code for the project is available on GitHub, and the build is split up into an electronics and mechanical section in the videos below.
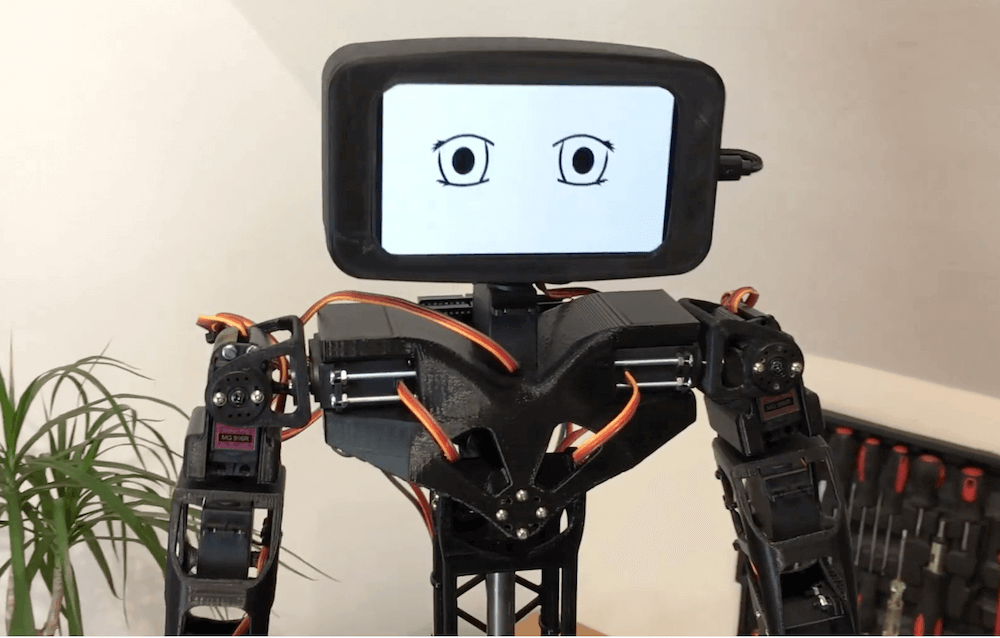
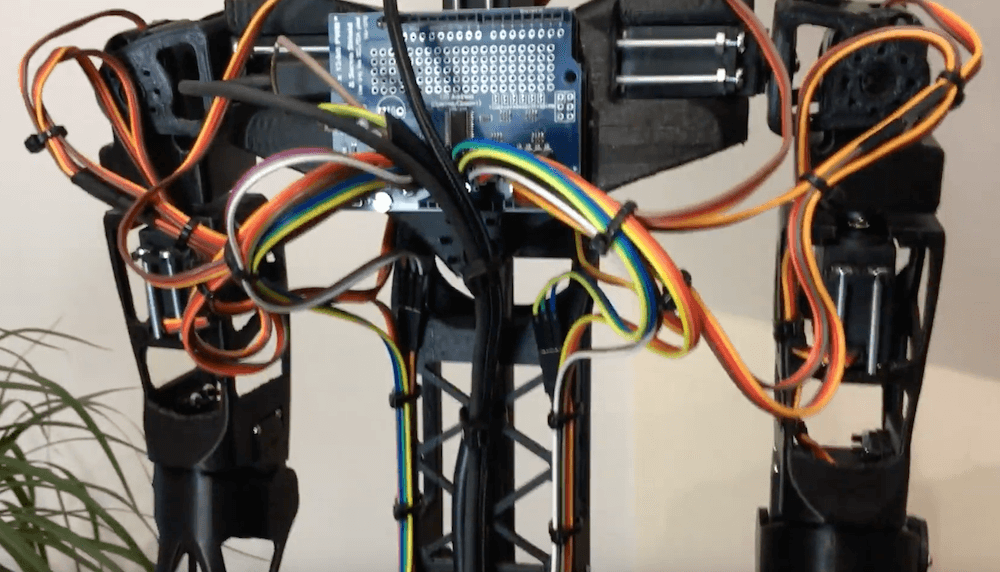
If you’d like to build your own vaguely humanoid robot, but don’t care about it getting around, then look no farther than Aster.
The 3D-printed bot is controlled by an Arduino Uno, with a servo shield to actuate its 16 servo motors. This enables it to move its arms quite dramatically as seen in the video below, along with its head. The legs also appear to be capable of movement, though not meant to walk, and is supported with a column in the middle of its structure.
Aster’s head display is made out of an old smartphone, and in the demo it shows its eyes as green geometric objects, an animated sketch, and then, somewhat shockingly, as different humans. Print files for the project are available here and the design is actually based on the more expensive Poppy Humanoid.
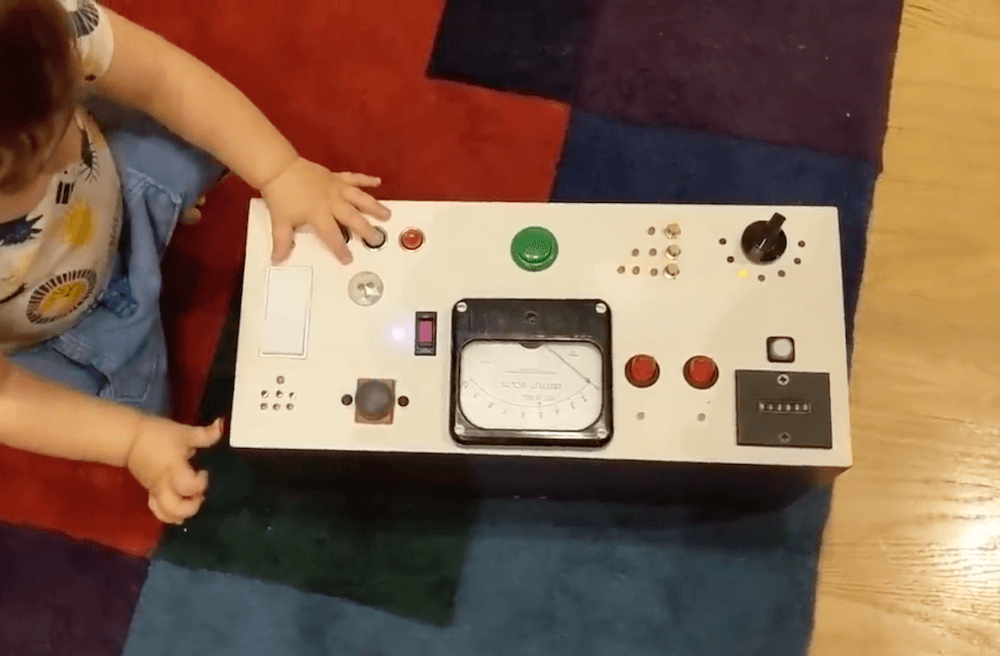
Like most one-year-olds, CodePanda’s son really likes pushing buttons. Rather than purchasing a so-called busy board that might teach him skills like unlocking doors or plugging in electrical outlets, he decided to build his own custom device controlled by an Arduino Uno.
The resulting toy features a wide variety of lights, buttons and switches, and makes sounds to keep the little guy entertained. In the center, a big green button activates an analog voltmeter, which not only looks cool, but actually indicates the battery level of the unit.