Posts with «uno» label

A wireless monitoring solution for solar power systems in remote locations

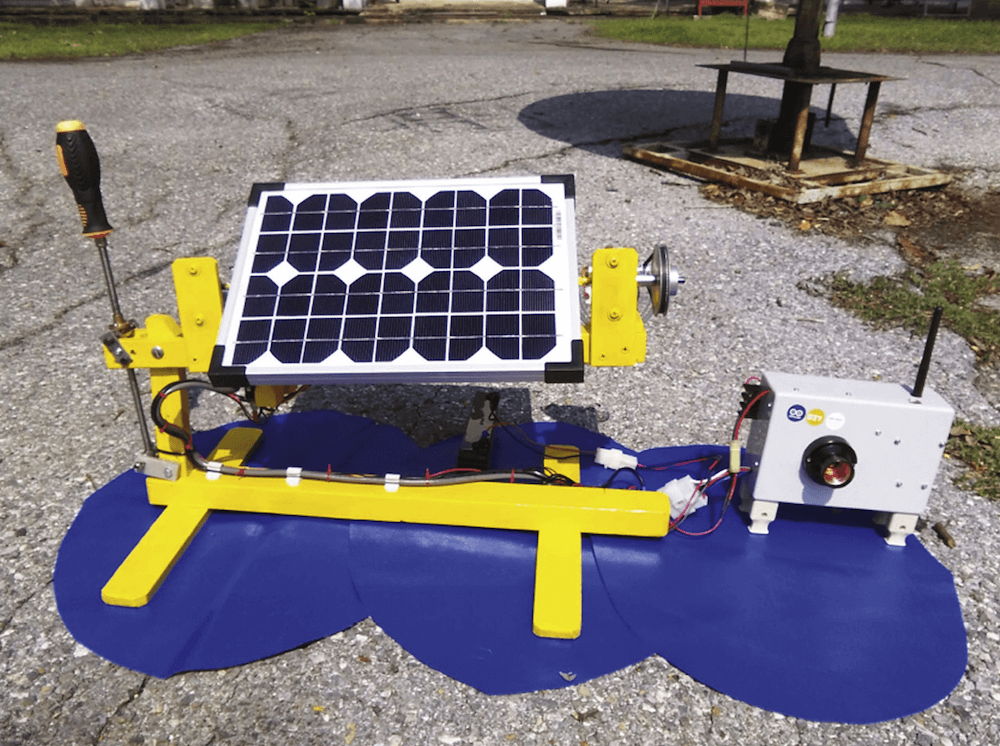
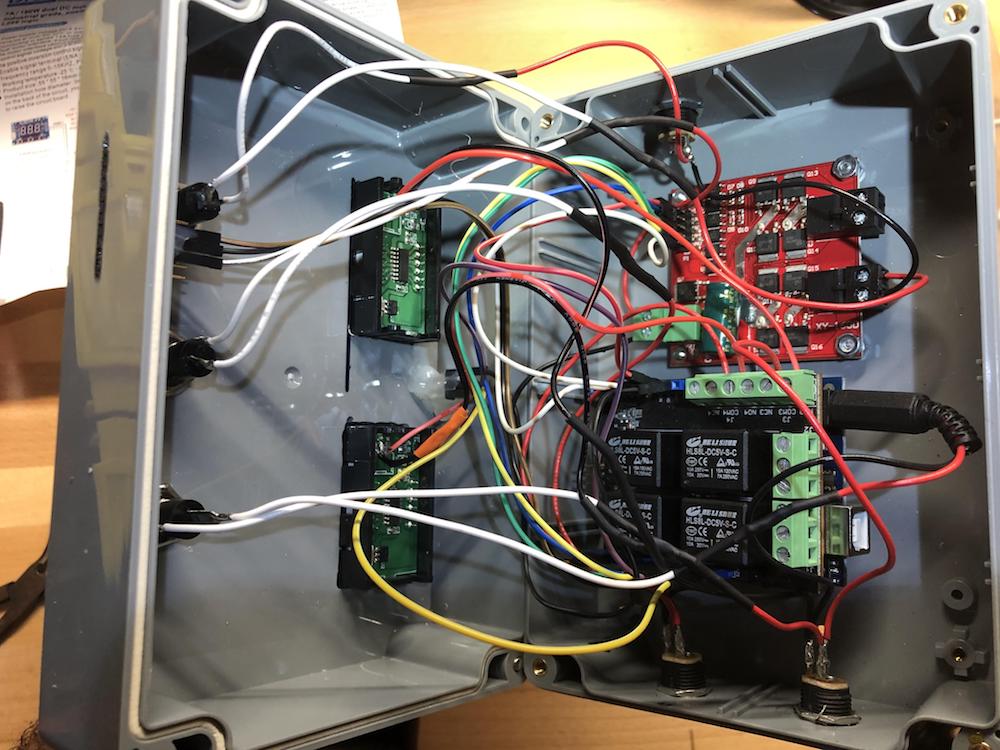
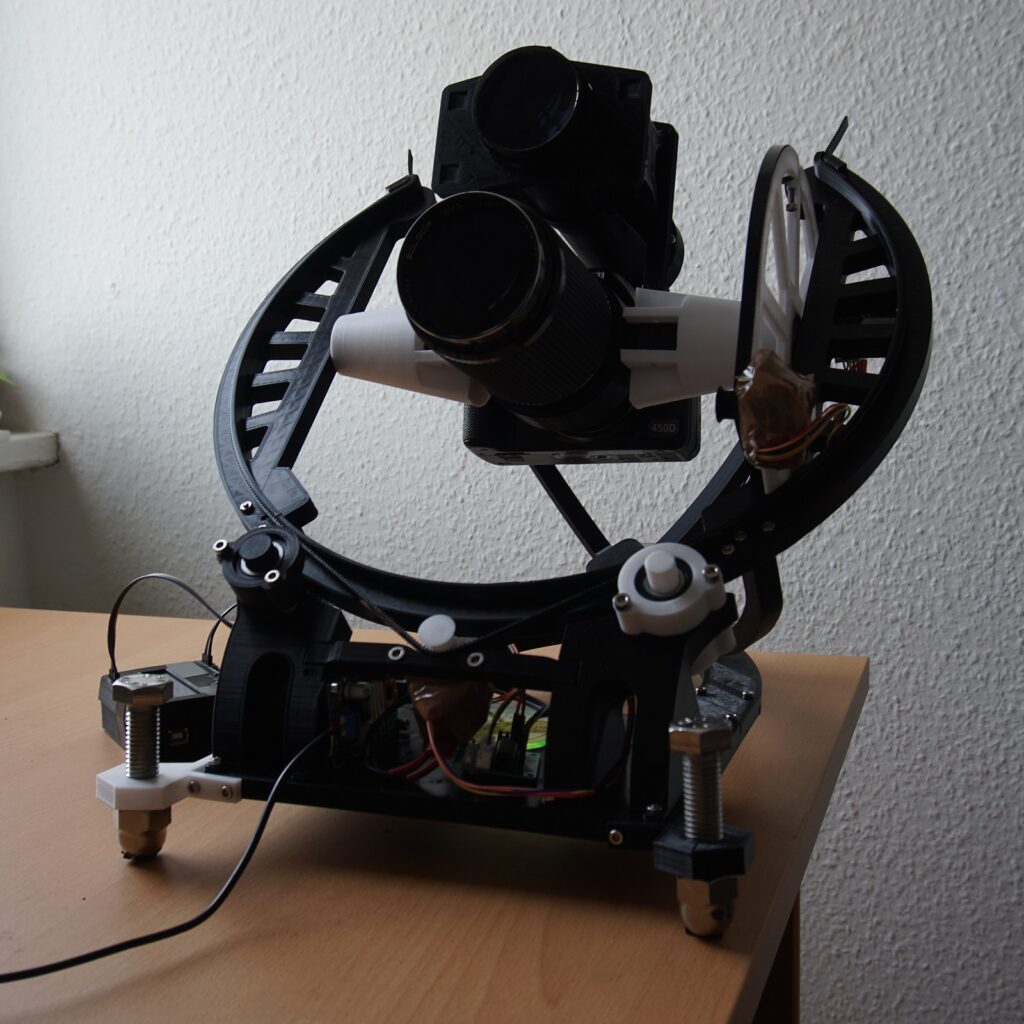
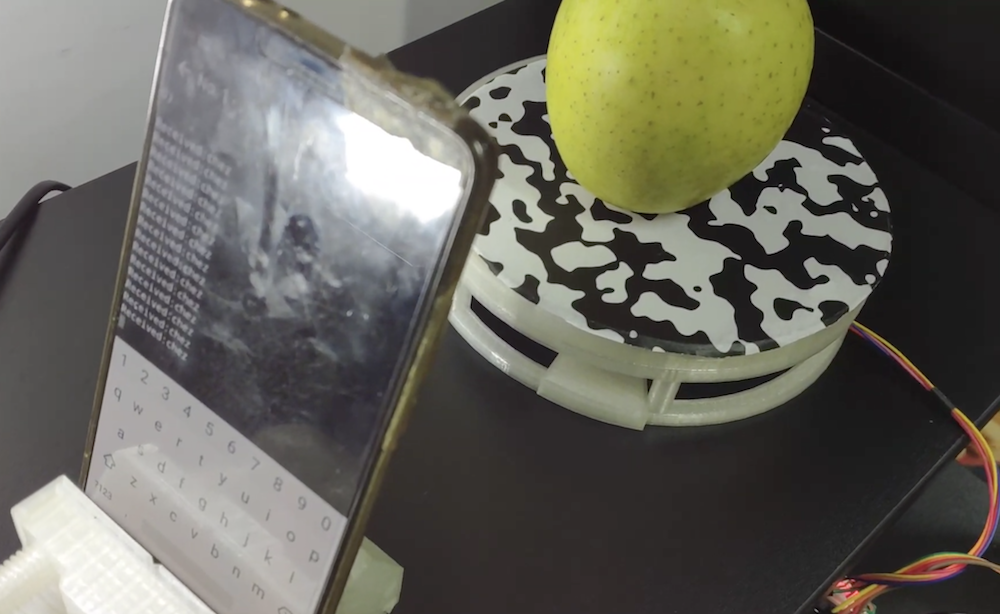
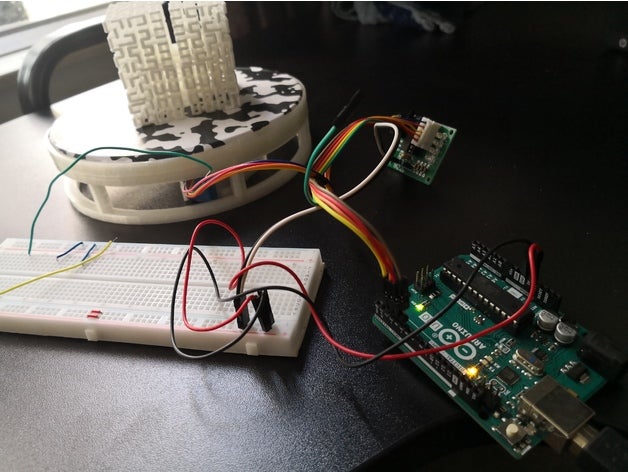
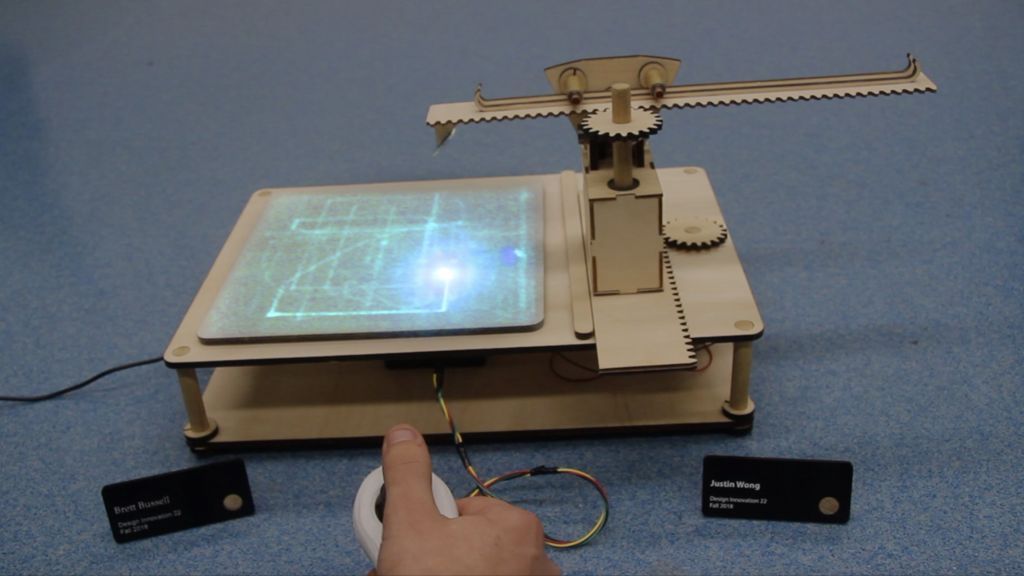
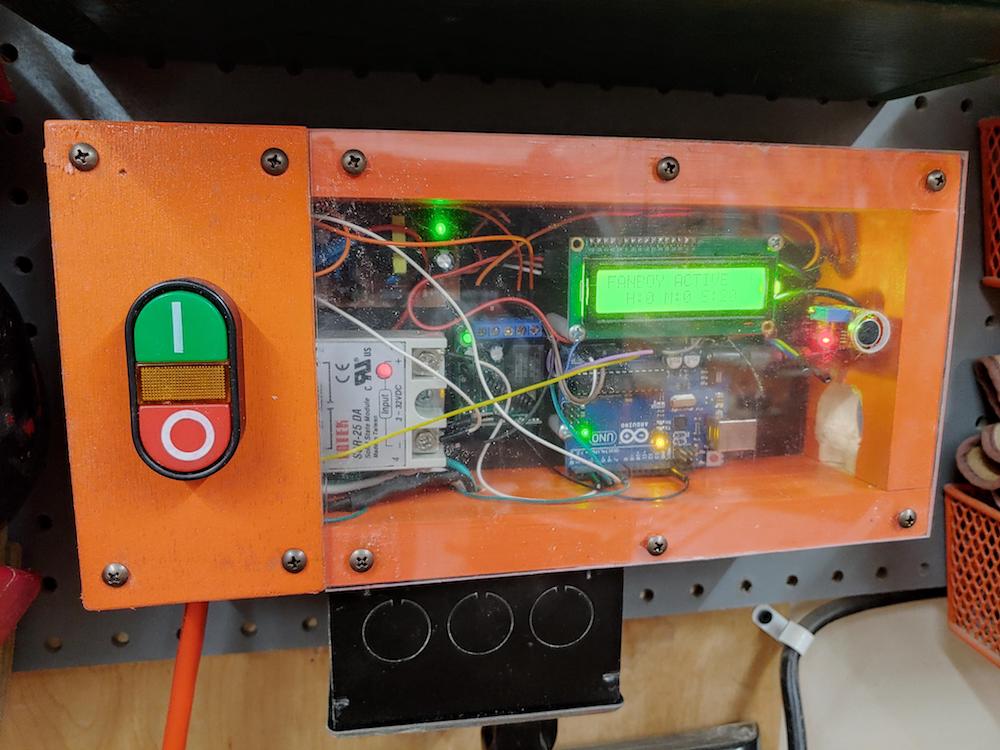
Researchers in Thailand have developed a ZigBee-based wireless monitoring solution for off-grid PV installations capable of tracking the sun across the sky, tilting the panel hourly. The elevation for the setup is adjusted manually once per month for optimum energy collection. The prototype is controlled by a local Arduino Uno board, along an H-bridge motor driver to actuate the motor and a 12V battery that’s charged entirely by solar power.

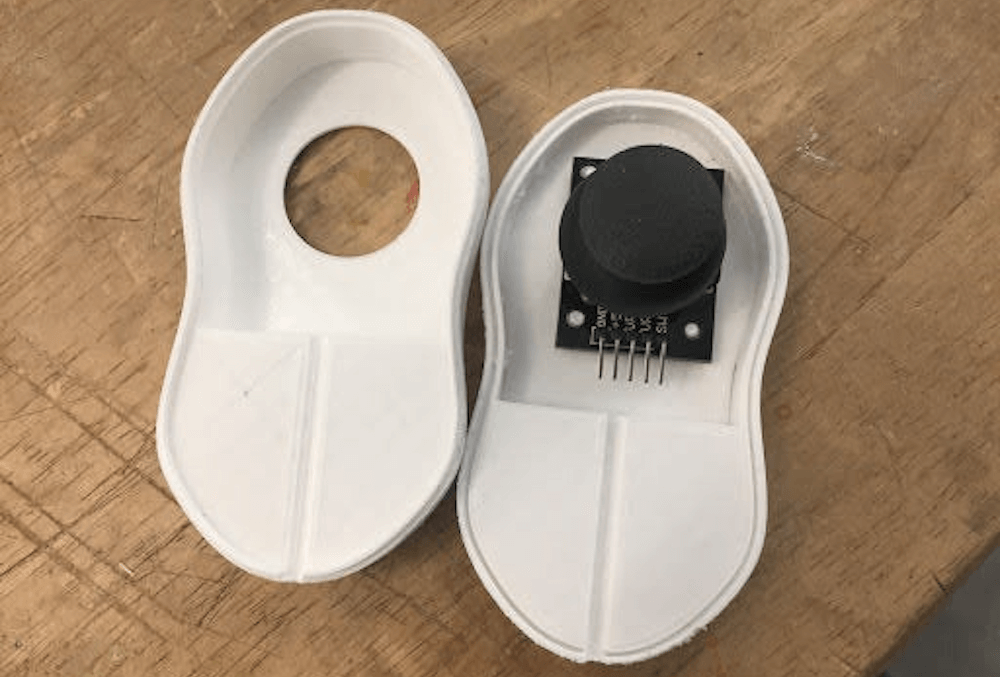
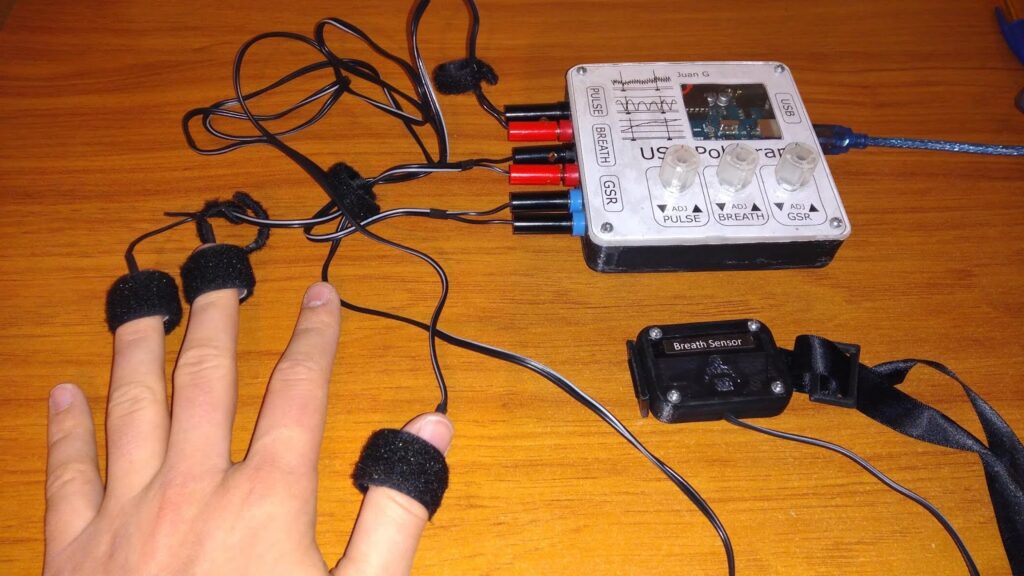
The system features a half-dozen sensors for measuring battery terminal voltage, solar voltage, solar current, current to the DC-DC converter, the temperature of the power transistor of DC-DC converter, and the tilt angle of solar panels according to the voltage across the potentiometer. 

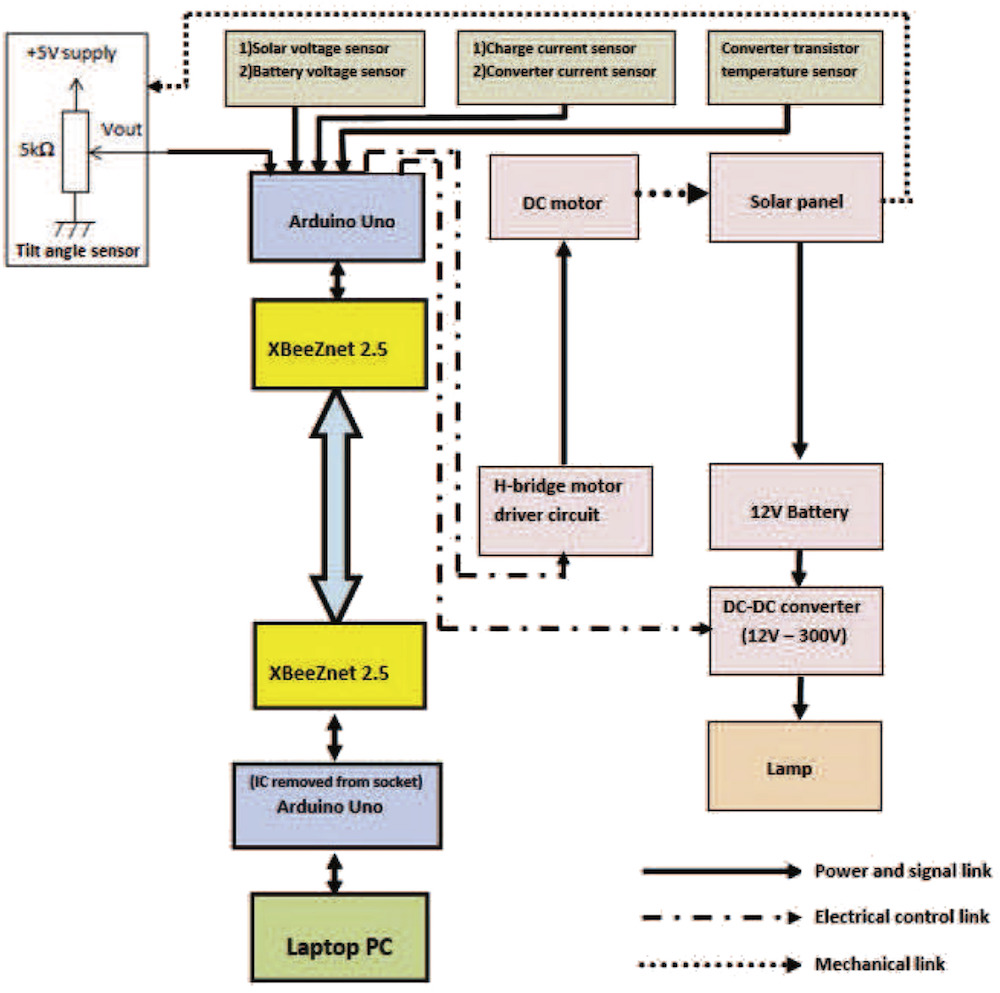
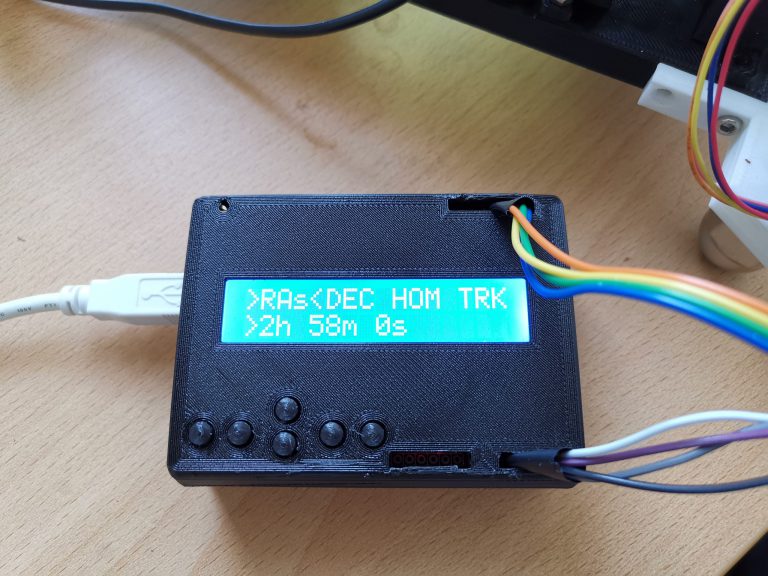
Data is transmitted wirelessly via an XBee ZNet 2.5 module to a remote Uno with an XBee shield. The real-time information is then passed on to and analyzed by a computer, which is also used to set the system’s time.

More details on the project can be found in the team’s paper.

Wireless sensing is an excellent approach for remotely operated solar power system. Not only being able to get the sensor data, such as voltage, current, and temperature, the system can also have a proper control for tracking the Sun and sensing real-time data from a controller. In order to absorb the maximum energy by solar cells, it needs to track the Sun with proper angles. Arduino, H-bridge motor driver circuit, and Direct Current (DC) motor are used to alter the tilt angle of the solar Photovoltaic (PV) panel following the Sun while the azimuth and the elevation angles are fixed at noon. Unlike the traditional way, the tilt rotation is proposed to be stepped hourly. The solar PV panel is tilted  in advance of current time to the west to produce more output voltage during an hour. As a result, the system is simple while providing good solar-tracking results and efficient power outputs.

An Arduino-enabled observatory dome door opener

The South Florida Science Center recently commissioned a beautiful new 10” aperture refactor telescope. Its dome, however, was opened by hand; so in an effort to modernize this part of the setup, Andres Paris and his brother “patanwilson” added a windshield wiper-style DC motor to automate the process.

The “window to the heavens” is now operated by an Arduino Uno via a high current H-bridge capable of passing along up to 20 amps. User interface is provided by an IR remote control and reed switches stop the door’s motion at the appropriate points. 

A pair of 12V batteries enable the system to move within the dome and the voltage displays — that can be turned off remotely — to show how much power is left.

More details on the project can be found on Reddit.

Arduino Blog 27 Feb 22:21
arduino  uno  

OpenAstroTracker is a tracking and GoTo mount for DSLR astrophotography

Stars appear to stand still, but wait a few minutes and they won’t be in quite the same place. This means that if you want to take a long-exposure image of the sky with your DSLR you’ll have to either embrace the streaks, or use tracking hardware to compensate for this movement. Naturally, this specialized equipment can be quite expensive, but a seen here, you can now make your own 3D-printed OpenAstroTracker controlled by an Arduino Uno.

The device features a 16×2 LED display/keypad shield, along with an optional Bluetooth module for interface. When set up, it slowly rotates the camera to compensate for star movements via two steppers on a gimbal assembly. 

Print files for the OpenAstroTracker are available on Thingiverse and code can be found on GitHub if you’d like to examine the design or even build your own. Its creator also plans to sell it as a DIY kit — and you can sign up to be notified when it’s available.

Arduino Blog 26 Feb 14:06

Duel Disk System blends physical cards with a virtual playfield

Yu-Gi-Oh! and other similar card games can be quite popular, but actually finding a group to play with can be challenging. Online games, on the other hand, have their advantages yet render your deck pretty much useless. As a way to combine these two worlds, Augusto Masetti has created a prototype Dual Disk System that will allow you to play with real cards in a virtual playfield.

To play, participants attach NFC stickers inside a card sleeve, which are scanned by an NFC reader controlled by an Arduino Uno. The card ID is then compared to the YGOProDeck API database via a computer, giving players a tactile element to this virtual competition.

Masetti’s project is still a work in progress, though we can’t wait to see the final version!

Arduino Blog 21 Feb 21:59

AAScan is an open source, Arduino-powered 3D scanner that uses your phone

3D scanners are amazing tools that literally let you turn everyday things into three-dimensional computer models. As seen on Reddit, if you want to make one yourself — using little more than a spare Android phone, Arduino, stepper motor, and 3D-printed parts — the AAScan setup by QLRO could be an excellent option.

The device spins an object on a 3D-printed turntable using an Uno and ULN2003 driver board, allowing it to take ~180 images automatically via a Python script running on the phone. These images are then combined in Meshroom to create a brand new 3D model. 

You can check out a demo of AAScan in the video below, rotating an apple to take pictures of each side.

This joystick-controlled machine draws light trails using a laser

Lasers are awesome. Glow-in-the-dark surfaces are, too. As seen here, Justin and Brett were able to combine the two into an excellent drawing machine. 

Their device uses a pair of gearmotors under Arduino control to actuate a rack-and-pinion gantry system over a canvas painted with phosphorescent powder. A laser is mounted at the end of this setup, which traces luminescent patterns on the surface as it moves. 

User interface is via a simple joystick arrangement, with a housing 3D-printed in PLA that’s reminiscent of a Nintendo Wii Nunchuk. 

Check out the demo in the video below and read more about the project in the duo’s write-up.

Carve shapes out of foam with this Arduino-controlled hot wire cutter

You may have a 3D printer or other “digital” tools like a laser engraver or CNC router, but what if you want to work with Styrofoam? As How To Mechatronics demonstrates in his latest project, many of the same techniques used there can be implemented to make your own Arduino-powered hot wire foam cutter.

This build is constructed with 20x20mm aluminum extrusion and 3D-printed parts, and uses an Uno board and CNC shield to drive three stepper motors. Two of these motors manipulate the wire in the horizontal and vertical directions, while the third controls a turntable that rotates the foam as needed.

As seen in the video below, it’s a brilliant design. Written instructions can be found in How To Mechatronics’ blog post, which walks you through the entire process from assembling the machine and connecting its components to preparing shapes and generate the G-code.  

This Arduino device turns on a workshop’s air filtration system whenever it hears a saw

Modern woodworking tools are amazing, allowing you to make any number of useful or decorative objects from the comfort of your garage. Unfortunately, they also produce a lot of dust, so YouTuber “Atomic Dairy” came up with the idea to install an air purifier that can cleanse the shop air eight times per hour. This only works if turned on, so he automated its operation with an Arduino Uno and a solid-state relay (SSR).

The AudioBot system uses a microphone to listen for loud noise, indicating that a saw is on and thus dust creation. When detected, the Arduino then signals the SSR to run for two hours to literally clear the air. 

There’s also a start button and RF control unit to trigger the fan for an hour or add an hour to the current run time, which is displayed on a small LCD screen. A stop button cuts off the filter immediately when needed.

Our Fanboy wood shop air filter is an overpowered air cleaner that we run whenever we are cutting or sanding wood projects in the shop, which is often. The AudioBot is an Arduino device that turns the Fanboy on whenever it hears us using a large tool like a table saw or miter saw. That’s right, it works by sound! This relieves us of the tedious task of plugging in the Fanboy when we work and remembering to unplug it a couple hours after we finish in the shop.

Could we just have bought a timer to use with the Fanboy? Yes. But it wouldn’t be sound activated and wouldn’t have all of the cool LEDs we have on the AudioBot. Plus the AudioBot only cost around $30 and it was REALLY fun to build. So in our shop the AudioBot is better than any commercial timer we could have gotten. 

Arduino Blog 03 Feb 16:26
arduino  featured  uno  

“The Arduino lie detector determined that was a lie”

Want to know if someone is telling you the truth? Well, unfortunately Juan Gg’s “USB Polygraph” isn’t a professional product and won’t actually give you an answer. However, it is a neat exploration into biometrics that incorporates Arduino, some sensors, and data visualization.

The DIY lie detector does measure one’s galvanic skin response, pulse, and breathing, so it’s an interesting way to observe “suspects” when questioned. Perhaps one could even use it to monitor a person’s vitals when performing various physical activities.

The device collects sensor readings via an Arduino Uno. These are then passed along to a nearby computer over serial, which graphs everything using a custom Python program. 

If you’d like to make your own, code and mechanical files are available on GitHub!

This is a USB Polygraph, which I designed and built as a classroom project on June 2018. The hardware side is pretty simple, an Arduino UNO collects data from some sensors and sends it via serial. On the computer, a Python program takes that data and not only graphs it, but it also allows the user to save it, manages questions and adds question and answer markers to the graphs so results can later be inspected. All results are saved in .txt files.

Arduino Blog 28 Jan 15:30

Automate your door latch with a simple app-controlled system

Adnan.R.Khan recently decided to give his room’s sliding door latch an upgrade by designing a mechanism to open and close it, using little more than an Arduino Uno and Bluetooth module. 

His automated device is operated via a smartphone app written in MIT App Inventor, and it employs a shield to control a small DC motor. The motor then pulls a cable wrapped around two pulleys in order to move the simple barrel latch in or out.

It’s an amazing display of what can be done with parts at hand and basic tools, and could certainly inspire other home security hacks. Be sure to check out the build process and the setup in action below! 

Arduino Blog 20 Jan 19:51