Posts with «musical hacks» label

Rotary Phone MIDI Controller Still Makes Calls

[Kevin] has long wanted to do something musical with a vintage rotary phone and an Arduino, and has finally done so and committed the first of several experiments to HTML in a five-part series. He found a nice old British Telecom number, but it had been converted to plug and socket wiring to work on the modern system. Because of this, [Kevin] wanted to keep it completely functional as a phone. After all, it ought to work fine until 2025, when pulse dialing will no longer be supported in [Kevin]’s locality.

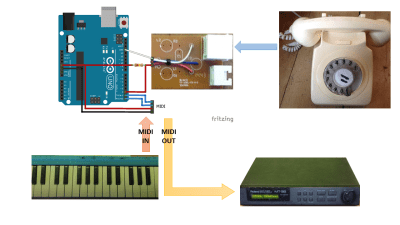
As you can likely understand, [Kevin] was keen to interface with the phone from the outside and leave the inside untouched. He used a sacrificial ADSL filter’s PCB to break out the socket, and added a pull-up resistor between the pin and 5 V.

Pretty quickly, [Kevin] figured out that when the phone is on the hook, it gives a constant high signal, where as the picking up the phone presents as a high signal going low, and dialing each number results in pulses of that quantity that alternate between high and low.

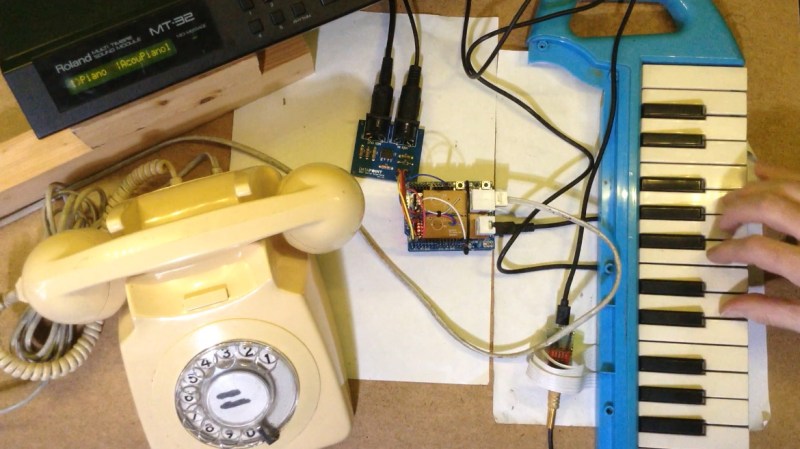
In part two of the series, [Kevin] really gets into decoding the pulse dialing, which is necessary for the third installment when things get musical. Here, [Kevin] adds in a MIDI module and a Roland MT-32 synth to use the dial as a MIDI note generator — each note dialed will sustain until the receiver is replaced on the hook.

Part four focuses on a MIDI patch changer. [Kevin] picks up the phone, dials a code up to three digits long, and hangs up, which this triggers the synth to change to the assigned voice. In part five, the phone becomes a random note sequencer, and each successive spin of the same digit will produce a different, randomly-chosen note. This is really just the beginning, however, so we’ll be checking back for updates. In the meantime, you can listen to the note generator and the random note sequencer demos after the break.

Wouldn’t you like to use a rotary dial all the time? Well, as long as it wasn’t an emergency?

VFD Character Display Turned Into Audio VU Meter

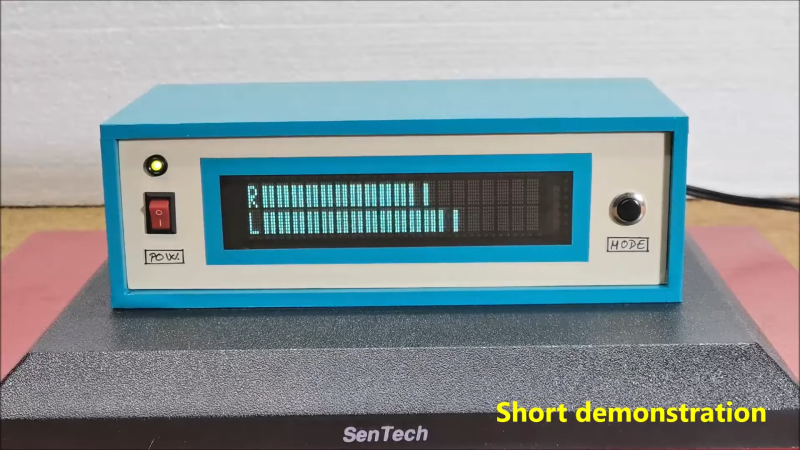
Humans love visualising music, whether it’s in the form of an inscrutable equation drawing squiggles in Winamp, or a simple VU meter pulsing with the beat. This build from [mircemk] is of the latter variety, repurposing a VFD display to do the job.

The project is built around a VFM202MDA vacuum fluorescent display, which provides that lovely green-blue glow we all know and love, driven by a PT6314 driver chip. This has the benefit that it can be readily driven by a microcontroller in much the same way as the familiar HD44780 character LCD driver chip. With some minor tweaks, the character set can be modified to allow the display to become a surprisingly-responsive VU meter.
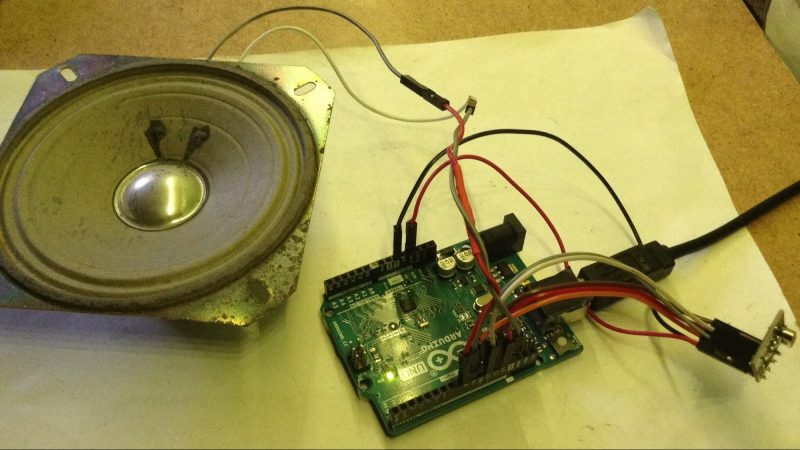
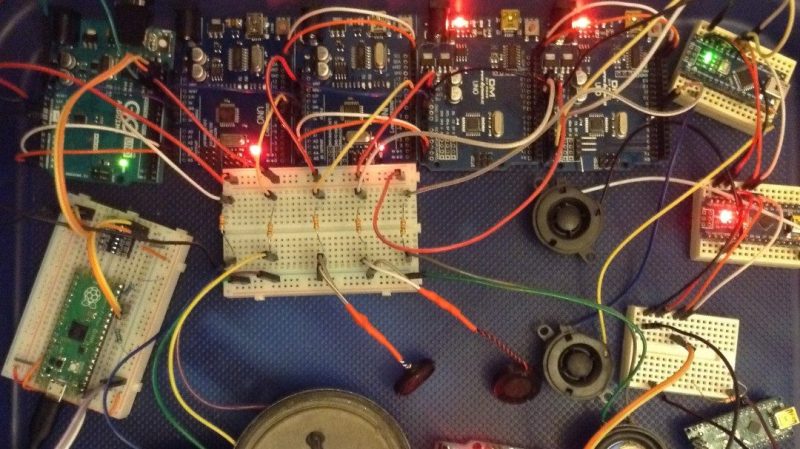
An Arduino Nano runs the show, with an envelope follower circuit feeding a signal for the left and right channels into the analog inputs of the microcontroller. The Arduino then measures the voltage on those inputs and feeds the necessary commands to the PT6314 driver to update the display.

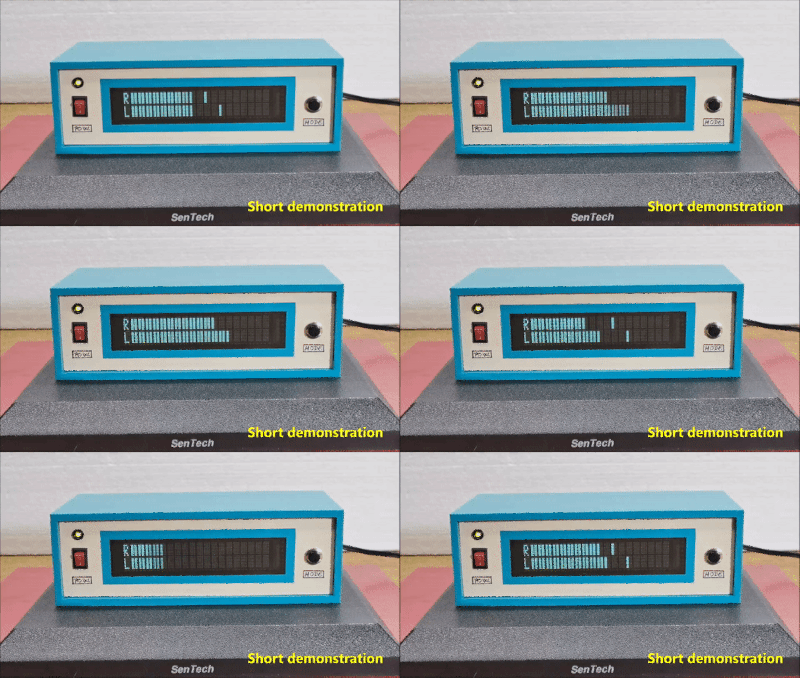
The resulting VU meter has 38 bars per channel, and is highly responsive. The fast flickering of the meter bars in response to the music make it compelling to watch, and the era-appropriate enclosure the project is built in adds plenty to the aesthetic.

We’ve seen other VU meter builds before too, like this one that uses a little physics knowledge to create a more realistic analog-like needle meter. Video after the break.


Sending MIDI Wirelessly With The nRF24L01

MIDI is a standard known by musicians and instruments all over the world. The basic twist on regular serial has helped studios around the world to work more efficiently. [Kevin] wanted to try sending MIDI data wirelessly, but rather than the typical Bluetooth solution, decided to use the humble nRF24L01 instead.

The circuitry used is simple: [Kevin] simply wired up two Arduino Unos with nRF24L01 radio modules, which communicate over SPI. Alternatively, an even quicker solution is to use a Keywish Arduino RF Nano, which packs a nRF24L01 on board. One Arduino can then be hooked up to a MIDI OUT port on an instrument, and it will send out MIDI signals wirelessly. The second Arduino can then be plugged into a MIDI IN port and repeat out what it receives over the air.

The real work was in the firmware, which takes MIDI data and packages it in a suitable form to send out over the nRF24L01. The system can operate in a one-to-one mode, emulating a single MIDI cable, or a multicast mode, where one sender transmits information to many receivers.

It’s a neat hack and one we could imagine would be useful in some fun performance situations. We’ve seen others do work on wireless MIDI interfaces for Eurorack hardware, too. Video after the break.

You Can Send MIDI Over I2C If You Really Need To

The Musical Instrument Digital Interface has a great acronym that is both nice to say and cleanly descriptive. The standard for talking to musical instruments relies on a serial signal at 31250 bps, which makes it easy to transmit using any old microcontroller UART with a settable baud rate. However, [Kevin] has dived into explore the utility of sending MIDI signals over I2C instead.

With a bit of hacking at the Arduino MIDI library, [Kevin] was able to get the microcontroller outputting MIDI data over the I2C interface, and developed a useful generic I2C MIDI transport for the platform. His first tests involved using this technique in concert with Gravity dual UART modules. After he successfully got one running, [Kevin] realised that four could be hooked up to a single Arduino, giving it 8 serial UARTS, or, in another way of thinking, 8 MIDI outputs.

At its greatest level of development, [Kevin] shows off his I2C MIDI chops by getting a single Raspberry Pi Pico delivering MIDI signals to 8 Arduinos, all over I2C. All the Arduinos are daisy-chained with their 5V and I2C lines wired together, and the system basically swaps out traditional MIDI channels for I2C addresses instead.

There’s not a whole lot of obvious killer applications for this, but if you want to send MIDI data to a bunch of microcontrollers, you might find it easier daisy-chaining I2C rather than hopping around with a serial line in the classic MIDI-IN/MIDI-THRU fashion.

We’ve seen [Kevin]’s work before too, like the wonderful Lo-Fi Orchestra. Video after the break.

Hack a Day 16 Feb 06:00

Robotic Xylophone Makes Music with MIDI Magic

The MIDI format has long been used to create some banging electronic music, so it’s refreshing to see how [John P. Miller] applied the standard in his decidedly analog self-playing robotic xylophone.

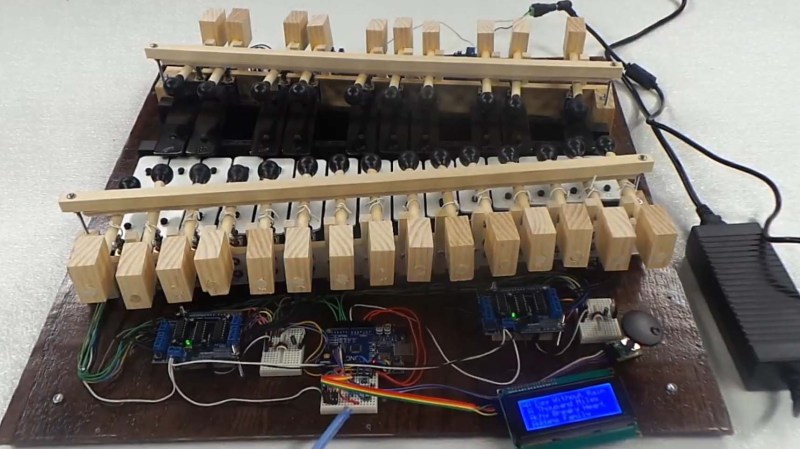
Framed inside a fetching Red Oak enclosure, the 25-key instrument uses individual solenoids for each key, meaning that it has no problem striking multiple bars simultaneously. This extra fidelity really helps in reproducing the familiar melodies via the MIDI format. The tracks themselves can be loaded onto the device via SD card, and selected for playback with character LCD and rotary knob.

The software transposes the full MIDI music spectrum of a particular track into a 25-note version compatible with the xylophone. Considering that a piano typically has 88 keys, some musical concessions are needed to produce a recognizable playback, but overall it’s an enjoyable musical experience.

Perhaps most remarkable about this project is the documentation. If you want to build your own, everything you need to know is available online, and the no-solder approach makes this project very accessible. Most of the write-up happened some years ago, and we’re really interested to see what improvements have been made since.

The robotic xylophone is reminiscent of these automatic tubular bells from some time ago. These musical hacks can be particularly inspiring, and we can’t wait to see more.

[Thanks Assad Ebrahim for the great tip.]

Bluetooth Record Player Puts a New Spin On Vinyl

You know, we were just discussing weird and/or obsolete audio formats in the writers’ dungeon the other day. (By the way, have you ever bought anything on DAT or MiniDisc?) While vinyl is hardly weird or (nowadays) obsolete, the fact that this Bluetooth record player by [JGJMatt] is so modern makes it all the more fantastic.

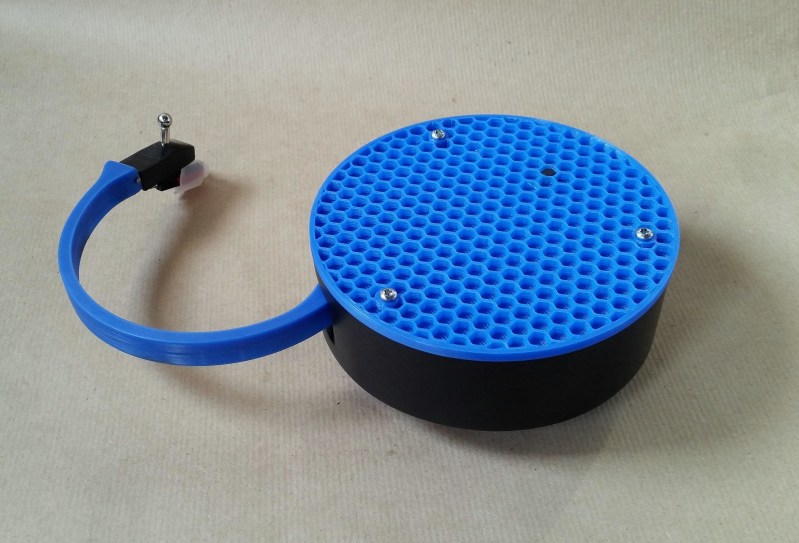
Not since the Audio-Technica Sound Burger, or Crosley’s semi-recent imitation, have we seen such a portable unit. But that’s not even the most notable part — this thing runs inversely to normal record players. Translation: the record stands still while the the player spins, and it sends the audio over Bluetooth to headphones or a speaker.

Inside this portable player is an Arduino Nano driving a 5 VDC motor with a worm gear box. There really isn’t too much more to this build — mostly power, a needle cartridge, and a Bluetooth audio transmitter. There’s a TTP223 touch module on the lid that allows [JGJMatt] to turn it off with the wave of a hand.

[JGJMatt] says this is a prototype/work-in-progress, and welcomes input from the community. Right now the drive system is good and the Bluetooth is stable and able, but the tone arm has some room for improvement — in tests, it only played a small section of the record and skidded and skittered across the innermost and outermost parts. Now, [JGJMatt] is trying two-part arm approach where the first bit extends and locks into position, and then a second arm extending from there and moves around freely.

Commercial record players can do more than just play records. If you’ve got an old one that isn’t even good enough for a thrift store copy of a Starship record, you could turn it into a pottery wheel or a guitar tremolo.

The Quadrivium EnsembleBot Is A Labour Of Love

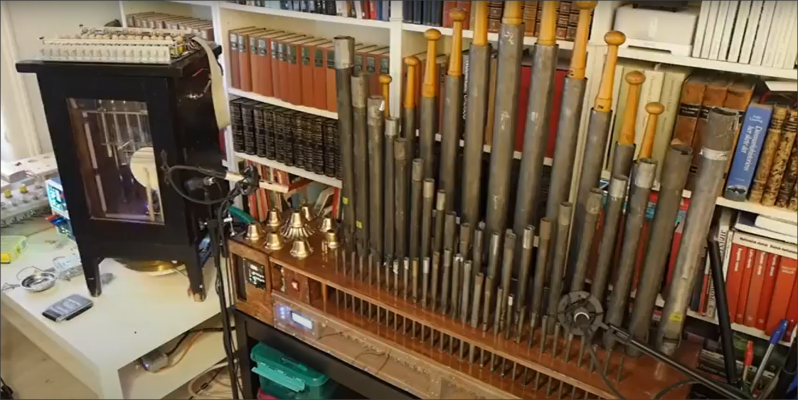
The Quadrivium EnsembleBot project is a mashup between old school musical instruments and the modern MIDI controlled world. Built by a small team over several years, these hand crafted instruments look and sound really nice.

The electronics side of things is taken care of with a pile of Arduinos and off-the-shelf modules, but that doesn’t mean the design isn’t well thought through, if a little more complicated than it could be in places. Control is taken care of with a PC sending commands over the USB to an Arduino 2560. This first Arduino is referred to as the Master Controller and has the immediate job of driving the percussive instruments as well as other instruments that are struck with simple solenoids. All these inductive loads are switched via opto-isolators to keep any noise generated by switching away from the microcontroller. A chain of four sixteen-channel GPIO expander modules are hung off the I2C bus to give even more opto-isolated outputs, as even the Arduino 2560 doesn’t quite have enough GPIO pins available. The are a number of instruments that have more complex control requirements, and these are connected to dedicated slave Arduinos via an SPI-to-CAN module. These are in various states of development, which we’ll be keeping our beady eyes on.

One of the more complex instruments is the PipeDream61 which is their second attempt to build a robotic pipe organ. This is powered by a Teensy, as they considered the Arduino to be a little too tight on resources. This organ has a temperature controller using an ATTiny85, in order to further relieve the main controller of such a burden and simplify the development a little.

Another interesting instrument is Robro, which is a robotic resophonic guitar which as they say is still work in progress despite how long they have been trying to get it to work. There’s clearly a fair bit of control complexity here, which is why it is taking so much fiddling (heh!) to get it work.

This project is by no means unique, lately we’ve covered controlling a church organ with MIDI, as well as a neat Arduino Orchestra, but the EnsembleBot is just so much more.

Thanks [gjerman] for the tip!

Hack a Day 19 Oct 16:30

Arduino Orchestra Plays The Planets Suite

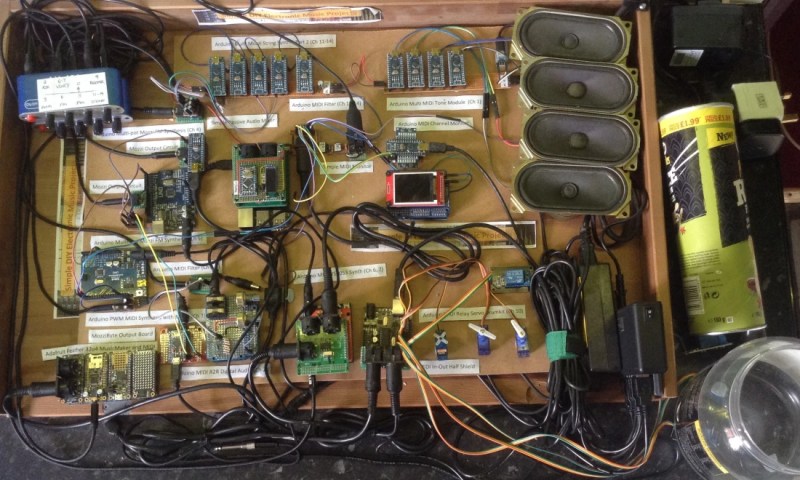
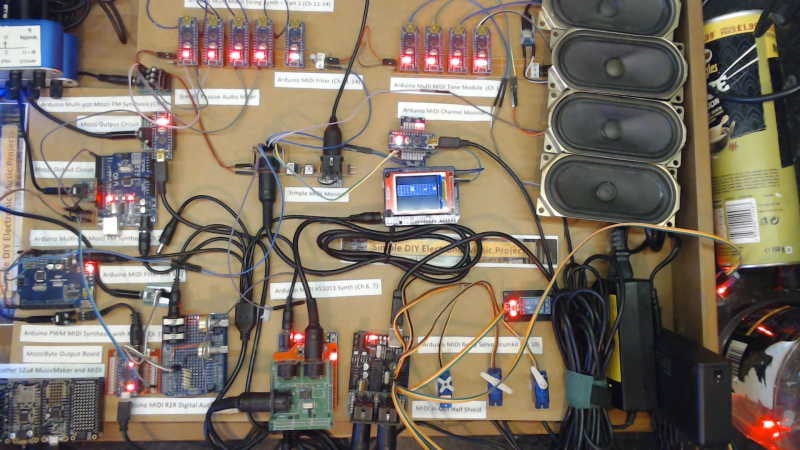
We’ve seen a great many Arduino synthesizer projects over the years. We love to see a single Arduino bleeping out some monophonic notes. From there, many hackers catch the bug and the sky is truly the limit. [Kevin] is one such hacker who now has an Arduino orchestra capable of playing all seven movements of Gustav Holst’s Planets Suite.

The performers are not human beings with expensive instruments, but simple microcontrollers running code hewn by [Kevin’s] own fingertips. The full orchestra consists of 11 Arduino Nanos, 6 Arduino Unos, 1 Arduino Pro Mini, 1 Adafruit Feather 32u4, and finally, a Raspberry Pi.

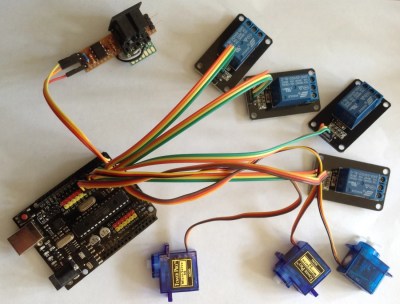
Different synths handle different parts of the performance. There are General MIDI synths on harp and bass, an FM synth handling wind and horn sections, and a bunch of relays and servos serving as the percussive section. The whole orchestra comes together to do a remarkable, yet lo-fi, rendition of the whole orchestral work.

While it’s unlikely to win any classical music awards, it’s a charming recreation of a classical piece and it’s all the more interesting coming from so many disparate parts working together. It’s an entirely different experience than simply listening to a MIDI track playing on a set of headphones.

We’d love to see some kind of hacker convention run a contest for the best hardware orchestra. It could become a kind of demoscene contest all its own. In the meantime, scope one of [Kevin’s] earlier projects on the way to this one – 12 Arduinos singing Star Wars tracks all together. Video after the break.

Meet the Marvelous Macro Music Maker

Do you kind of want a macropad, but aren’t sure that you would use it? Hackaday alum [Jeremy Cook] is now making and selling the JC Pro Macro on Tindie, which is exactly what it sounds like — a Pro Micro-based macro keypad with an OLED screen and a rotary encoder. In the video below, [Jeremy] shows how he made it into a music maker by adding a speaker and a small solenoid that does percussion, all while retaining the original macro pad functionality.

[Jeremy]’s original idea for a drum was to have a servo seesawing a chopstick back and forth on the table as one might nervously twiddle a pencil. That didn’t work out so well, so he switched to the solenoid and printed a thing to hold it upright, and we absolutely love it. The drum is controlled with the rotary encoder: push to turn the beat on or off and crank it to change the BPM.

To make it easier to connect up the solenoid and speaker, [Jeremy] had a little I²C helper board fabricated. There’s one SVG connection and another with power and ground swapped in the event it is needed. If you’re interested in the JC Pro Macro, you can pick it up in various forms over on Tindie. Of course, you might want to wait for version 2, which is coming to Kickstarter in October.

There are many ways to make a macro keyboard. Here’s one that also takes gesture input.

Harp Uses Frikin’ Lasers

We aren’t sure if you really need lasers to build [HoPE’s] laser harp. It is little more than some photocells and has an Arduino generate tones based on the signals. Still, you need to excite the photocells somehow, and lasers are cheap enough these days.

Mechanically, the device is a pretty large wooden structure. There are six lasers aligned to six light sensors. Each sensor is read by an analog input pin on an Arduino armed with a music-generation shield. We’ve seen plenty of these in the past, but the simplicity of this one is engaging.

We’ve used the copper tape writing trick ourselves and it is quite effective. The tape is often used for stained glass work and sticks to many surfaces. You can solder to it and solder overlaps where you need connections. The results are often as good as a simple single-sided PCB.

The code attached to the post is fairly straightforward and the MIDI shield does the bulk of the work. It should also make it easy to create some really impressive musical effects with a bit of extra coding.

If you want an artsy self-contained version, check out this previous Hackaday Prize entry. We’ve seen several of these at different levels of complexity.