In honor of DEFCON, this week we’re looking at some cryptography and reverse engineering projects over at Hackaday.io
 Every hacker loves a hardware puzzle, and [Tom] has created a tool to make those puzzles. His Hardware Reverse Engineering Learning Platform consists of a shield with two ATmega328 chips and an I2C EEPROM. The two Atmel chips share a data bus and I2C lines. Right in the middle of all this is an ST Morpho connector, which allows an ST Nucleo board to act as a sniffer. The platform allows anyone to create a reverse engineering challenge!
To successfully reverse engineer a board, it sure helps to have good tools. [coflynn] is giving that to us in spaces with The ChipWhisperer. ChipWhisperer is an open source security research platform. The heart of the system is a Xilinx Spartan 6 FPGA. The FPGA allows very high speed operations for things like VCC and clock glitching. ChipWhisperer is an entire ecosystem of boards – from LNA blocks to field probes. The entire system is controlled from an easy to use GUI. The end result is a powerful tool for hardware attacks.
 On the Encryption side of the house, we start by keeping the Feds at bay. The [Sector67] hackerspace has collectively created NSA AWAY. NSA AWAY is a simple method of sending secure messages over an insecure medium – such as email. A one-time use pad is stored on two SD cards, which are used by two Android devices. The message sender uses an Android device to encrypt the message. On the receive side, the message can be decoded simply by pointing an android device’s camera at the encrypted data. So easy, even a grandparent could do it!
 Next up is [Josh's] Bury it under the noise floor. “Bury it” is an education for cryptography in general, and stenographic software in particular. [Josh] explains how to use AES-256 encryption, password hashing, and other common techniques. He then introduces stenography by showing how to hide an encrypted message inside an image. Anyone who participated in Hackaday’s ARG build up to The Hackaday Prize will recognize this technique.
 [yago] gives us encrypted voice communications with his ZRTP Hardphone. The hardphone implements the ZRTP, a protocol for encrypted voice over IP communications. The protocol is implemented by a Raspberry Pi using a couple of USB sound cards. User interface is a 16×2 Line character LCD, a membrane keypad, and of course a phone handset. Don’t forget that you need to build two units,or whoever you’re trying to call will be rather confused!
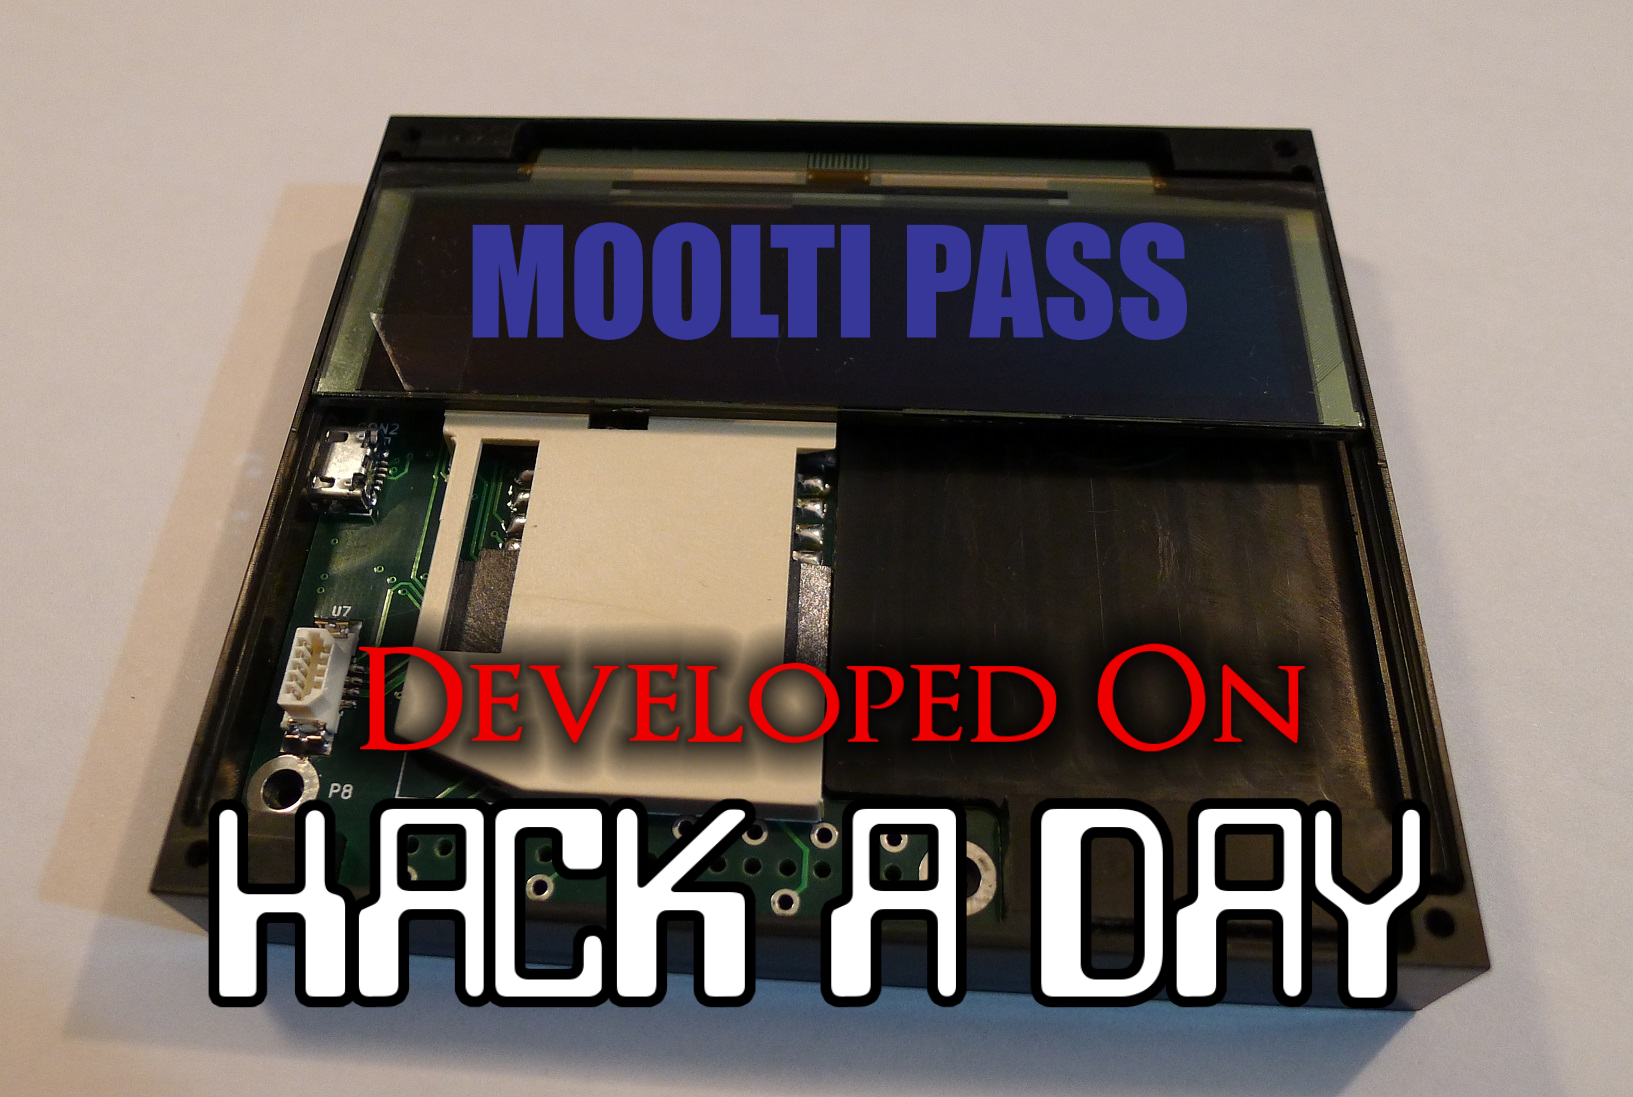
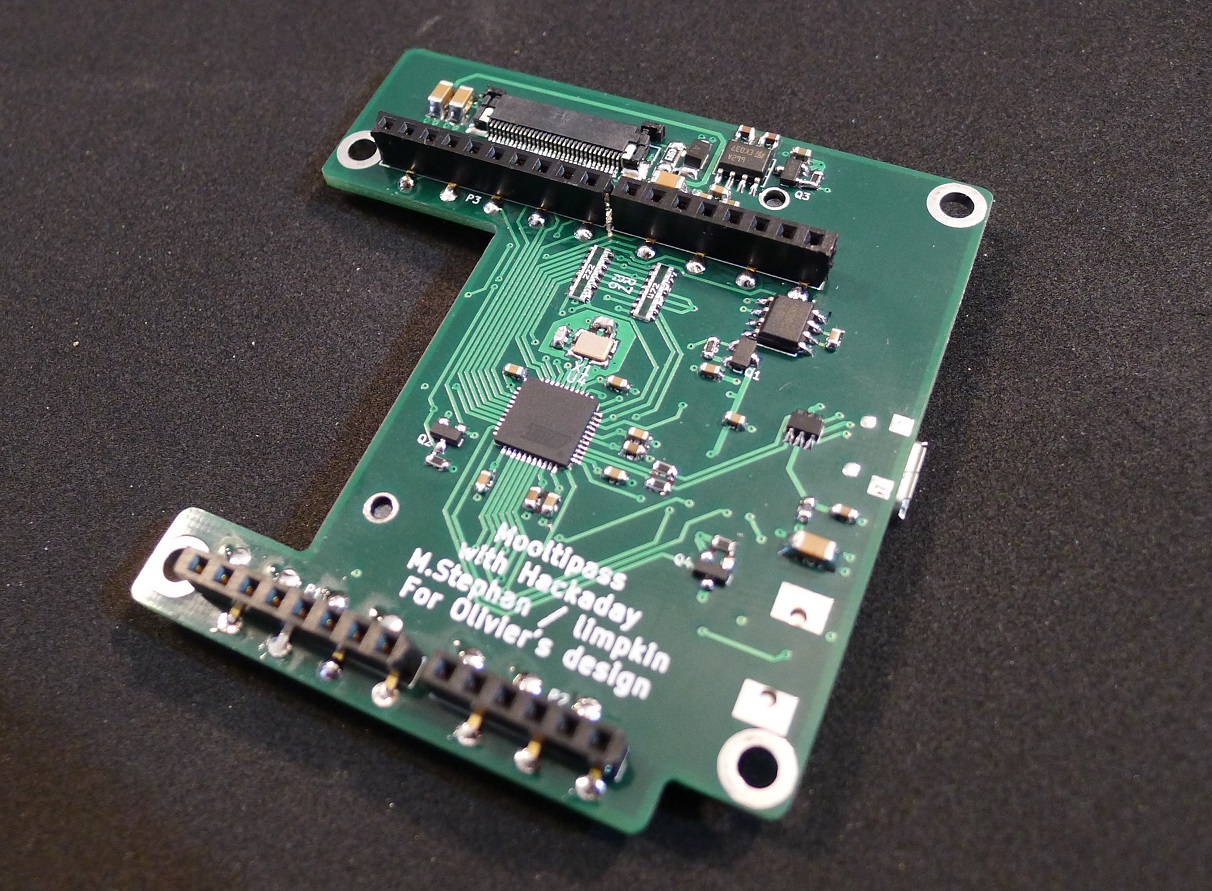
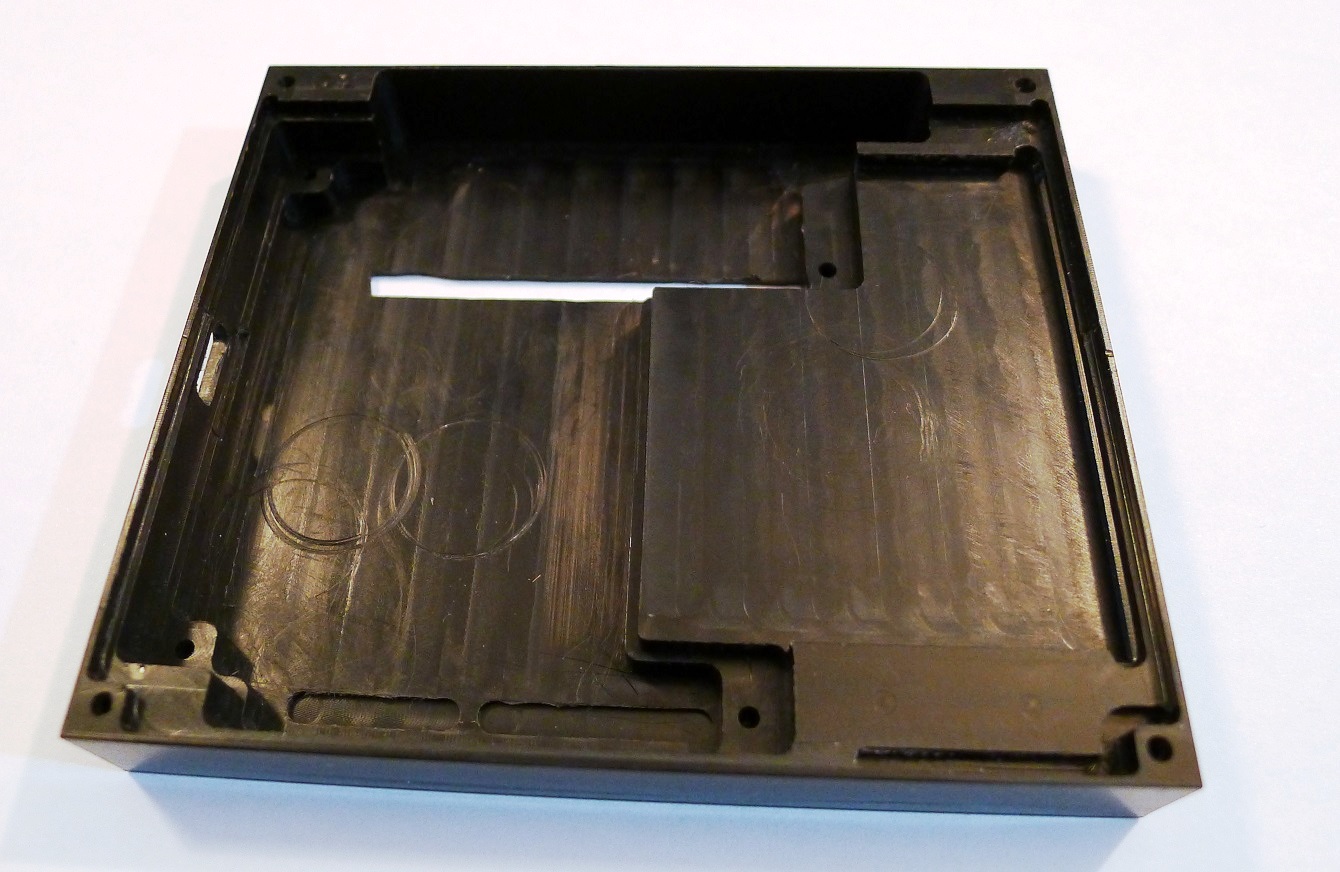
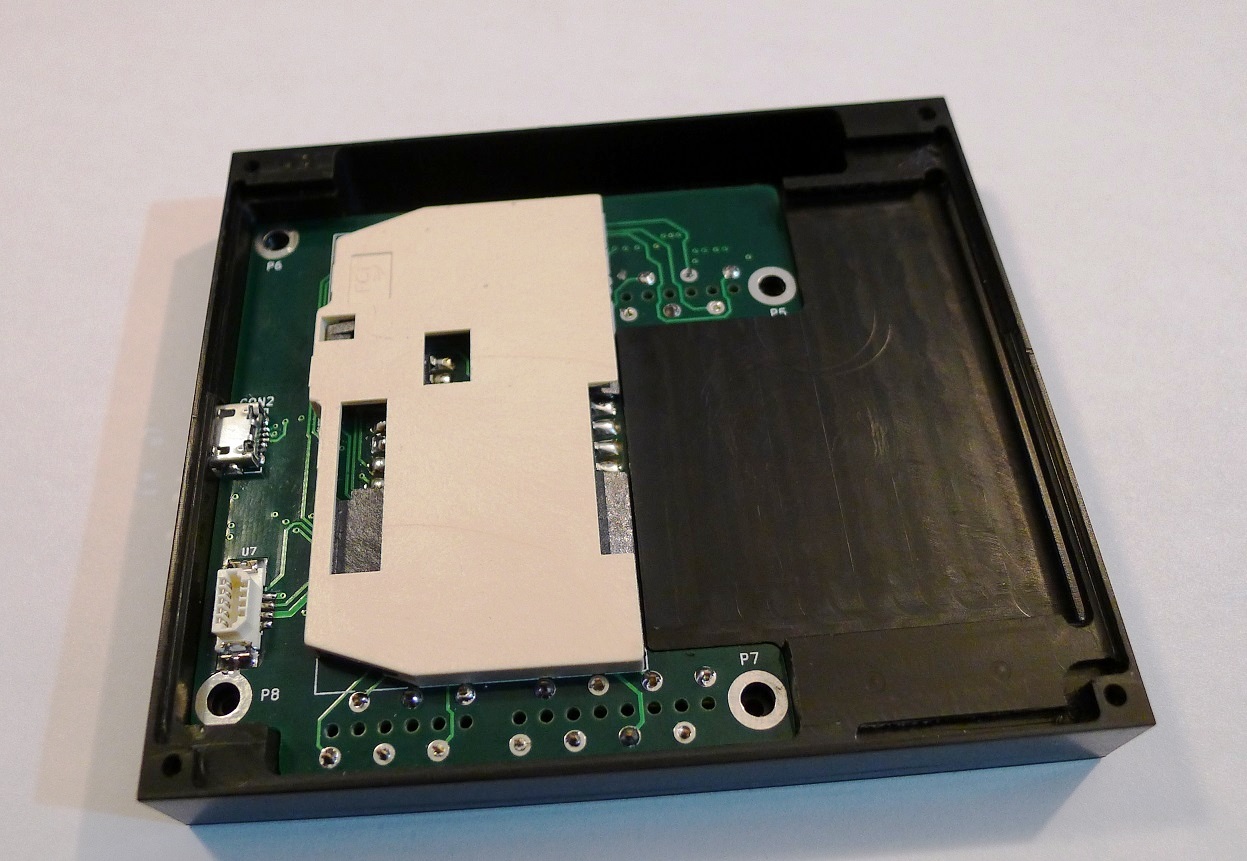
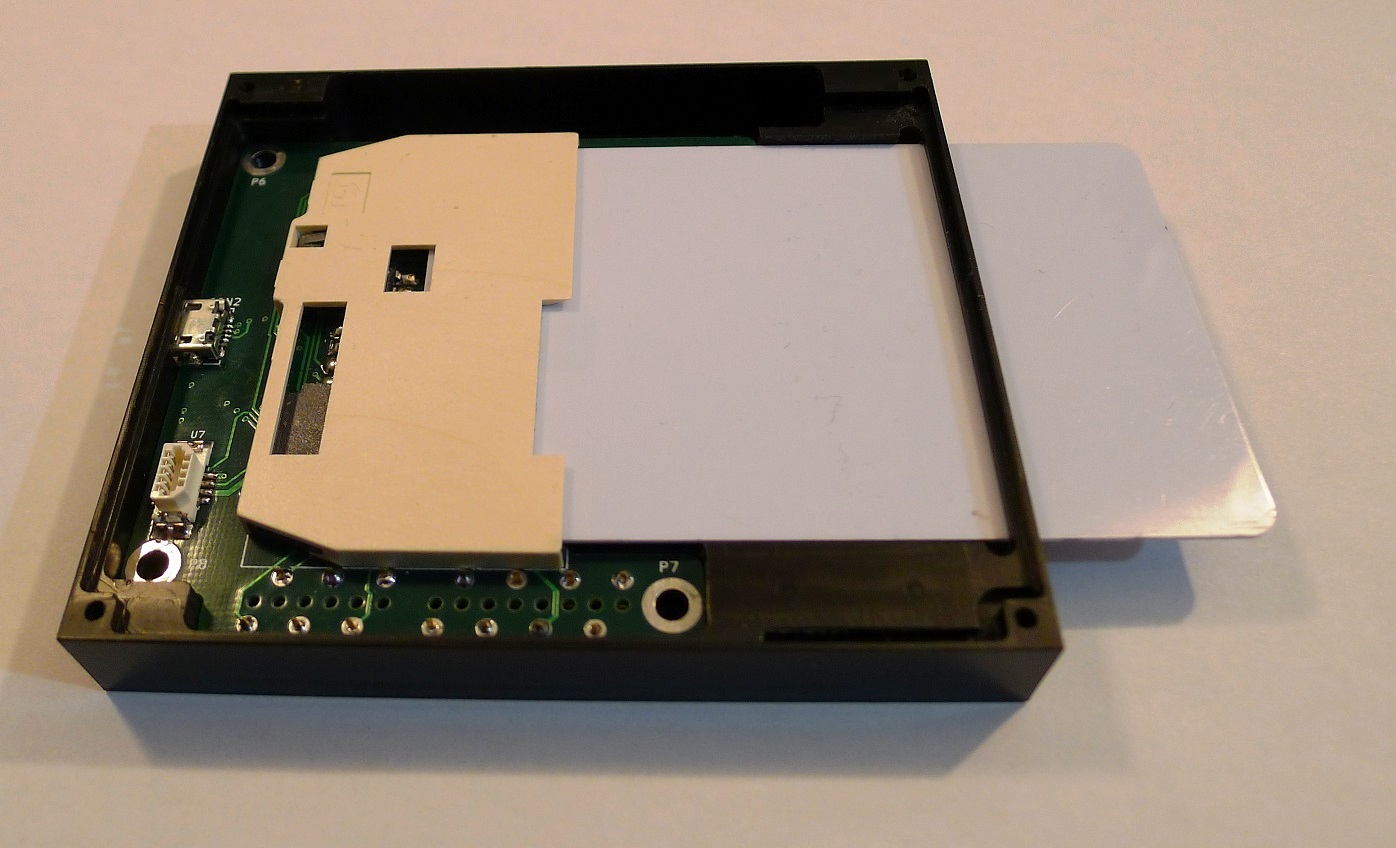
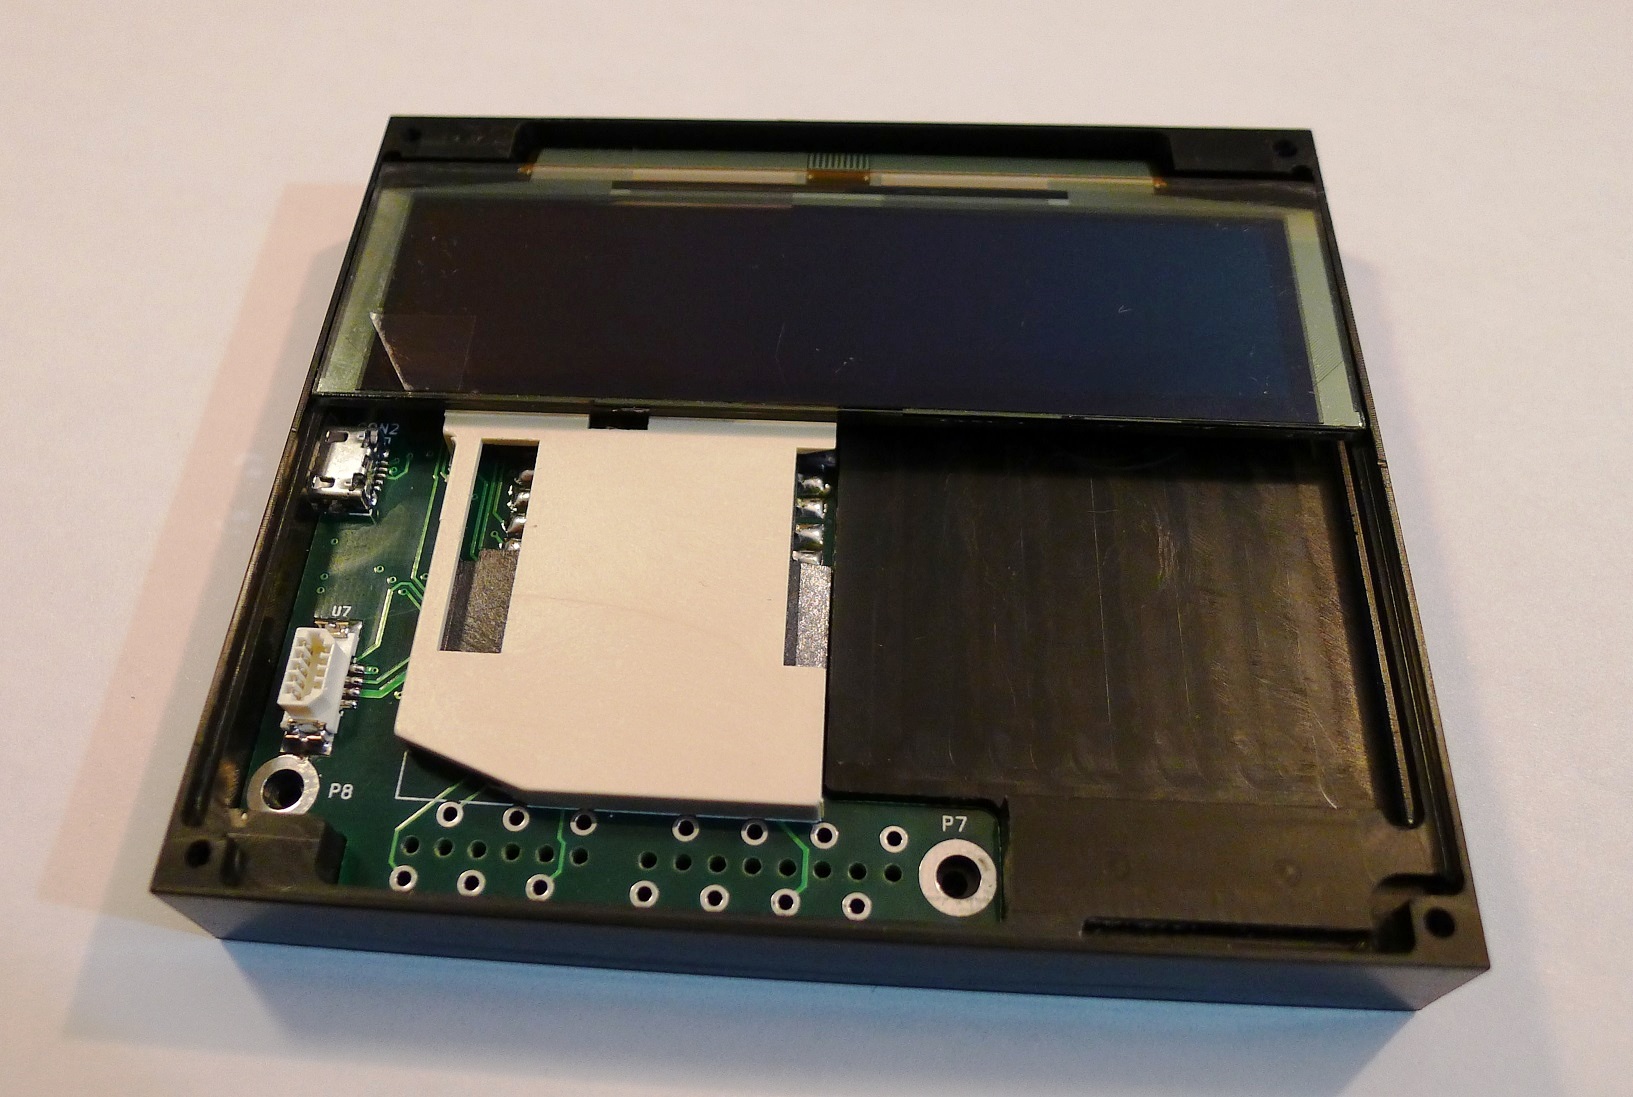
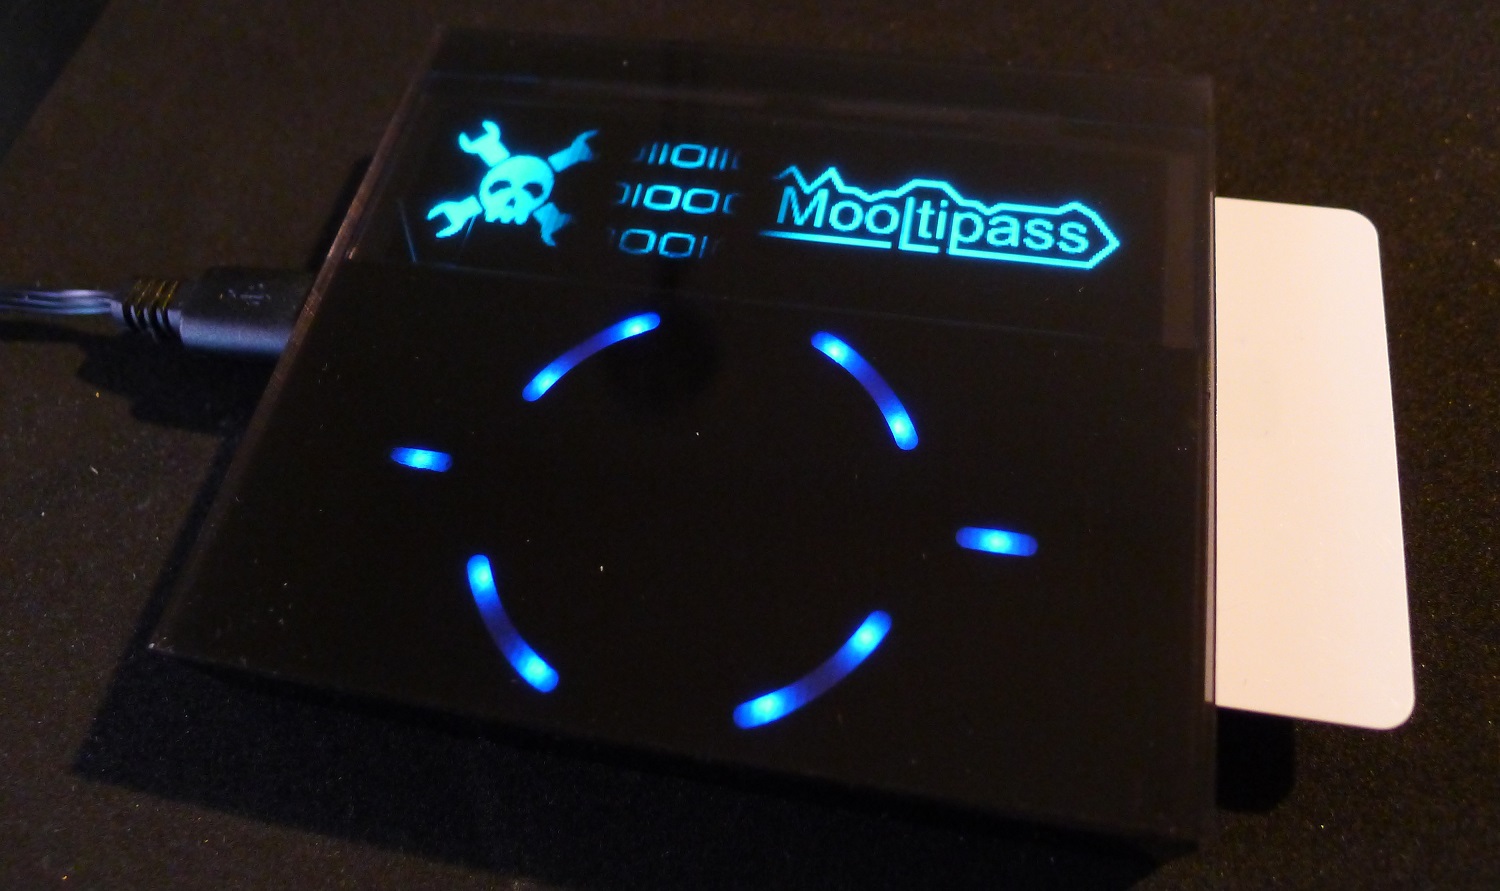
 Finally we have the Mooltipass. Developed right here on Hackaday by [Mathieu Stephan] and the community at large, Mooltipass is a secure password storage system. All your passwords can be stored fully AES-256 encrypted, with a Smart Card key. Under the hood, Mooltipass uses an Arduino compatible ATmega32U4 microcontroller. UI is through a OLED screen and touch controls.
That’s it for this week! Be sure to check out next week’s Hacklet, when we bring you more of the best from Hackaday.io!
Filed under:
Hackaday Columns