Posts with «password» label

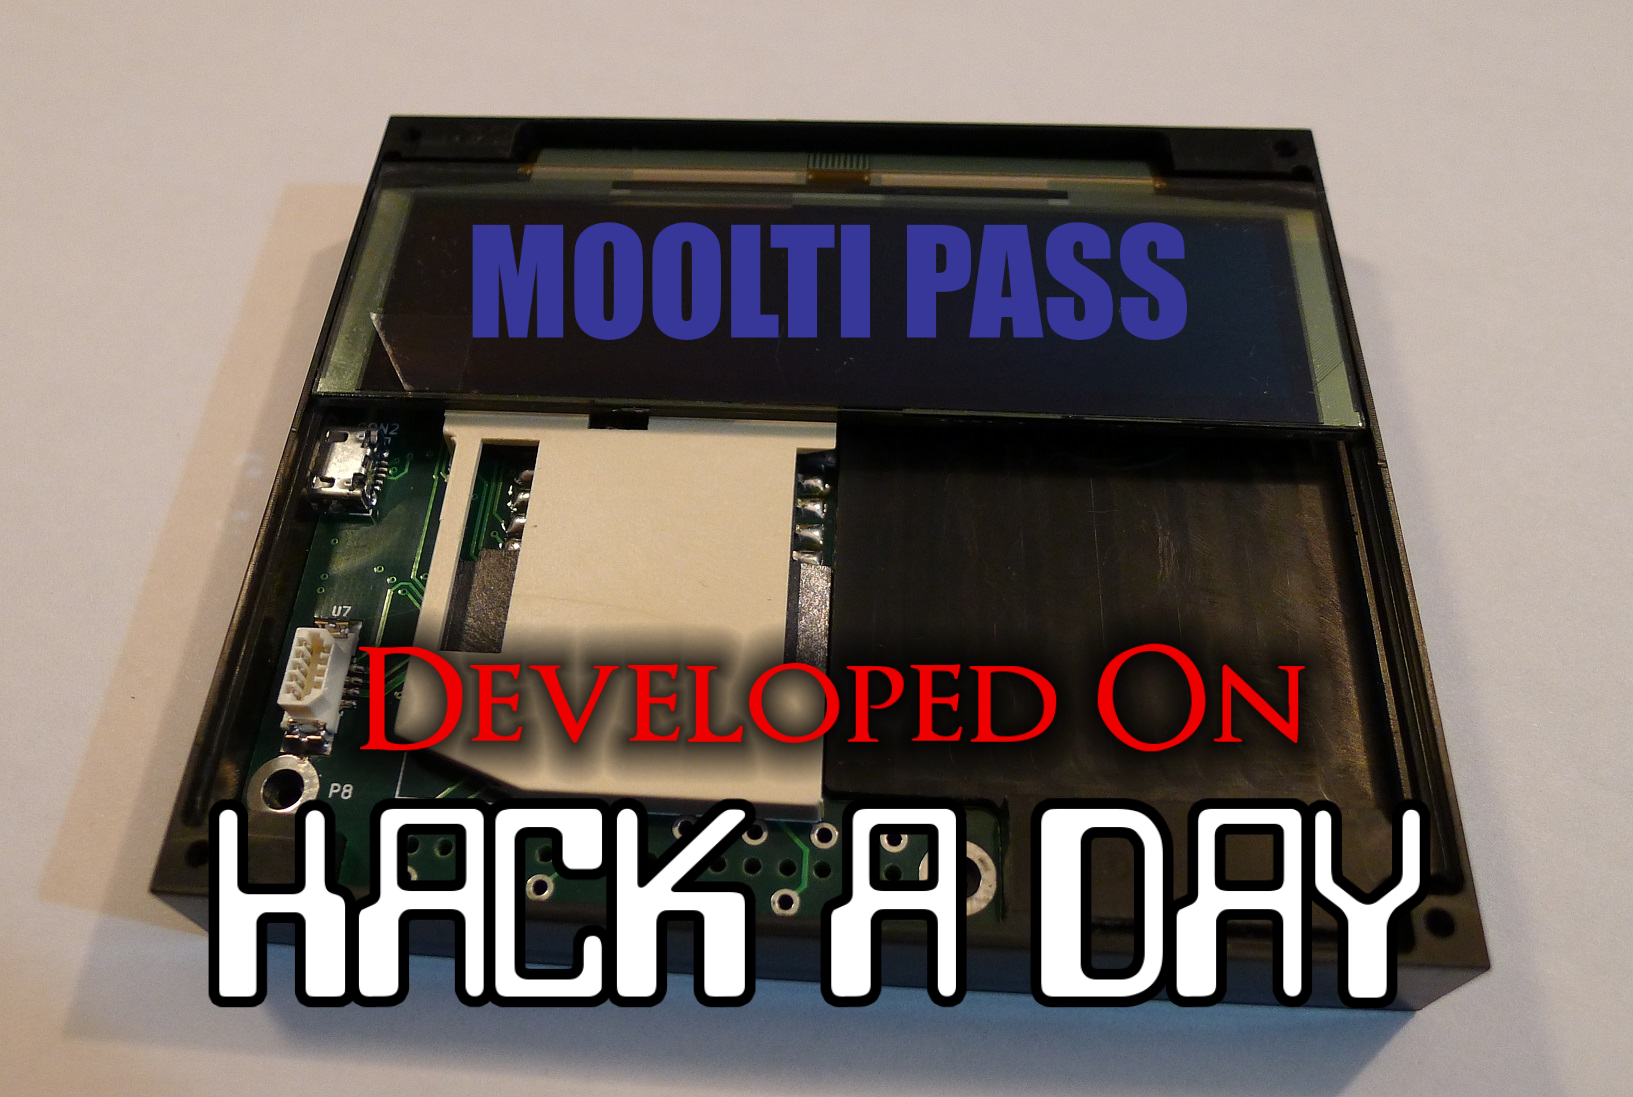
Developed on Hackaday: Mooltipass Arduino Shields Compatibility

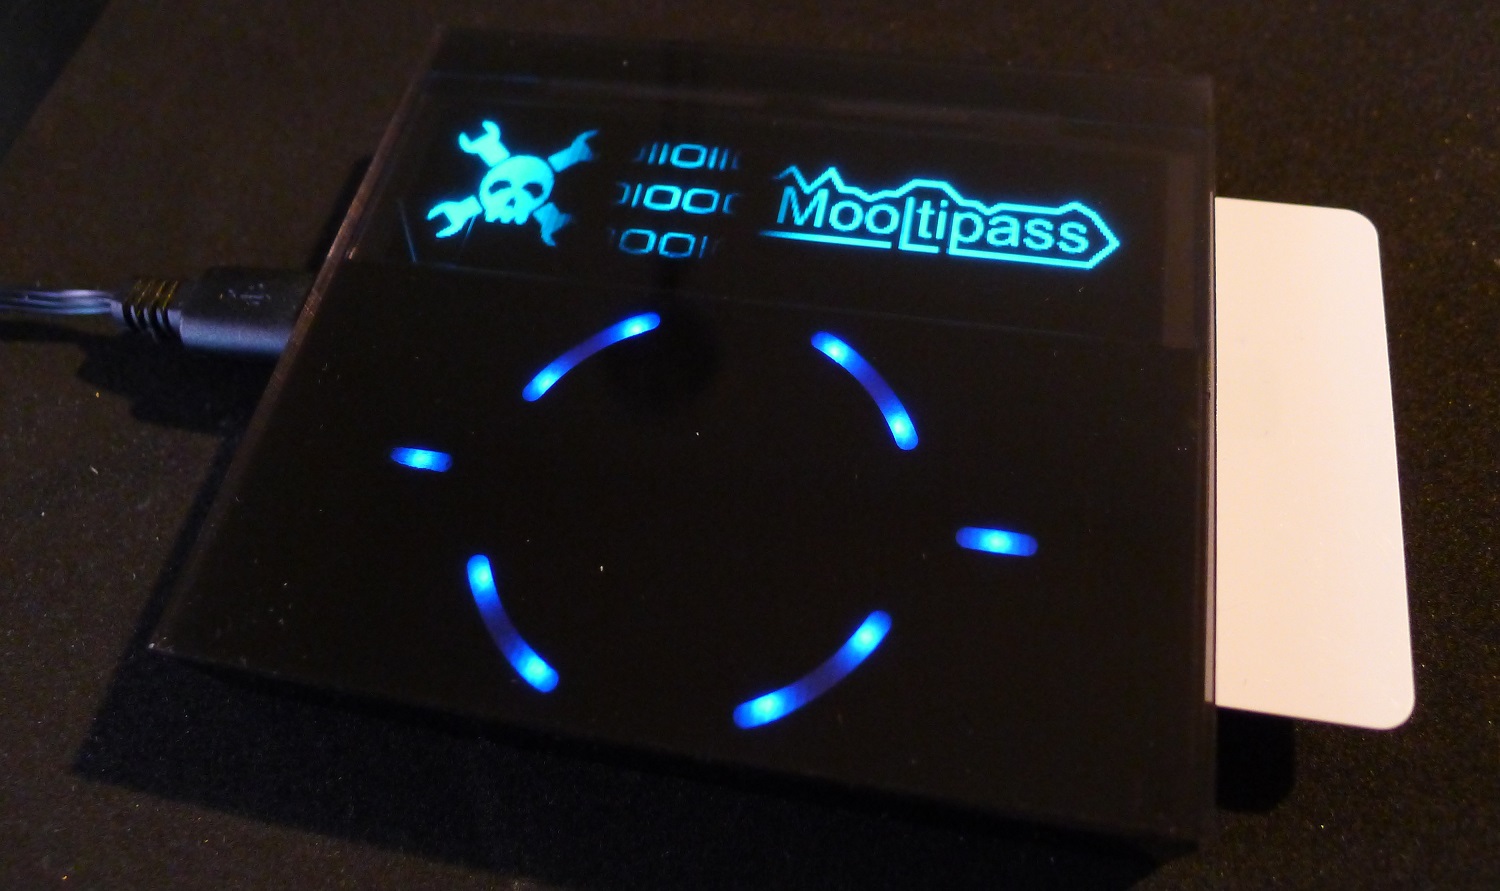
Some of our dear readers may already have an infallible system to remember different complex passwords for the different websites they visit daily. This is why they may have not been following the offline password keeper that the Hackaday community is building.

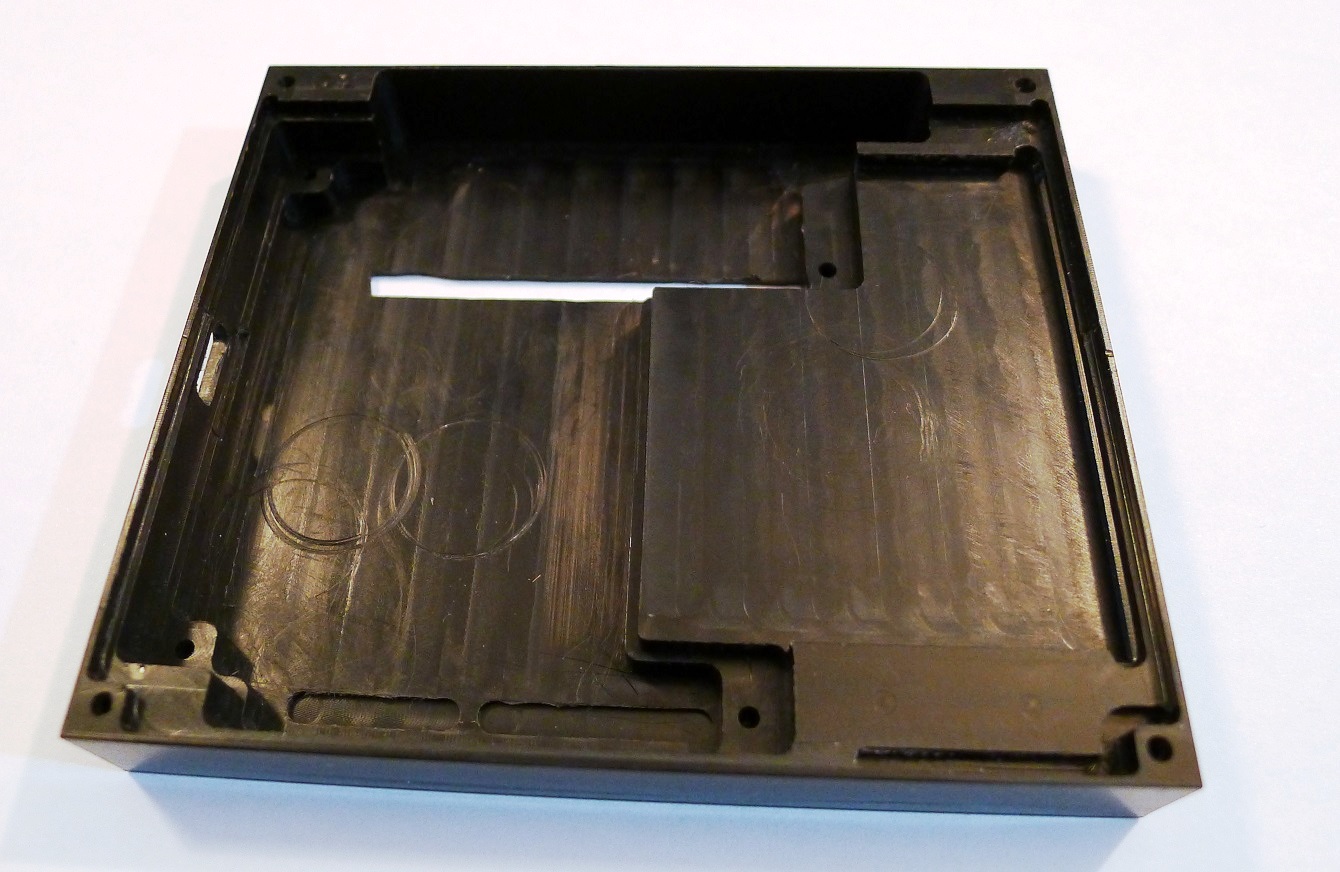
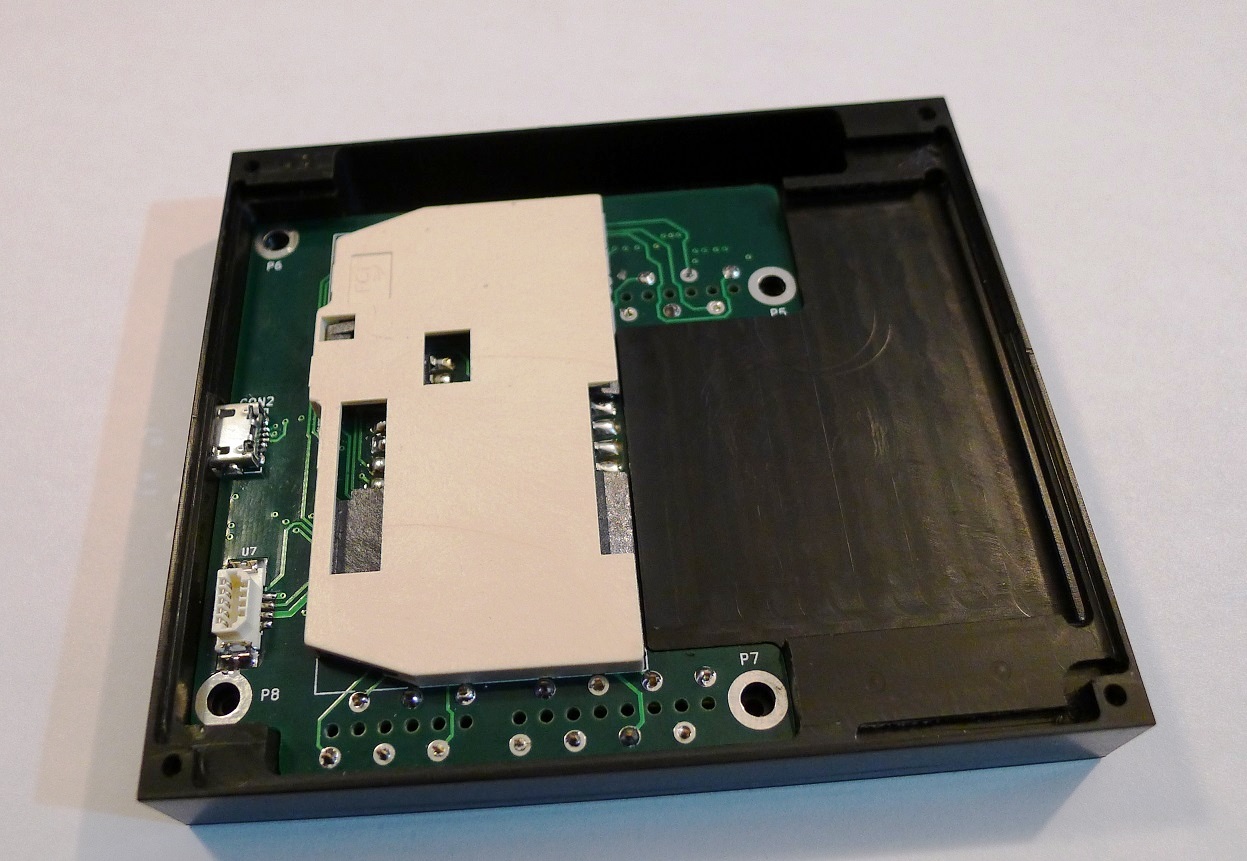
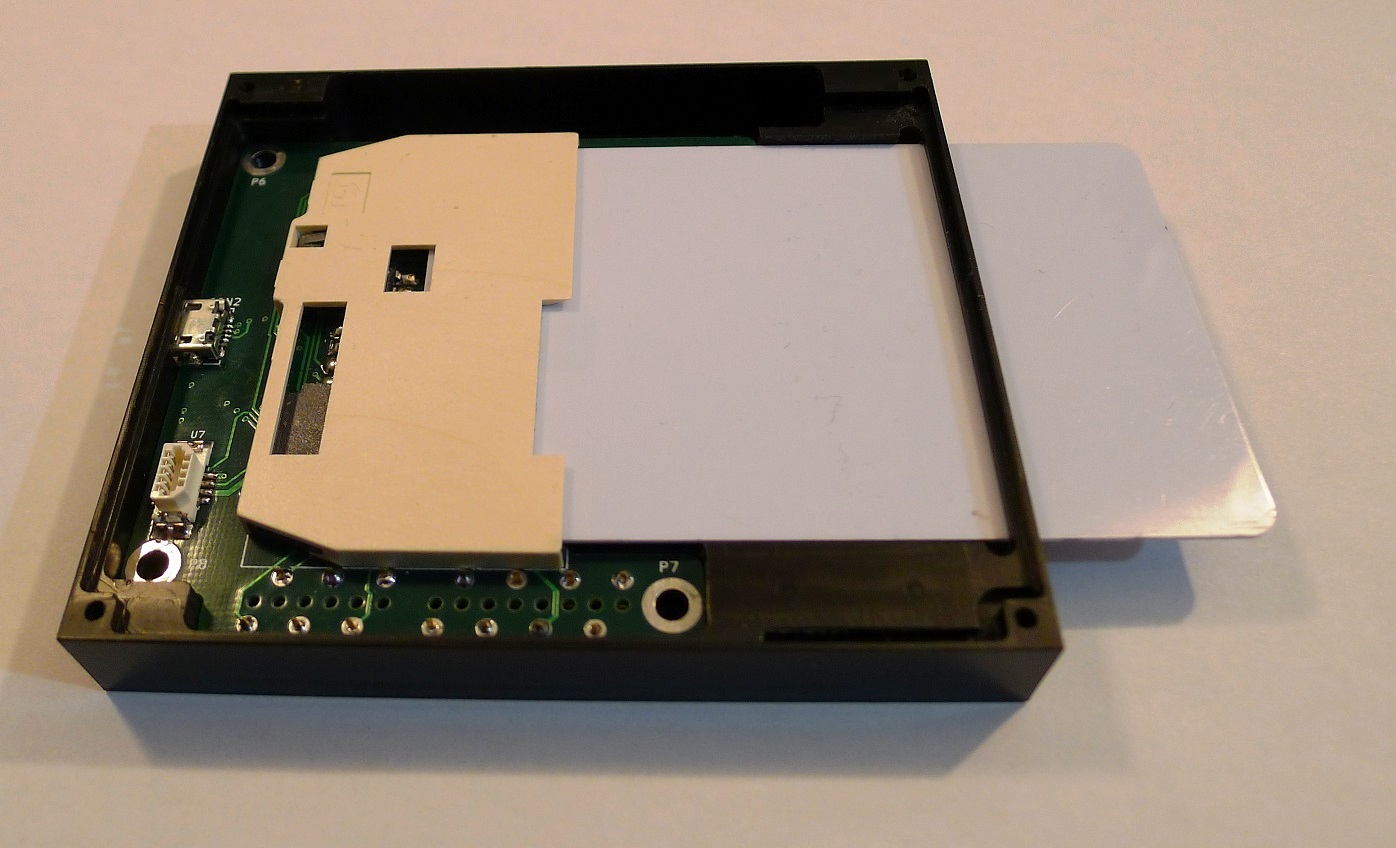
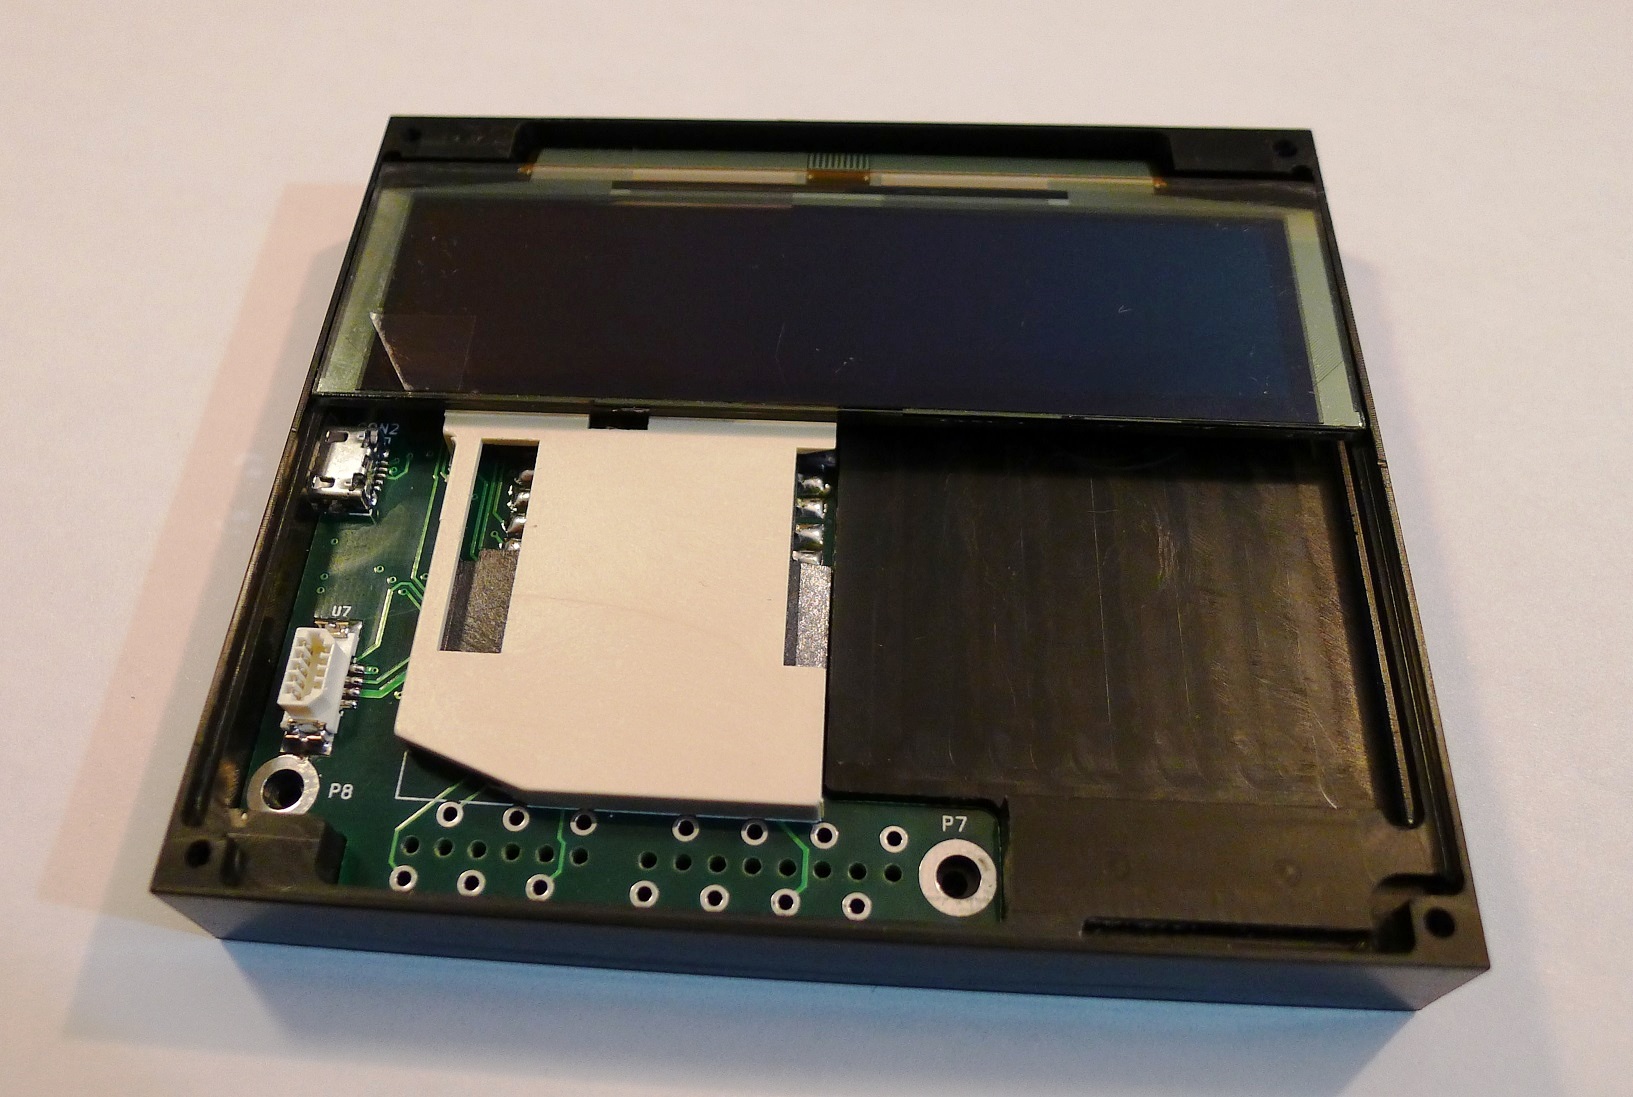
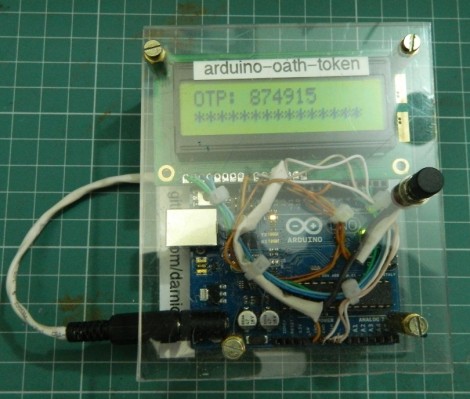
The Mooltipass has a characteristic that may regain their interest: it is possible to connect Arduino shields to it. In the video embedded below you can see the Arduino conversion process our development team imagined a few months back. The operation simply consists in using a knife to remove plastic bits on top of standard Arduino headers. We also embedded a few use cases with their respective sketches that may be downloaded from our official GitHub repository.

As with stacking several shields, a little tweaking may be required to keep the functionalities from both the Mooltipass and the connected shield. We therefore strongly welcome Arduino enthusiasts to let us know what they think of our setup.

In the meantime, you may want to subscribe to our official Google Group to stay informed of the Mooltipass launch date.


Filed under: Hackaday Columns

Developed on Hackaday: Olivier’s Design Rundown

The Hackaday writers and readers are currently working hand-in-hand on an offline password keeper, the Mooltipass. A few days ago we presented Olivier’s design front PCB without even showing the rest of his creation (which was quite rude of us…). We also asked our readers for input on how we should design the front panel. In this new article we will therefore show you how the different pieces fit together in this very first (non-final) prototype… follow us after the break!

This is the bottom PCB, containing the main micro-controller, the Arduino headers and the FPC connector for the OLED screen. Finding low profile standard .1″ female connectors was one of our longest Google searches. The ones you can see above are pass-through connectors, which means that the pins can go through the PCB.

This is the CNC-milled prototype case. On the bottom you may notice two slots having a smaller depth to the other end, positioned right on top of the Arduino connectors. As previously mentioned in our Developed on Hackaday articles, we want to give the final users the ability to convert their secure password keeper into an Arduino platform. As you may have guessed, converting the Mooltipass will be as simple as cutting this thin plastic layer (see top of the picture) to access the Arduino headers and unlock the platform.

This is how the bottom PCB fits into the case. 4 screws can be used to keep everything in place. The large elevated plastic area serves as a flat surface for the smartcard:

The OLED screen then rests on the case’s sides:

Enough space is left behind the screen for the flex PCB to comfortably bend. Finally, the top board fits in the remaining space and the acrylic panel is put on top of the assembly:

As our last article stated, we obviously still have some things to perfect. In the meantime, we are going to hand solder a few prototypes and ship them out to our current developers.

Want to stay informed? You can join the official Mooltipass Google Group or follow us on Hackaday Projects.


Filed under: Featured, hardware

Time-based One-Time Passwords with an Arduino

Get your feet wet with Time-based One-Time Password (TOTP) security by building your own Arduino OATH system. OATH is an open standard authentication system that provides a platform to generate tokens, making your login more secure than a password alone would.

The TOTP approach is what is used with many companies that issue hardware-based dongles for logging in remotely. This security may have been compromised but it’s still better than passwords alone. Plus, if you’re building it around an Arduino we’d bet you’re just trying to learn and not actually responsible for protecting industrial or state secrets.

The hardware setup requires nothing more than the Arduino board with one button and a screen as a user interface. Since the board has a crystal oscillator it keeps fairly accurate time (as long as it remains powered). It will push out a new token every thirty seconds. The video after the break shows that the Arduino-calculated value does indeed match what the test box is displaying.


Filed under: arduino hacks, security hacks
Hack a Day 11 Jul 12:01