Posts with «internet of things» label

Control Your Light Switches from Your Phone

Ahmet Akif Kaya built a system. that incorporates an Arduino, Bluetooth module, and servo. to control his light switch from his cel phone.

Read more on MAKE

The post Control Your Light Switches from Your Phone appeared first on Make: DIY Projects and Ideas for Makers.

Arduino announces Arm partnership

Dear Arduino Community,

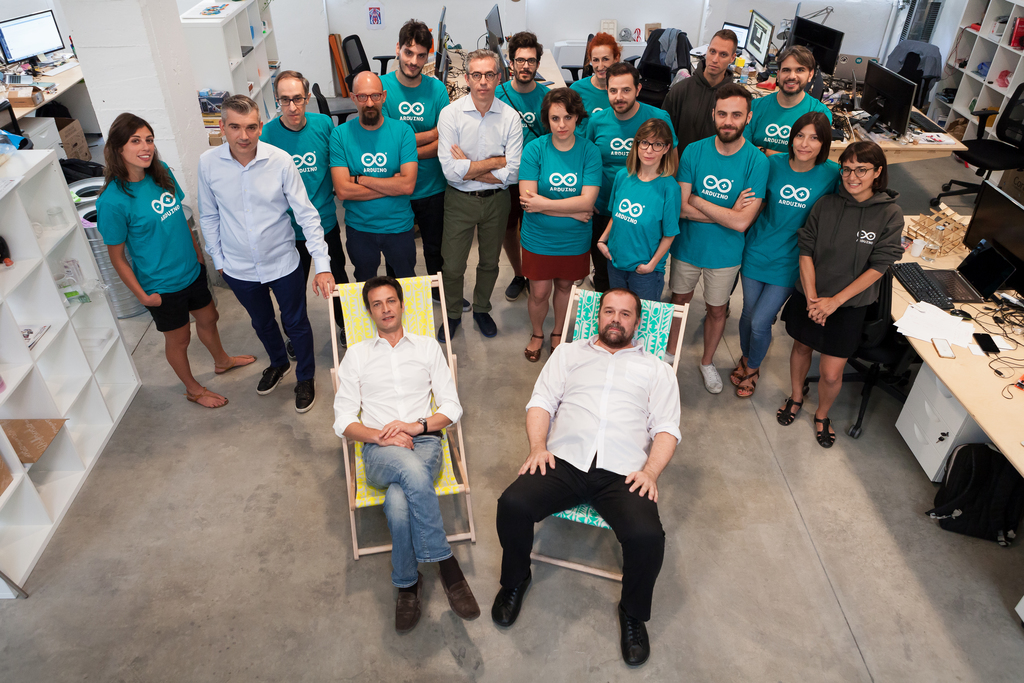
Back in July, we announced that the original Arduino founders regained full control of Arduino as a company. It was the culmination of a project that lasted several months, which required a tremendous amount of effort in finding the right partner that could help us make it happen while keeping the spirit of Arduino true to itself.

Throughout the litigation we dreamed of reclaiming control of the company, bringing it back to its original principles while designing a strategy that would allow us to tackle the challenges of the contemporary IoT world.

In order to make his a reality, we needed a partner that would provide us with the resources to regain full ownership of Arduino as a company while keeping it independent and true to its values of openness.
It wasn’t easy, but more than a year ago, in the middle of the litigation, we started a conversation with an important technology company that is an essential building block of today’s digital world: Arm.

During a very hot day in spring I visited California to meet with Arm. It was a great meeting of minds and we determined that such a partnership was the right fit for us. Arm is an extremely innovative company whose processors can be found inside virtually every mobile device on the planet; but they don’t actually build silicon. Instead, they have created an ecosystem of a thousand-plus partners, some of whom compete with each other, but Arm works in harmony with all of them.

Arm recognized independence as a core value of Arduino. This was very important for us, as it meant full understanding of our need to work with multiple silicon vendors and architectures as long as they make sense for Arduino—without any lock-in with the Arm architecture.

Following the meeting with Arm, I was thrilled. I shared my excitement with our new CEO Fabio Violante and my cofounders: Arduino could again be 100% ours, with the help of a supportive partner that leaves complete autonomy to our team and our community.

We worked very hard for many months to make this happen, and Arm graciously agreed to support us to complete the operation.

What should you expect from us in the future? A stronger Arduino, free to innovate with more firepower, and plenty of enthusiasm for future challenges and opportunities.

We will continue to work with all technology vendors and architectures moving forward. We stay independent; we stay open, and we still provide the most loved microcontroller development platform that has changed the lives of so many people around the world.
When Things Start to Gossip and Other Computational Matters

What are the implications of our devices exchanging information about our identities, abilities, and actions? They're all quite the gossip.

Read more on MAKE

The post When Things Start to Gossip and Other Computational Matters appeared first on Make: DIY Projects and Ideas for Makers.

CircuitPython Snakes its Way onto Adafruit Hardware

We sit down to talk with Scott Shawcroft, an engineer at Adafruit, to discuss their hardware transition to CircuitPython.

Read more on MAKE

The post CircuitPython Snakes its Way onto Adafruit Hardware appeared first on Make: DIY Projects and Ideas for Makers.

Hackaday Prize Entry: USB GSM GPS 9DOF SD TinyTracker Has All the Acronyms

[Paul] has put together an insanely small yet powerful tracker for monitoring all the things. The USB TinyTracker is a device that packages a 48MHz processor, 2G modem, GPS receiver, 9DOF motion sensor, barometer, microphone, and micro-SD slot for data storage. He managed to get it all to fit into a USB thumb drive enclosure, meaning that you can program it however you want in the Arduino IDE, then plug it into any USB port and let it run. This enables things like remote monitoring, asset tracking, and all kinds of spy-like activity.

One of the most unusual aspects of his project, though, is this line: “Everything came together very nicely and the height of parts and PCBs is exactly as I planned.” [Paul] had picked out an enclosure that was only supposed to fit a single PCB, but with some careful calculations, and picky component selection, he managed to fit everything onto two 2-layer boards that snap together with a connector and fit inside the enclosure.

We’ve followed [Paul’s] progress on this project with an earlier iteration of his GSM GPS Tracker, which used a Teensy and fit snugly into a handlebar, but this one is much more versatile.


Filed under: The Hackaday Prize

Temboo adds more Arduino board support

This is a guest post from Vaughn Shinall, Head of Product Outreach at Temboo.

Making 20,000 cakes more safely and efficiently every day, improving engine manufacturing for lawnmowers so they run more quietly, and designing farms to need less water. These are just a few examples of how Arduinos are being used everyday by engineers, businesses, and researchers with Temboo. Our embedded code generation engine empowers all sorts of people and organizations to program Arduino to connect to any cloud service, enabling ideas and creative applications all over the world.

Today we’re excited to announce a big update to our support for Arduino devices. In line with the great advances that Arduino has made with its development boards and Internet-connectivity shields recently, we’ve upgraded our generated code and Arduino library to support the latest Arduino hardware.

Temboo’s code generation engine now officially supports the following boards:

As well as the following Internet connectivity shields:

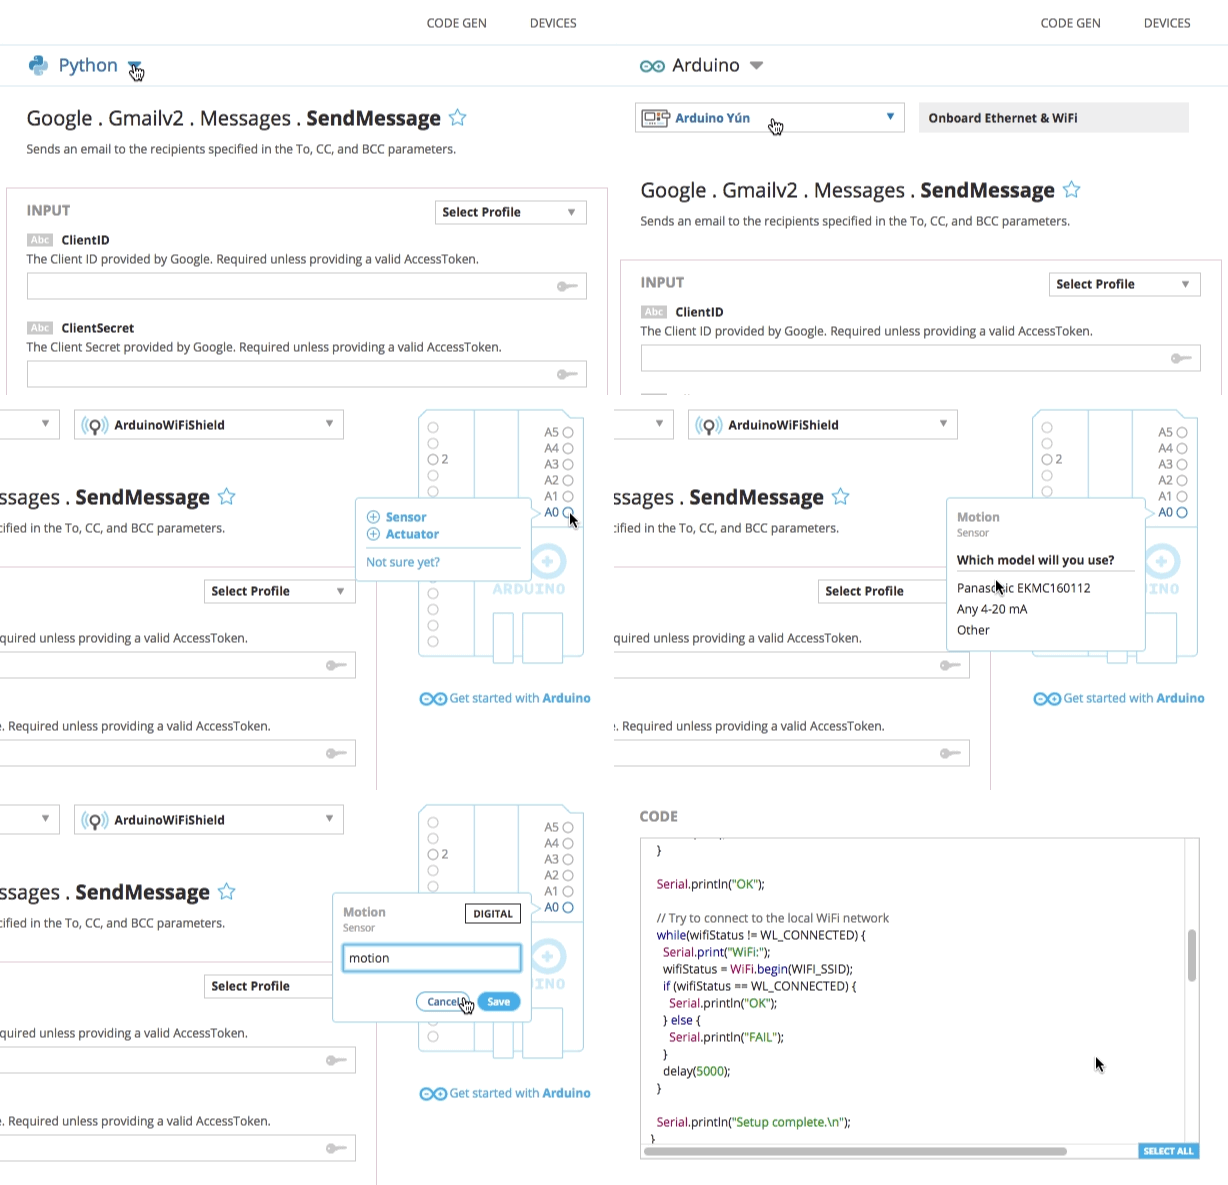
Temboo will generate code for these Arduino boards that is production-ready and optimized for embedded devices. You can even select the sensors, actuators, and GPIO pins you are working with in our interface so that the generated code automatically converts sensor readings into real world units and handles conditional logic to, for example, send an SMS alert whenever high temperatures are detected.

Temboo also ensures that your sensor data and other information is protected in transit by establishing a secure connection from your board to the Temboo platform via HTTPS. As always, any information that you store on the Temboo platform is secured via military-grade encryption. Combining Temboo’s generated code with your Arduino board enables you to easily accomplish many common IoT tasks, from generating sensor data graphs viewable in any browser, to integrating with 100+ popular APIs, triggering sensor-based alerts via email and SMS, and remotely controlling actuators like LEDs, solenoids, fans, motors, and more.

Our customers in the food & beverage and manufacturing industries have been putting these features to good use on top of Arduino hardware, and they’re part of a growing trend. More and more types of engineers, from chemical and civil to mechanical and electrical, are incorporating Arduino and Temboo into their work and in the process acquiring new skills that can be applied to many engineering tasks, from retrofitting existing machinery for connectivity to remotely monitoring any type of physical asset.


We’re really excited about supporting the latest Arduino hardware, and will be regularly enhancing our Arduino library and generated code, so stay tuned for updates!

GOBLIN 2 IoT development board joins AtHeart!

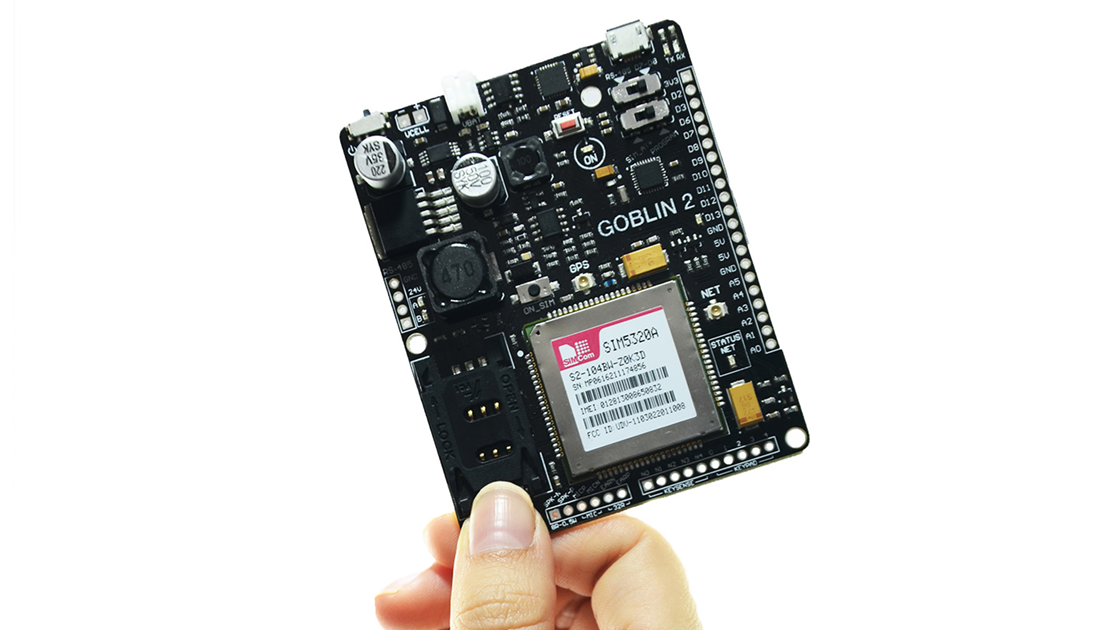
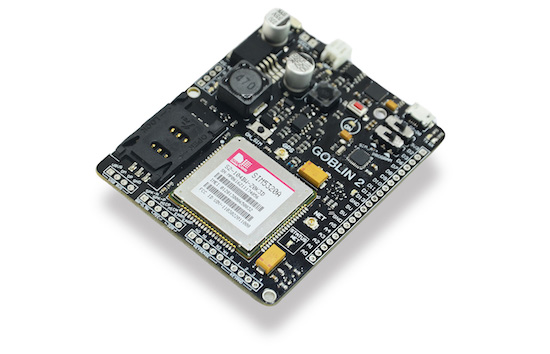
We are happy to announce another new member in the Arduino AtHeart Program! GOBLIN 2 from Mexican startup VERSE Technology is an Arduino-friendly development board with powerful wireless capabilities and broad compatibility with industrial protocols like RS-485.

Designed for both IoT professionals and Makers alike, GOBLIN 2 features an ATmega328P MCU and SIM5320A module at its core, providing dual-band HSDPA and quad-band GSM/GPRS/EDGE connectivity, along with high accuracy 16-channel GPS. The SIM5320A enables GOBLIN 2 to connect with web servers through any cellular network, and includes a header for keyboards, microphones, and speakers. 

GOBLIN 2 is equipped with six analog and 10 digital ports (half of them work as PWM), and offers 24V, 5V and 3.3V voltage outputs. The board is powered by a LiPo battery, which can be charged through micro-USB or solar cell thanks to its built-in battery management system. 

According to VERSE Technology CEO Aaron Benitex:

“We are developing technology to monitor and control the billions of present and future Internet of Things-ready devices. GOBLIN 2 is a board that allows our users to measure parameters like temperature, humidity, position, and others in remote locations. We have designed it in a way that it can easily work with industrial sensors and other applications such as telemetry, weather, GPS systems, and more.”

GOBLIN 2 can be programmed using the Arduino IDE as well as Atmel Studio. Simply upload your code to the board via micro USB, and begin exploring the IoT. Want to learn more? Check out VERSE Technology website

Temperature logger using arduino and thingspeak

Hello Arduino lovers,

In this tutorial, we are making a temperature logger using arduino and thingspeak.
Let's start

Things required:

  1. Arduino Uno
  2. LM35
  3. Sim900 module
  4. Internet pack 
  5. Thinkspeak account


Make connections as given in the diagram. Connect Tx of GSM module to pin number 7 of arduino board and Rx of of GSM module to pin number 8 of arduino uno and ground should be common between these two.
Output of LM35 should be connected to A0 of arduino board.
Arduino Uno GSM module LM35
Pin no. 7 Tx
Pin no. 8 Rx
Pin no. A0 Output of Lm35
Download code from link below
Now, upload the code

Video:

Hope, you guys had enjoyed the video

Thanks for visiting my blog


How to update esp8266 firmware

In this post, we are going to upload firmware to ESP8266 (ESP-01) . The firmware can be updated by both arduino as well as usb-ttl module.
ESP-01 is wifi SoC module and it has two GPIO pins i.e. GPIO0 AND GPIO2
For using ESP8266, we can use either AT commands using any terminal software/ esplorer ide (it supports lua programmming and AT commands) or we can use arduino library.
ESP8266 is a 8-pin SoC having two GPIO pins, it requires 3.3 volt and the current consumed by wifi module can't be attained through arduino. Therefore, if we are using arduino we need external 3.3 volt power supply.
Esp8266 wifi module can act as STA as well as AP or both


Things required:

1. USB-TTL module
2. Perfboard
3. Male and female berg strip
4. Female to female jumper wires
5. ESP-01
6. Nodemcu flasher
7. Firmware to be updated
8. Little bit of patience :)

Connections:

Make connections as given below:
ESP8266 side                                               USB-TTL module
Rx                                                                  Tx
Tx                                                                  Rx
CH_PD and Vcc                                           3.3 volt provided by the usb-ttl module
GND                                                              GND
GPIO0                                                           GND (while updating the firmware only)

Updating the firmware:

We had connected switch to GPIO0, by pressing the switch it GPIO0 will be grounded
In order to update the firmware, make the connections on perfboard. In this circuit, we are using two switches
one for GND and other for GPIO0.
Download Nodemcu flasher from the link below:
Download firmware from the link below:
Make settings as given in the picture. Browse the firmware file (ends with .bin)

Note: GPIO0 should be grounded while updating the firmware.
Vcc and CH_PD should be connected to 3.3 volt only

Check out the video:


Thanks for visiting this post.

In the meantime, do check my youtube channel:

Fun with electronics