Posts with «intel galileo» label

Nerf Turret controlled by Slack

What happens when you give a former Navy weapons engineer some development boards and ask him to build “something cool”? What happens when you give a kid finger paints? [Seb] obviously built an IoT Nerf Turret Gun controlled via a team communication app.

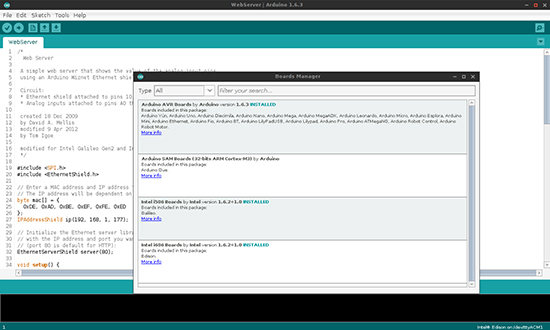
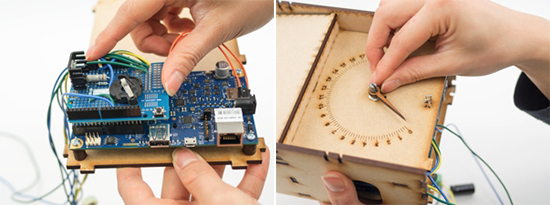
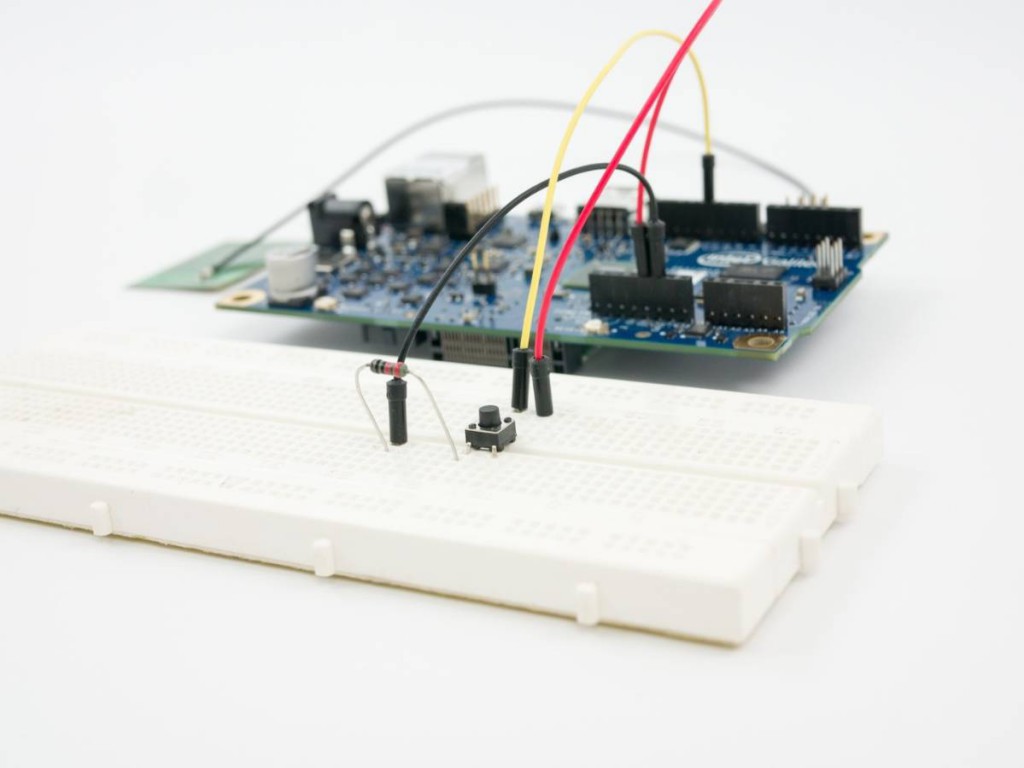
The weapon was a Nerf Stampede which was hacked so it could be fired electronically. The safety switch was bypassed and a relay provided the firing signal. The electronics stack consists of an Intel Galileo, a motor shield and a relay shield. The turret assembly was built using off the shelf structural parts from Actobotics. Stepper motors provide motion to the turret. The fun begins with how the software is implemented. An iBeacon network detects where people sit at in the office. So when you type in the name of your target in a messaging app, it knows where they’re sitting, aims at them, and pops a nerf dart at them.

The lessons learned are what makes such projects worth their while. For example, USB is a standard. And the standard says that USB cables be not more than 1.8 m long. [Seb] was reminded of this when his electronics worked on his workbench, but refused to work when placed in-situ and connected via a 3m long cable – the serial link just wouldn’t work.

Mounting the gun such that it was nicely balanced was another challenge. Eventually, he had to use a couple of AA cells taped to the front of the gun to get it right. This could be useful though, since he plans to replace the dead weights with a sighting camera. One last hack was to zip tie heat sinks to the motor drivers, and he had a good reason to do that. Read more about it in his blog. And check out the video as someone takes aim and shoots a target via SLACK, the team messaging application.


Filed under: hardware

Install Intel Galileo & Edison with the IDE Boards Manager

We are very pleased to announce the availability of Intel® Galileo and Edison boards support with the Arduino IDE Boards Manager.

If you’ve already installed the Arduino IDE 1.6.3 (or newer), you are already set!

Just click on menu Tools > Board > Boards Manager to find both Galileo and Edison listed and available for download. Click on one of the list, then click Install. Wait a couple of minutes for the IDE to download and unpack all the needed tools and voilà: Board menu will list the Intel board of your choice.


What time is it? Explore Galileo board’s real time clock tutorial

In the past weeks we explored how to make a gsm-controlled star light, a touch-screen controlled marionette, and how to learn more about Linux on Intel Galileo Gen 2.

In today’s tutorial  you’ll learn how to create a “Wake up clock” which will turn on and illuminate the room slowly, simulating a morning sunrise. And hopefully, it will make waking up on Mondays a bit easier!

This is the bill of materials:

Intel® Galileo Gen 2 power supply
Arduino Protoshield
LED power supply
1 High power white LED(3v 700mA)
1 1000 ?F Capacitor
1 2.1 mm DC jack-to-screw terminal adaptor
1 10k potentiometer

1 1.8Ohm 2w resistor
1 LM317t voltage regulator
2 10kOhm resistor
1 2n7000 transistor
1 Coin battery holder
Jumper wires
Colored wire
Pin header
1 8 mm magnet
Stiff wire (that is attracted to magnets)
Wood glue
Hot glue sticks
4 mm MDF components – lasercut according to drawing
Plexiglas components – lasercut according to drawing
Nuts and bolts
Rubberband

Download the files and learn how to assemble electronics at this link

Build a Touchscreen Controlled Marionette with Intel Galileo

Making gets really interesting and fun especially when mixing laser cut shapes, servo motor, tft screen, MDF, plexiglass and Intel Galileo Gen 2. After you assemble the parts and follow the steps of this tutorial, you’ll be able to control the puppet through an interface on the screen. Enjoy the tutorial!

We are going to have a little fun with the Intel® Galileo development board. This time around, we’ll make a simple puppet control system. We’ve put together a “running robot” marionette with a simple mechanism that uses a continuous servo. We’ll be use a touchscreen interface to control various outputs using sliders and switches.

As always, you can modify the designs to suit your needs. We will teach you how to incorporate touchscreens, and make the interface necessary for controlling the Intel® Galileo Gen 2 board.

Just so you know, the instructions this time around are quite long. That’s due to the assembly of the marionette. I would review the assembly instructions fully before attempting to put it together. While it looks long and complicated, if you group the parts, it much simpler.

So, let’s start the puppet show!

Follow the link and start making!

Time to explore Linux on Intel® Galileo Gen 2 – Tutorial

The new tutorial we want to present you today is more like a guide giving you some basic information about the benefit of accessing Linux shell in Intel® Galileo Gen 2. It also shows you in which way the Intel® Galileo Gen 2 is not only an advanced, more powerful version of Arduino Uno that happens to be layered on top of a Linux system. There is definitely much more that can be done with it and the Linux shell: this tutorial is an entry point to explore it and learn how to:

– preparing a system image;
– accessing the shell in 4 different ways;
– examining the workflow of copying a python script into Intel® Galileo Gen 2 through scp (or pscp);
– running an Arduino sketch;
-retrieving files from Intel® Galileo Gen 2.


The Intel® Galileo Gen 2 includes much of the Arduino Uno’s functionality. Similar to an Uno, it can create a wide variety interactive objects that use input sensors and various outputs. After exploring the many possibilities of using the “Arduino part” of the  Intel® Galileo Gen 2 this way, one might start to wonder: what is the next step?

Perhaps you want to write more complex programs using your favorite scripting language like python or javascript. Maybe you’re interested in computer vision or want to have full control over the board and find out more about the inner workings. By accessing to the Linux core, all these will be possible to achieve.

This tutorial will cover the basics of working with Linux by making a simple program that logs button presses. While the example is not very useful, it will help familiarize you with Linux as applied to the Intel® Galileo Gen 2.

Follow the link and explore all the steps

Real-time tinkering on Intel Galileo using a mobile device

If you are a beginner and want to start prototyping easily with  Intel Galileo, it could be fun to use ConnectAnyThing. It  makes it easy for novices to start tinkering in hardware before jumping into example code and the IDE but it’s also useful for experienced builders that want to try something out really quickly.

To get started, you will need:

  • Galileo (with updated firmware)
  • Wi-Fi card and antenna.  (Tested with Centrino n-135, n-6205, n-6235)
  • Micro SD card, 2gb up to 32gb capacity, with ConnectAnyThing loaded (instructions on github)

Download the latest release of ConnectAnyThing, follow the instructions and enjoy tinkering: on a webpage you’ll be able to  read inputs and control outputs in real-time from your mobile device!

Make your lasercut datamonster with Intel Galileo

Datamonsters are creatures that respond to you. They can see you and respond to your presence and movement. In addition to responding to immediate interactions, they can also be influenced by events happening in the world outside.


The project you see in the picture was made by Lucas Ainsworth  using Intel Galileo board and needs 3 main things:

- a physical structure
The physical structure uses commonly available materials and a relatively easy-to build wooden kit pattern, so that the physical form “gets out of the way”
as much as possible. If you cut this kit and put it together, you will have a robot with 5 joints: waist rotation, waist elevation, mid-body elevation, neck rotation, and head movement.

- sensing
For this version, we’re using 3 long range active IR sensors for simplicity and low cost. This sensor pack estimates object location in 3D space. Next gen could possibly use a webcam and OpenCV to include face-detection and motion in addition to presence.

- software
This is where the fun is and where the most work remains to be done. We have code for the Arduino IDE (written for the Intel Galileo board) that you
can use to calibrate and control your monster. If you use our code unchanged, you’ll have some basic reactions to objects, and a connection over WiFi to Thingspeak. Thingspeak is an easy-to-use repository for data collected from the internet or any data sources you create.

You can make your own Datamonster following the detailed documentation at this link. The Galileo code to get started (for the Arduino IDE) is on GitHub.


Intel Galileo Live Show-and-Tell Tonight!

Tonight at at 9pm ET / 6pm PT, we’re wrapping up Getting Started with Intel Galileo Maker Sessions with a “show-and-tell” Hangout On Air.

Read more on MAKE