Four Servo Fingers Play Simon Better Than You Ever Could
Remember Simon? We sure do. Simon — as in “Simon says…” — from the leading edge of electronic games in the 1970s, which used four buttons, colored lights, and simple tones as the basis for a memory game. Players had to remember the specific sequence of lights and replay the pattern in order to advance to the next round. It was surprisingly addictive, at least for the era.
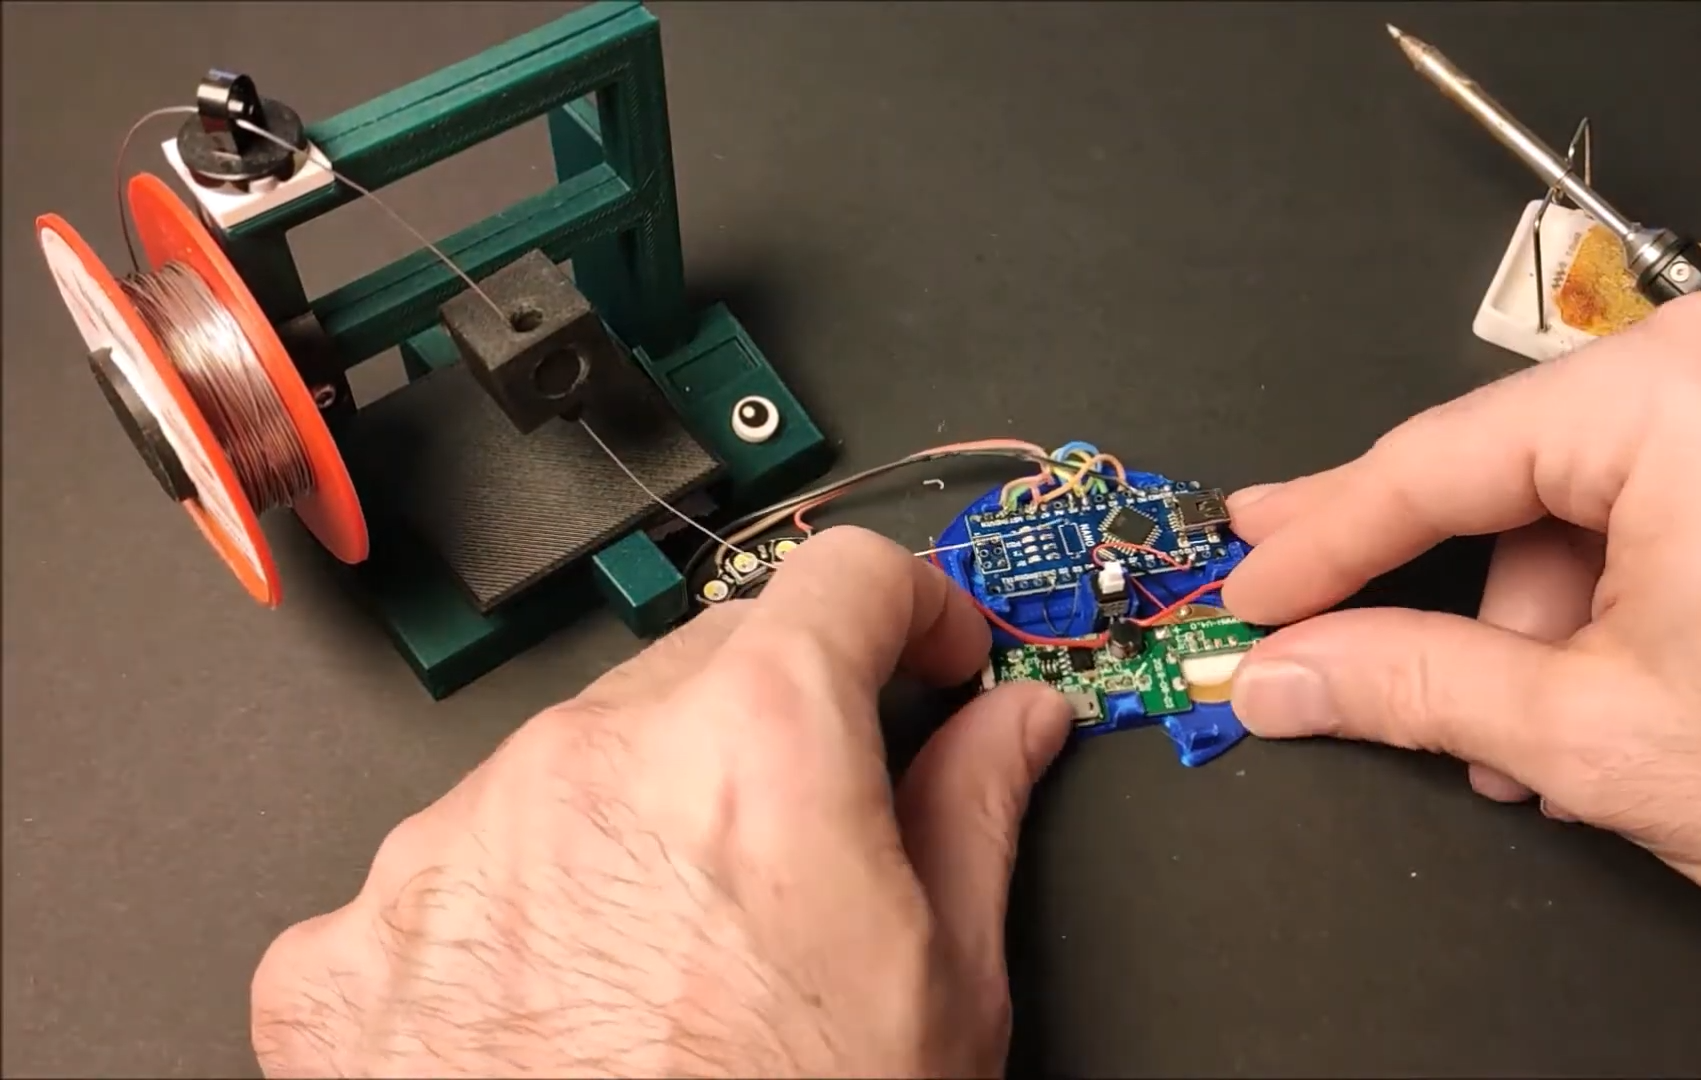
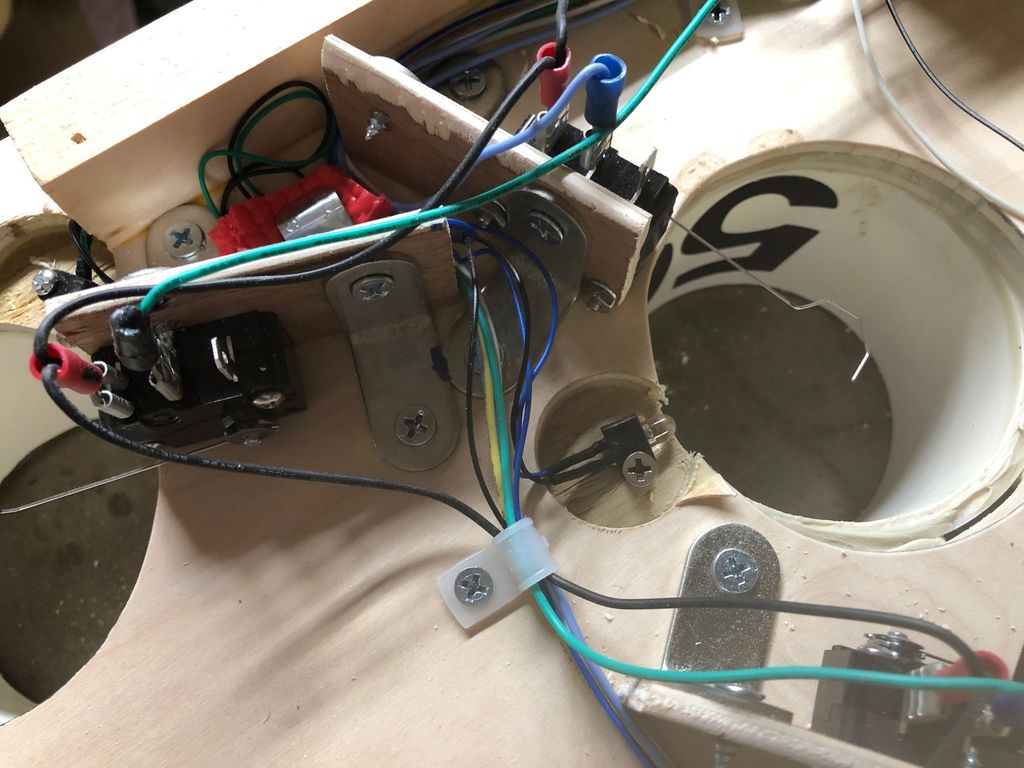
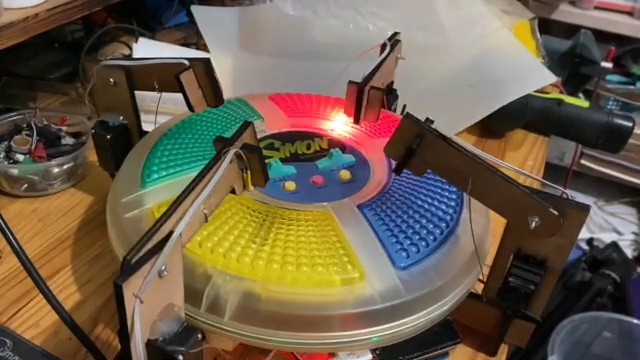
For those who never quite got into the Simon groove, fear not — the classic game has now been fully automated. While there were plenty of approaches that could have taken to interfacing to the game, [ido roseman] went with the obvious — and best, in our opinion — technique and simulated a human player’s finger presses with servo-controlled arms. Each arm carries a light-dependent resistor that registers the light coming from the key it’s poised above; the sequence of lights is sensed and recorded by an Arduino, which then drives the servo fingers’ replay attack. The fingers aren’t exactly snappy in their response, which might cause problems — if we recall correctly, Simon is somewhat picky about the speed with which the keys are pressed, at least at higher levels of play.
On the whole, we really like this one, not least for the nostalgia factor. We’ve had a lot of recreations of Simon over the years, including a Dance Dance Revolution version, but few attempts to automate it. And a crazy idea: wouldn’t it be fun to replace the replay attack with a machine learning system that figures out how to play Simon by randomly pressing keys and observing the results?
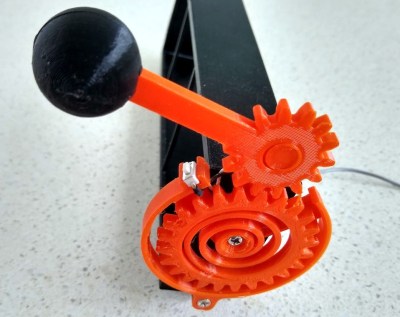 In this case, you’ll be losing all of your nickels to an Arduino Pro Mini. The handle is an upgrade to an earlier slot machine project that uses three 8×8 matrices and a custom driver board. When the spring-loaded handle is pulled, it strikes a micro switch to spins the reels and then snaps back into place. Between each pull, the current score is displayed across the matrix. There’s even a piezo buzzer for victory squawks. We only wish the button under the handle were of the clickier variety, just for the feels. Check out the short demo video after the break.