Genuino handbag will deter you from impulse buying
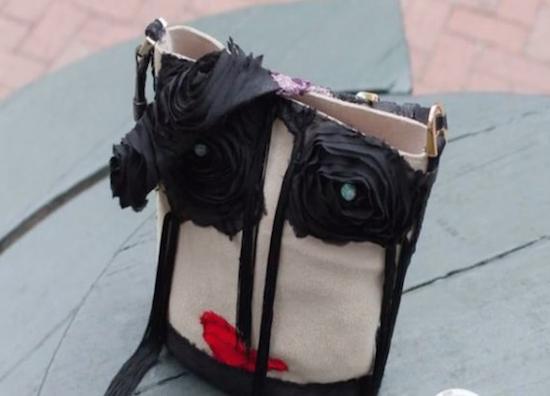
Do you or your significant other have trouble sticking to a budget? Well, say goodbye to overspending with the iBag2: a high-tech wearable device that helps curb your impulse buys.
The iBag2 is equipped with a Genuino Uno, a 10,000mAh power bank, and several other interesting components. There’s a timer connected to electromagnets that lock the bag according to your most vulnerable spending moments during the course of a day, an RFID system hooked up to LEDs and vibration motors that illuminate in blue and vibrate each time your wallet is taken out, as well as a built-in GPS unit that warns you when you’re near a pre-preogrammed “vulnerable spending zone.”
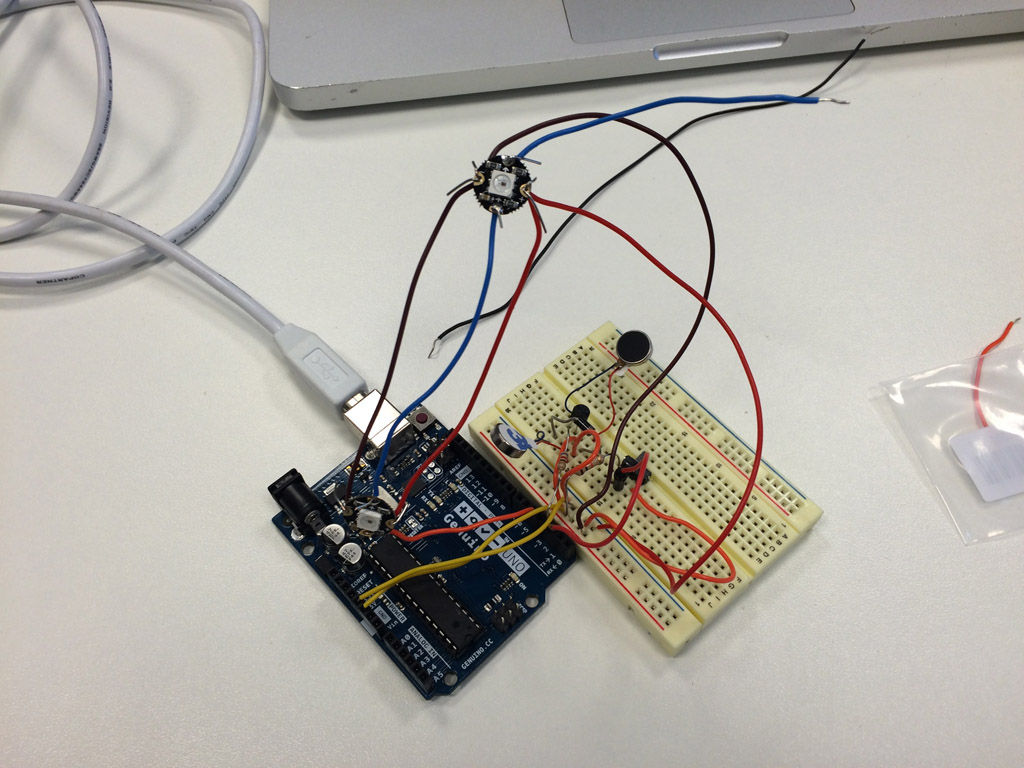
Aside from curtailing your expensive bad habit, the iBag2 will also reminds you every two hours via yellow lights and small vibrations when it’s time to reapply sunscreen (you know, in case you’re shopping outdoors), and a Bluetooth tracker that pings your phone if the bag is a certain distance away from you.
The wearable prototype was created by Finder.com in collaboration with New York-based fashion designer Geova Rodrigues. Need a handbag that knows when and where you’re likely to overspend? You can check out the iBag2 here.