Tinkering, Kids and Iot: gift guides for your xmas
Finding the perfect gift for everyone on your list it’s fun and inspiring. Let us help you choose the perfect gift: next to our classic Arduino, Genuino boards and goodies, we created 3 thematic guides to highlight the products in our stores that deserve a spot on your gift list. And to make it even more special, we added a FREE SHIPPING* feature for orders over 150$/100€.
TINKERING
Experience the magic of playing with technology. Your creative confidence is going to boost!
Click and explore all the products of the gift guide dedicated to Tinkering
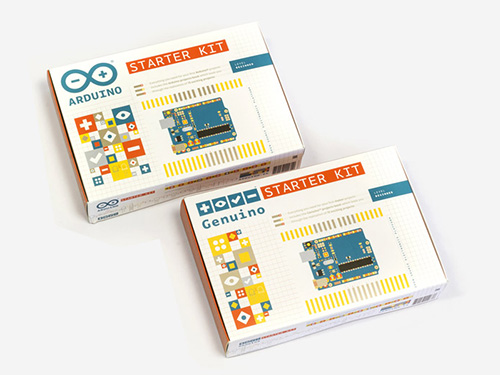
- Many people around the world had fun tinkering on the 15 projects featured in the Arduino Starter Kit and Genuino Starter Kit. Now you can make someone happy too for XMas! The Starter Kit is available in English and Italian.
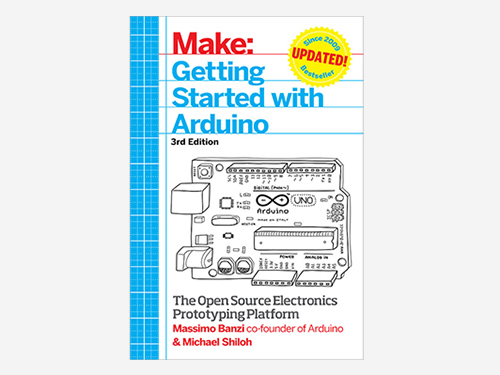
- The 3rd edition of Getting Started with Arduino by Massimo Banzi and Michael Shiloh introduces to the UNO board, gives you lots of ideas for projects, and helps you experiment with them right away.
- If you are looking for interacting with your surroundings in experimental ways, Arduino AtHeart Bare Conductive Touch Board and Touch Board Kit can turn almost any material or surface into a sensor. Connect objects to its 12 electrodes, using conductive paint or any conductive material and create amazing musical instruments.
KIDS
Get inspired and make this holiday special for your kids! Get them to experiment with science and technology and the wonderful world of STEAM.
Click and explore all the products of the gift guide dedicated to kids
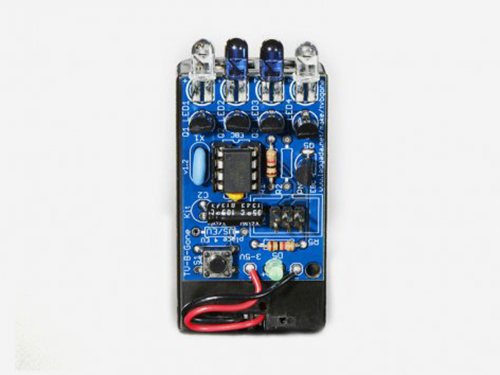
- You can share your excitement with electronics playing with kids and teenagers on the TV-B-Gone Kit, a universal remote designed to shut off any TV. It’s fun making it and using it.
- Get started with paper circuits and stickers with Chibit Circuit Sticker Start Kit an imaginative and easy way to make fun electronics projects without coding, soldering, or hands-on experience.
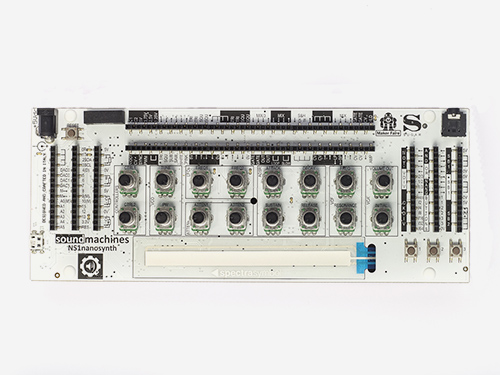
- Play with the most hackable tiny synth ever! NS1nanosynth synthesizer is an handeld 220x85mm analog modular synthesizer coupled with an Arduino Leonardo platform. it’s a tool to explore the potential contamination between analog and digital music creation!
IOT & CONNECTIVITY
Create connected devices and master your IoT skills. It’s easier than you think.
Click and explore the product of the gift guide dedicated to IoT
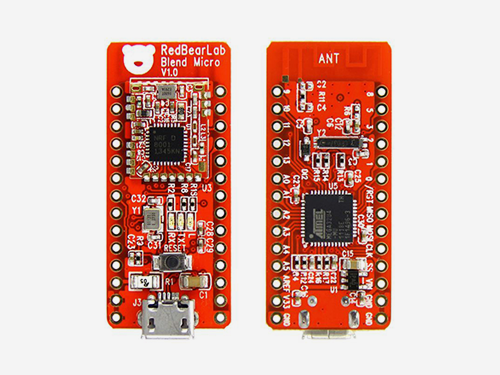
- Blend Micro is a RedBearLab Arduino AtHeart integrated development board. They “blend”ed Arduino with Bluetooth 4.0 Low Energy (aka BLE or Bluetooth Smart) into a small single board. You can quickly and easily develop low power IoT projects.
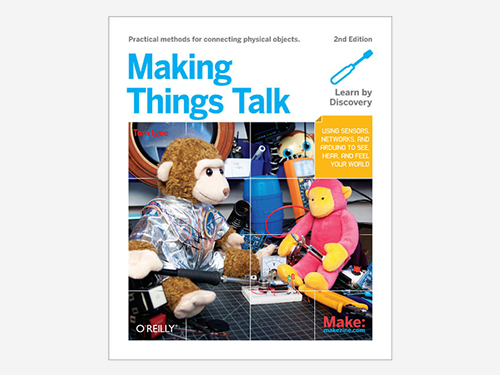
- Making things Talk 2nd edition by Arduino co-founder Tom Igoe, shows you how to get your gadgets to communicate with you and your environment. It’s perfect for people with little technical training but a lot of interest.In this expanded edition, you’ll learn how to form networks of smart devices that share data and respond to commands

On our stores we are offering FREE SHIPPING for all orders over 150$ (below 3 Lb) in USA via USPS Priority Mail, and for all orders over 100€ (below 3 Kg) via GLS in Europe.
Delivery will take 4-5 working days to reach you. In December, this may take longer due to end-of-the-year seasonality. Should you need delivery by December 24th, we strongly advise you to place the order before December 18th.
Free Shipping is available from November 27th 2015 until January 6th 2016.