Posts with «cnc» label

Pen plotter? Laser engraver? This DIY machine gives you both!

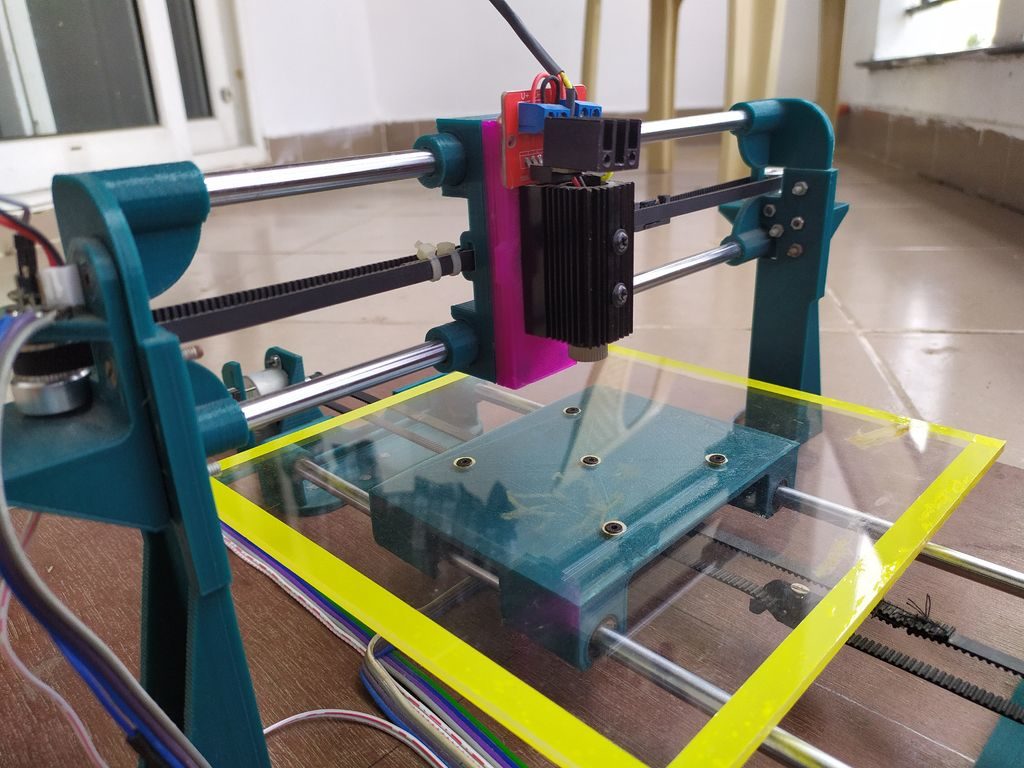
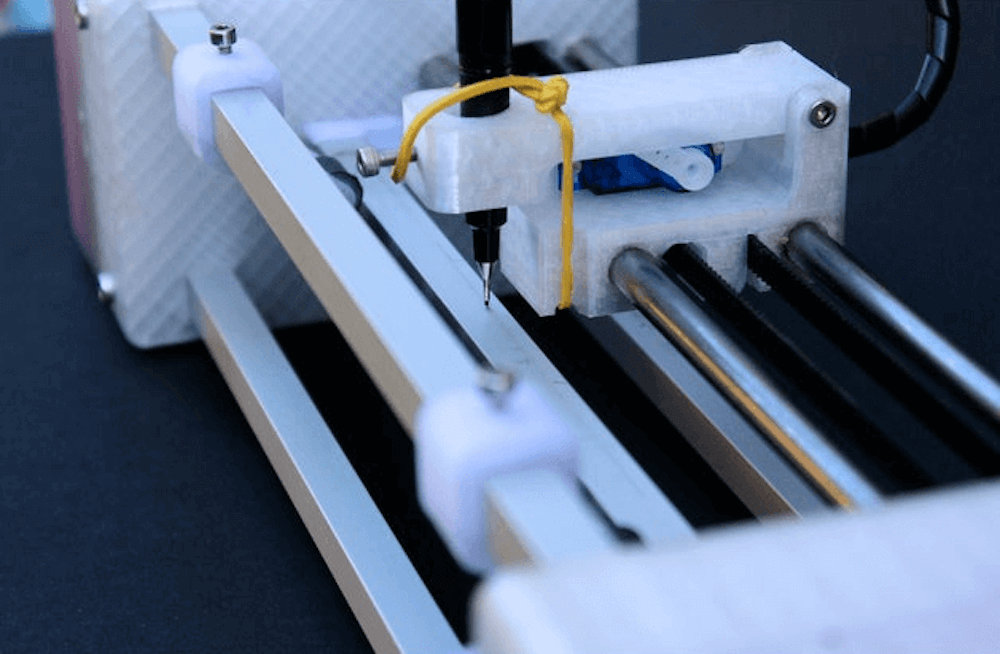
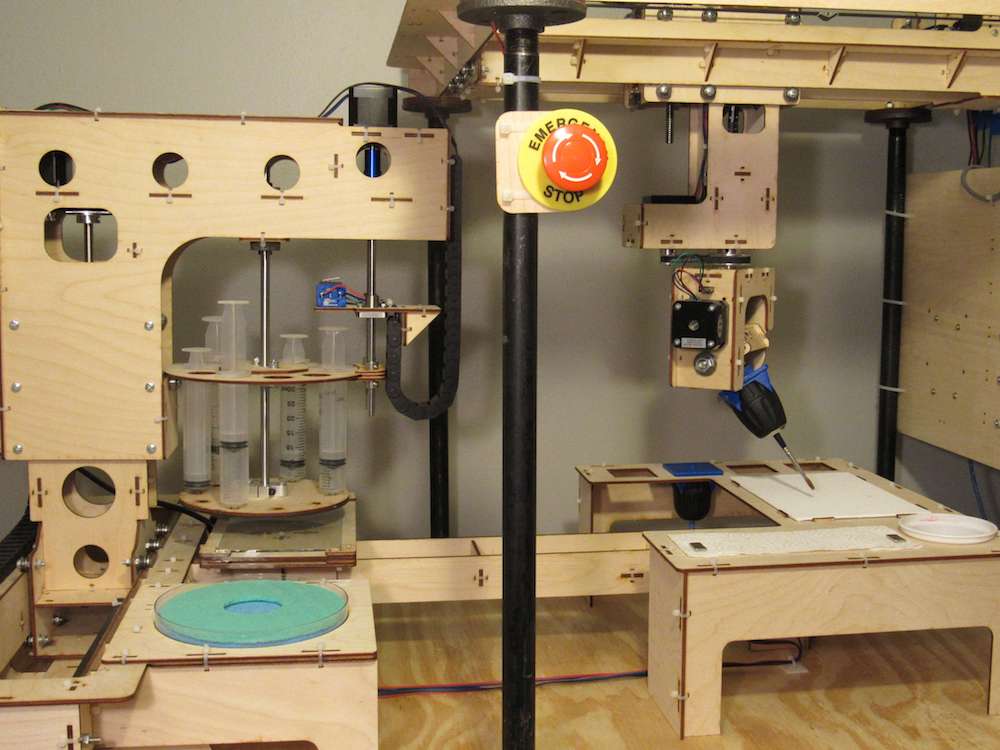
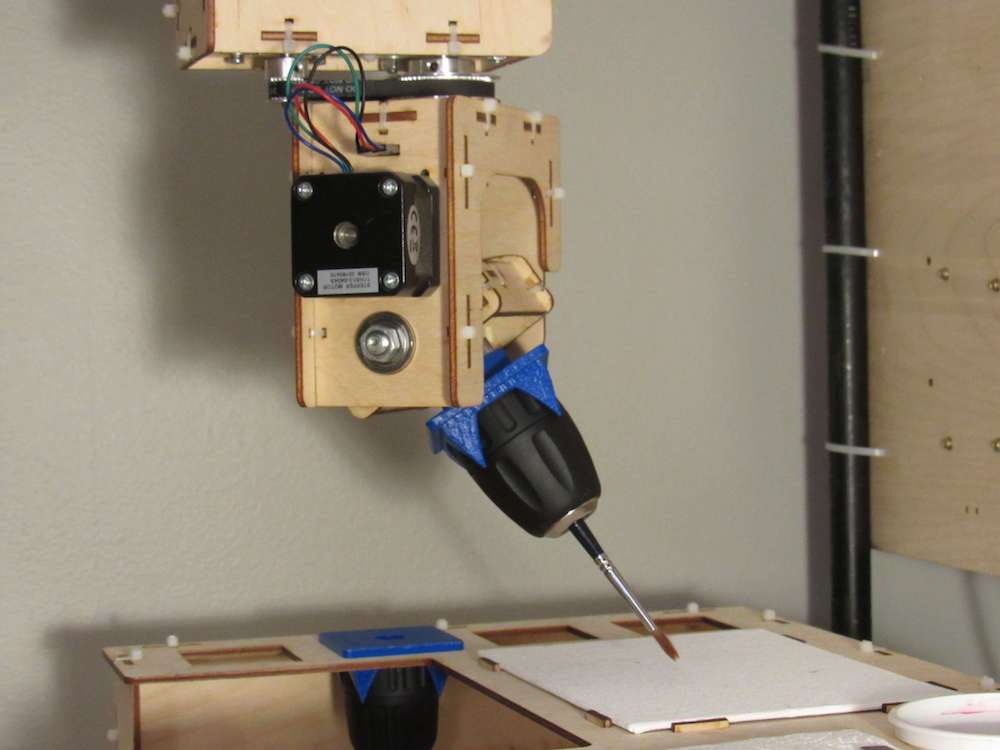
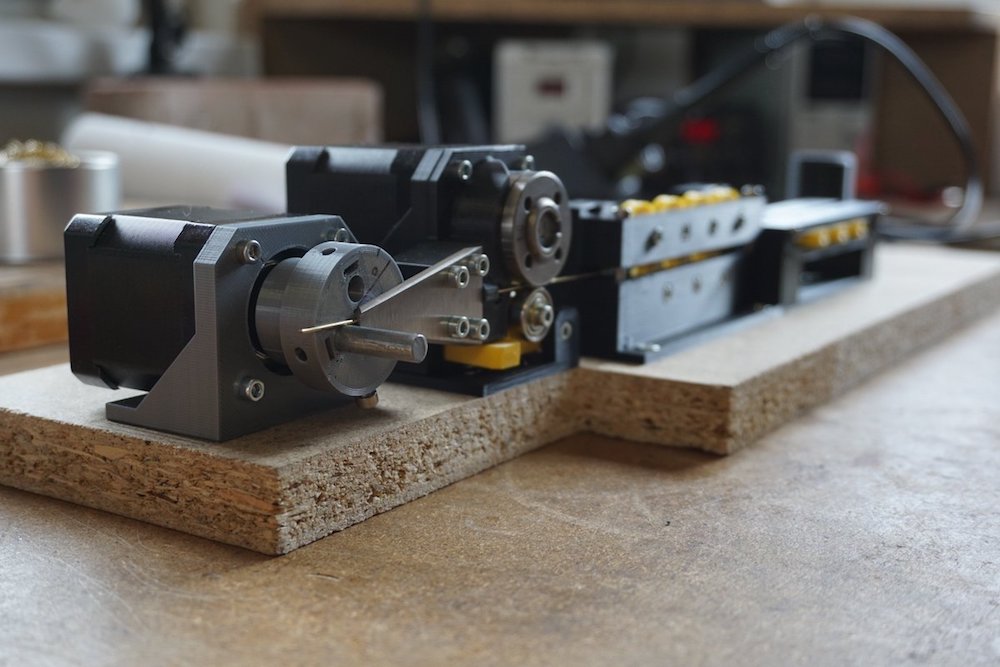
If you find yourself debating between a pen plotter or laser engraver, this project by Patrick Panikulam lets you have the best of both worlds in style. The DIY device pulls a writing instrument in the X-axis using a belt-driven overhead system, while the base itself moves in the Y direction.

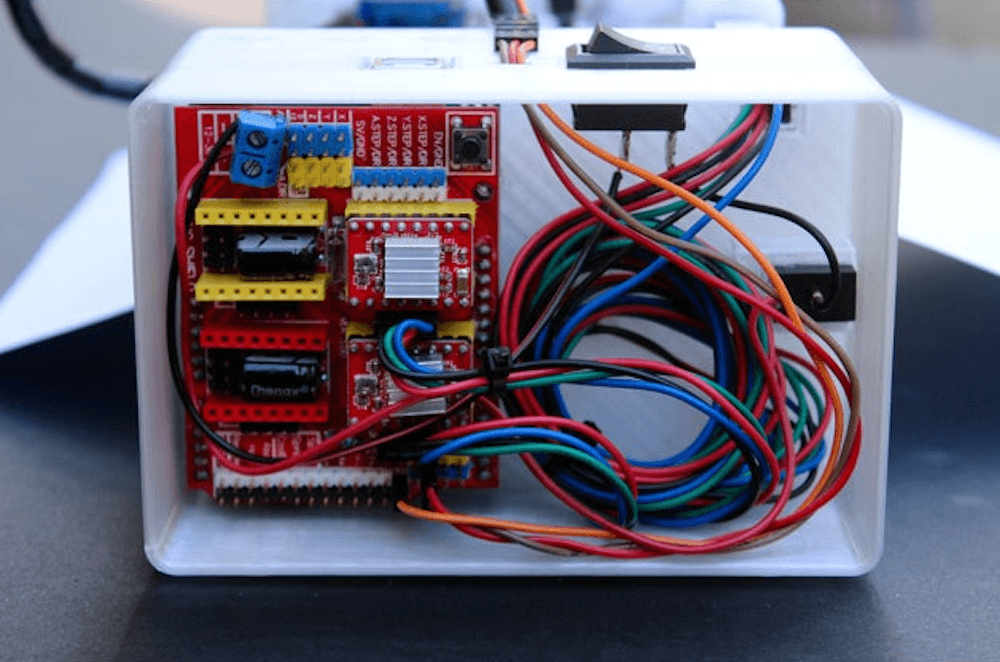
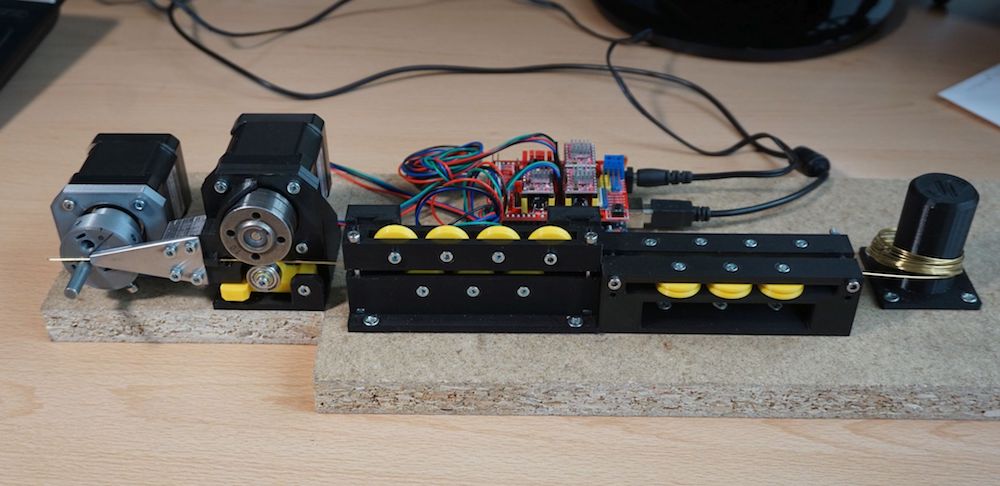
Motion is handled by an Arduino Uno, along with a CNC shield and two A4988 drivers that actuate modified 28BYJ-48 steppers. The shield also outputs laser control signals, which are converted into PWM signals for the lifting servo when in pen mode. 

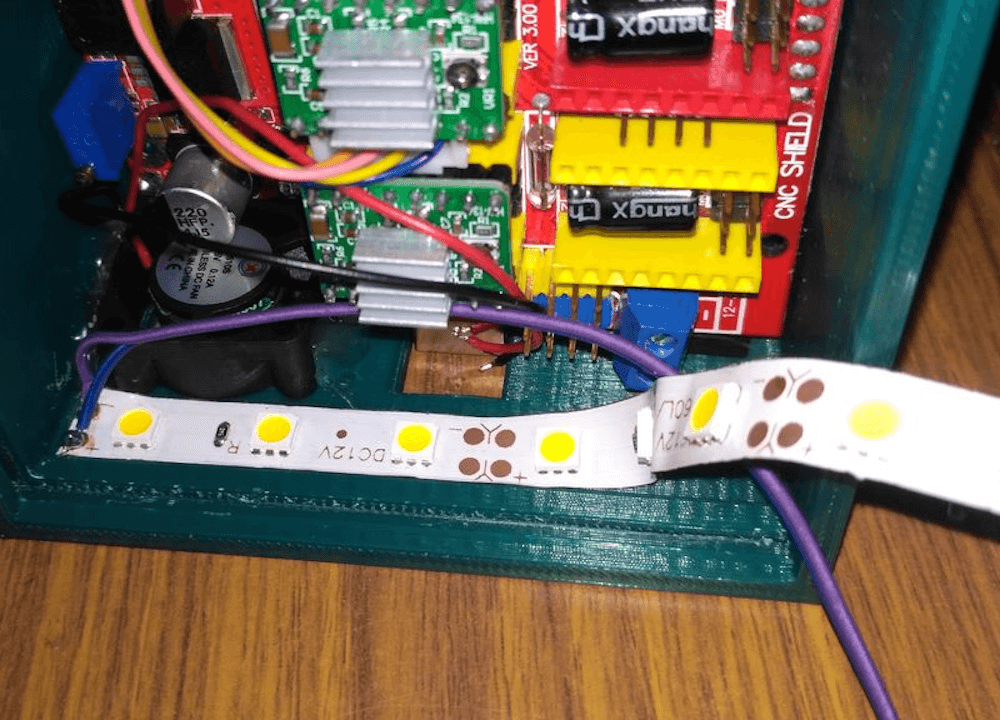
It’s an extremely clean build, and even features a Bluetooth module for wireless communication with your computer. Panikulam provides more details here if you’d like to create your own!

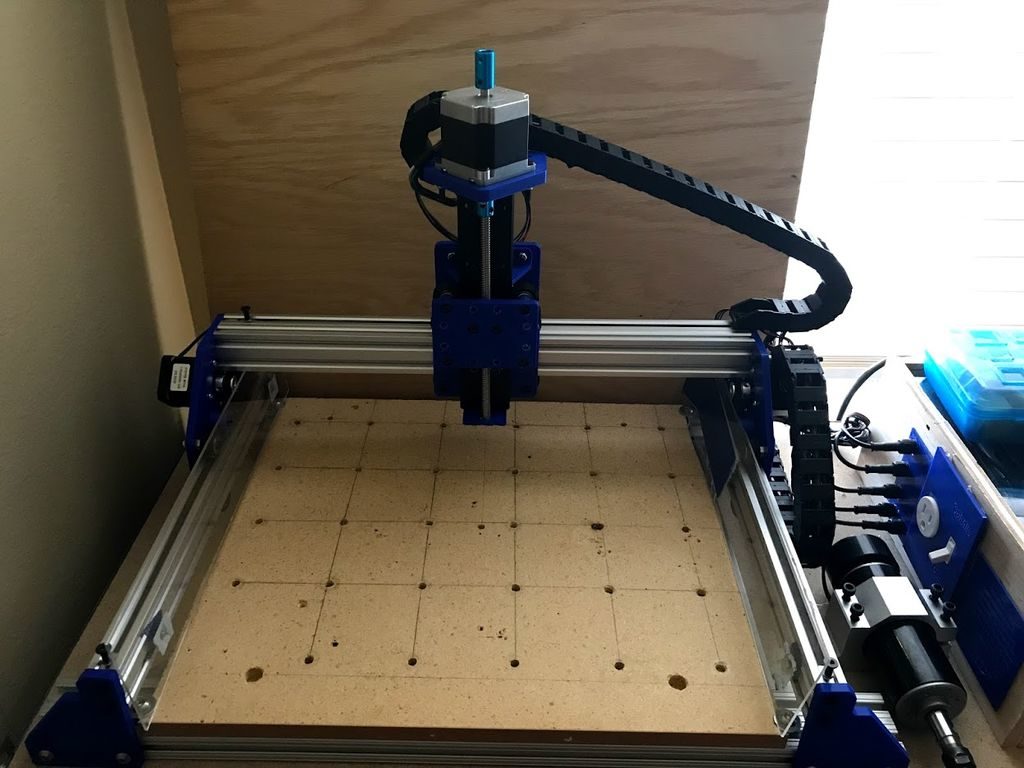
A couple of months back while checking out a few laser engravers on aliexpress, I came across some USB powered laser engravers. It was awesome that these could engrave on a variety of materials and also cut out shapes and designs from sticker sheets and paper and doing all this powered by a 5V USB supply. But the downside of these engravers was that they had a small work area, in most cases just 40mm X 40mm which is definitely way too small for my needs.

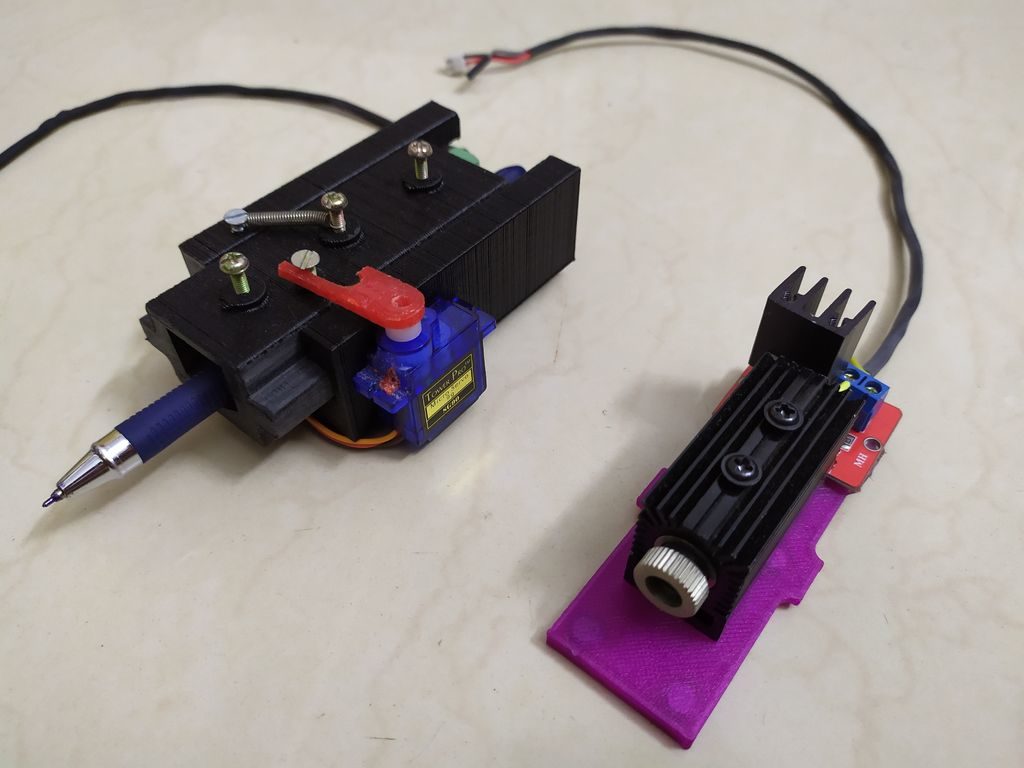
So I thought why not design and 3D print my own laser engraver from scratch. I started the designing process in Fusion 360 while keeping in mind all the 3D printing tolerances. And finally came up with something really cool. Along the way, I decided to make the laser holder modular so that I can easily replace the laser with a pen or marker for pen plotting. I also added a Bluetooth connectivity feature so that wired connection between your PC and the engraver can be eliminated while transmitting G-codes.

d.i.d. is a scalable 3D-printed pen plotter

While computer printers are readily available, if you’d like a plotting device that drags a pen, marker, or whatever you need across paper to create images, your options are more limited. To fill this gap, studioprogettiperduti has come up with the d.i.d, or Deep Ink Diver.

This scalable pen plotter uses a frame made out of 3D-printed parts, as well as aluminum extrusion, which could be lengthened to support the size of paper that you need. A timing belt pulls the writing carriage back and forth, while a roller advances the paper. 

Control is handled by an Arduino Uno and a CNC shield, with a version of grbl that accommodates a servo used to lift the pen.

The materials and electronics used for the plotter are all standard and easy to source. The main frame is made of aluminum extrusion and 3D-printed connections. The motors are all standard NEMA 17 stepper motors and a single SG-90 servo motor. Everything is driven by a cheap Arduino Uno control board that handles the transition from g-code to movement. Furthermore, the software used to create G-code, Inkscape, is open source as well.

Reviving an old CNC router with Arduino

Makerspace i3Detroit was the recent recipient of a free yet non-functioning CNC router. While out of commission when received, the device’s mechanical components and motors appeared to be in operational condition, plus it had a large work surface. The decision was made to get the CNC up and running for now, with the eventual goal of turning it into a plasma cutter.

First, they booted up its (Windows 95) computer and replaced a power supply on the controller. An adapter board for the controller was then built using info from this Arduino Forum post, allowing the router to be controlled with an Arduino Mega running grbl firmware

Although there is still some work to do, it can be seen happily jogging along in the video below, and appears well on its way to becoming a usable machine!

A Better Embroidery Machine, With 3D Printing and Common Parts

In concept, an everyday sewing machine could make embroidery a snap: the operator would move the fabric around in any direction they wish while the sewing machine would take care of slapping down stitches of colored thread to create designs and filled areas. In practice though, getting good results in this way is quite a bit more complex. To aid and automate this process, [sausagePaws] has been using CNC to take care of all the necessary motion control. The result is the DIY Embroidery Machine V2 which leverages 3D printed parts and common components such as an Arduino and stepper drivers for an economical DIY solution.

It’s not shown in the photo here, but we particularly like the 3D printed sockets that are screwed into the tabletop. These hold the sewing machine’s “feet”, and allow it to be treated like a modular component that can easily be removed and used normally when needed.

The system consists of a UI running on an Android tablet, communicating over Bluetooth to an Arduino. The Arduino controls the gantry which moves the hoop (a frame that holds a section of fabric taut while it is being embroidered), while the sewing machine lays down the stitches.

[sausagePaws]’s first version worked well, but this new design really takes advantage of 3D printing as well as the increased availability of cheap and effective CNC components. It’s still a work in progress that is a bit light on design details, but you can see it all in action in the video embedded below.

If Then Paint is a six-axis CNC painting machine

It’s easy to see that painting takes a lot of skill, but few really understand how much skill is involved like John Opsahl, who created the “If Then Paint” CNC canvas painting machine.

In order to produce the proper paint strokes, his device implements full six-axis brush control, moving not only in the X/Y/Z coordinate system, but rotating on three axes. Movement is handled by a modified version of Grbl running on an Arduino Mega.

If Then Paint also features the ability to change painting/art tools automatically, as well as a clever paint management system that turns a carousel of paint syringes. 

More info on the build can be found here, and check out a few examples of how it works in the videos below.

This machine bends brass wire with precision

Jiri Praus enjoys using brass wire for his freeform sculptures, but isn’t a fan of making the same bends over again. To solve this problem, he designed a CNC machine to handle that task for him.

His device features a series of rollers to straighten out the wire, with a servo-driven puller that utilizes a roller normally used with a welding machine. A second servo then precisely bends the wire into shape, creating squares, hexagons and even springs under the control of an Arduino/CNC shield. 

You can see the project in action in the videos below, and if you want to build your own, the STL files for this mostly 3D-printed setup are up on GitHub.

Facere-Bot is a portable machine that draws iconic photos

Inventor Artist Darcy Whyte wanted a drawing robot that was light enough to carry around, and could quickly produce drawings. Naturally, he turned to an Arduino Uno, along with a CNC shield and a trio of A4988 stepper drivers. These control a NEMA 8 and two NEMA17 stepper motors in a gantry-style artistic setup.

The build is able to drag a marker across a page, apparently varying pressure applied with the z-axis, and thus how much ink is applied. In another mode, a pen can be used, which wobbles back and forth to create volume when needed. 

Both methods, as seen in the clips below, can sketch a very recognizable—though certainly distinct—portrait of Marilyn Monroe, or presumably whatever other image you choose to program in.

Arduino Blog 10 Jul 00:45

Custom Machined Pump Keeps CNC Lubrication Under Control

Rub two pieces of metal against each other hard enough, and it won’t be long before they heat up sufficiently to cause problems. That’s especially true when one is a workpiece and one is a tool edge, and the problems that arise from failing to manage the heat produced by friction can cost you dearly.

The traditional way of dealing with this is by pumping heavy streams of liquid coolant at the workpiece, but while that works, it creates problems of its own. That’s where minimum quantity lubrication comes in. MQL uses a fine mist of lubricant atomized in a stream of compressed air, which saves on lube and keeps swarf cleaner for easier recycling. The gear needed for MQL can be pricey though, so [brockard] decided to add homebrew MQL to his CNC router, with great results.

The video below shows the whole process, from raw metal to finished system – skip ahead to about 12 minutes if you just want to see final testing, but be warned that you’ll be missing some high-quality machining. The finished pump is a double-piston design, with each side driven by a cam rotated by a servo. An Arduino controls the speed of the motor based on the current settings; the pump is turned on and off through G-code control of a relay.

The lubricant stream is barely visible in the video, as opposed to the sloshing mess of traditional flood coolants, and seems much more suitable for a hobbyist-grade CNC setup. Need to build a CNC router before you build this? You can do much worse than this one.

Thanks for the tip, [Jasper Jans].

Cycloid-O-Matic creates spirograph-like patterns

If you’ve been waiting for a new way to generate geometric art, then be sure to check out the Cycloid-O-Matic from InventorArtist Darcy Whyte.

This three-axis cycloid drawing machine is something of an update on the classic spirograph toy, but instead of (only) using an arrangement of gears, it incorporates stepper motors to create smooth curving patterns.

Control is accomplished via an Arduino Uno and GRBL shield, while a single motor rotates the paper in a circle on top of a lazy Susan. A pen is held above in a linkage system, actuated by two steppers that spin to move the linkages and draw in the X/Y plane.

Arduino Blog 20 Jun 21:48

Modular CNC machine made with Arduino

Arduino boards running GRBL software have long been used for CNC machine control, but usually you need to choose between having a router or laser cutter. This project, however, is specifically designed to accommodate both with a modular carriage system.

Build-wise, it’s a fairly standard XYZ gantry CNC — with a frame made out of V-slot aluminum extrusions from OpenBuilds cut to length by a circular saw. The X and Y axes are controlled via NEMA 17 stepper motor and belt drive assemblies, while height adjustment is accomplished with a NEMA 23 motor and screw drive.

The electronics are all hidden away in a separate enclosure, including the Arduino Uno/CNC shield that serves as the brains of the operation and a cooling fan to keep the temperature inside in check. 

If you’ve been considering doing this type of build, this looks like a great place to start, and you can see a demos of it in laser and spindle modes in the videos below.