NeoPixel Matrix Simulation Lets You Virtually Groove to the Lights
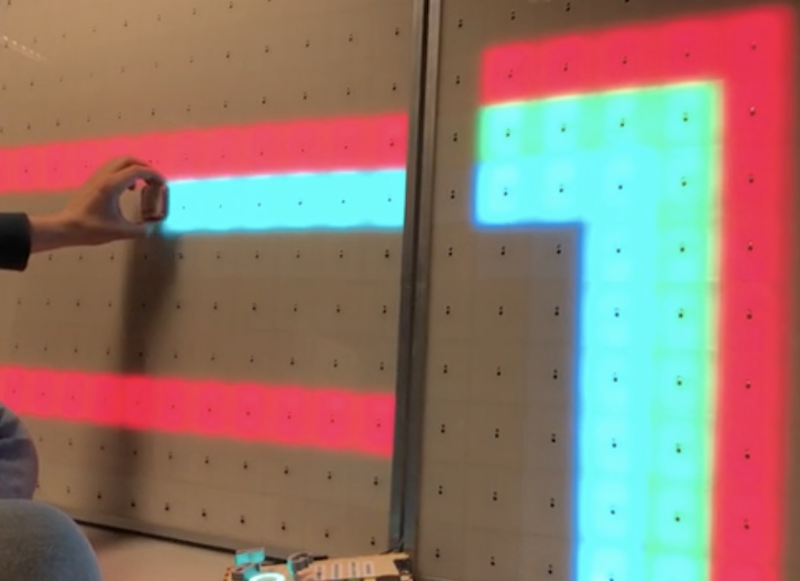
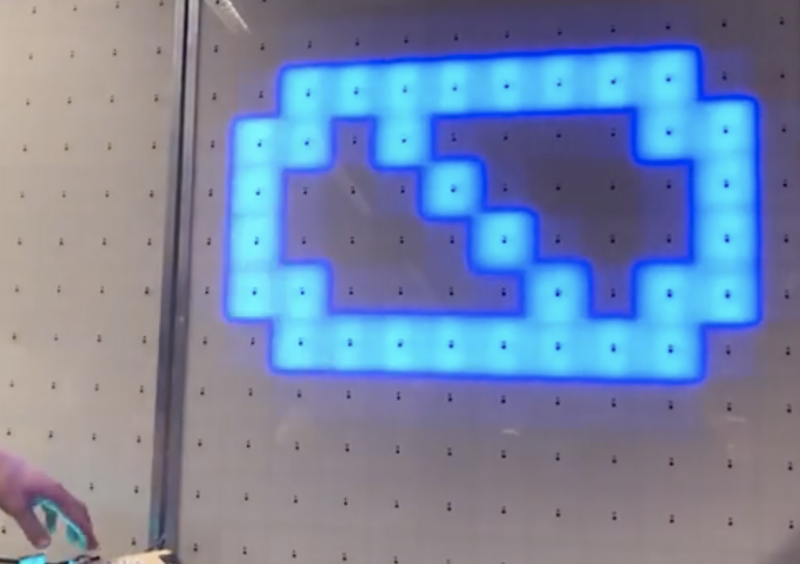
You are stuck at home quarantined and you want to do some Arduino projects. The problem is you don’t have all the cool devices you want to use. Sure, you can order them, but the stores are slow shipping things that aren’t essential these days. If you want to get a headstart while you are waiting for the postman, check out Wokwi’s Playground. For example, you can write code to drive a virtual NeoPixel 16×16 matrix. There’s even example code to get you started.
There are quite a few other choices in the playground including Charlieplexed LEDs, a keypad, and an LCD. There are also challenges. For example, in the traffic light challenge, you are given code that uses a task scheduler library to implement a traffic light. You have to add a turn signal to the code.
In addition to LEDs in various configurations, the site has some serial bus components, an LCD, a keypad, and a NeoPixel strip. There are also a few tools including an EasyEDA to KiCad converter and a way to share sourcecode similar to Pastebin.
Of course, simulations only get you so far, but the site is a fun way to play with some different I/O devices. It would be very nice if you could compose for the different components together, but you could work your code in sections, if necessary. You can do similar things with TinkerCad circuits. If you want to install software, there’s a simulator for you, too.

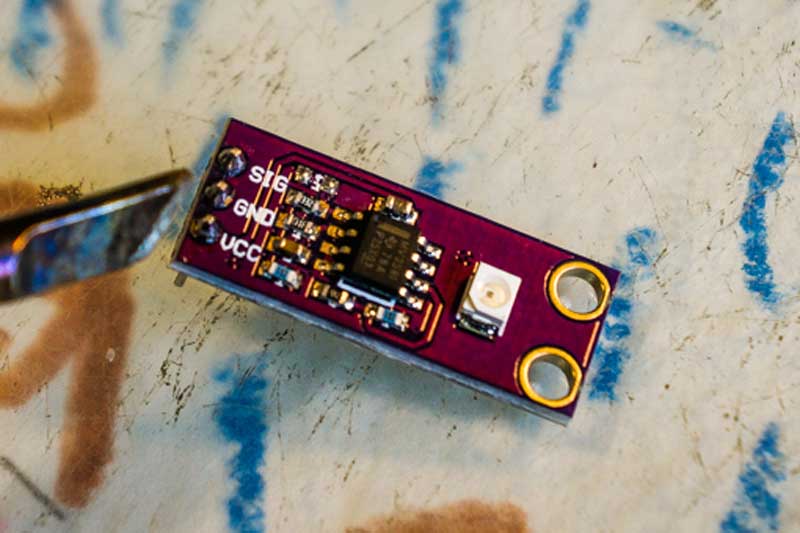 The NukeMeter is built around a GUVA-S12SD UV sensor breakout board.