Posts with «arduino» label

Share hyperlocal air pollution data with Sensing Umbrella

The Sensing Umbrella is the second project I’m featuring on this blog (see the first), coming out of the class at  the Copenhagen Institute of Interaction Design called Connected Objects, with Massimo Banzi and Giorgio Olivero. 
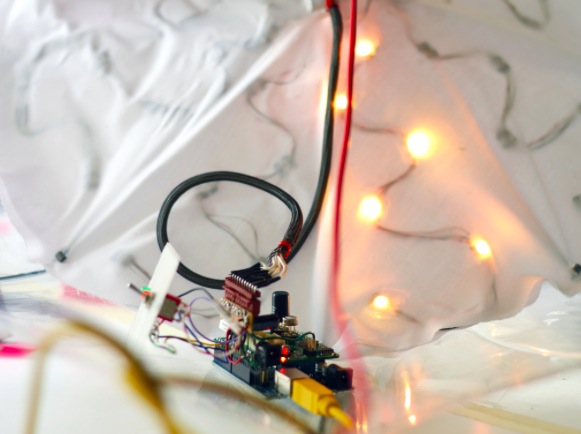
The project created by a team of students Akarsh Sanghi, Saurabh Datta and Simon Herzog is a platform to gather, display, and share hyperlocal air pollution data:

Each umbrella serves as a node for measuring CO and NO2 pollution levels and can provide exceptionally granular data to pollution databases and for scientific analysis. Simultaneously, the light visualisations inside the umbrella respond to pollution levels in real time and spread awareness of air quality in the city for its inhabitants. The umbrella uses open hardware and software to gather and interpret data through a built-in sensor array, displays CO and NO2 pollution locally in two modes, and logs the timestamped and geolocated data to the cloud for analysis.

Check the video to watch the team introducing the project:

DIY “Google Glass”

13 year old Clay Haight made his own wearable smart glasses, inspired by Google Glass and the pages of Make: magazine.

Read more on MAKE

Future’s so Bright, I Gotta Wear LED Shades

You can buy the new LED Matrix Shades from macetech on their online store. Or build the original version, now available as an open source design.

Read more on MAKE

The Open-Source Smartwatch Built by a Teenager

John Wall, 16, built a smart watch instead of taking driver's ed.

Read more on MAKE

DIY Pulsoximeter developed with two Arduino

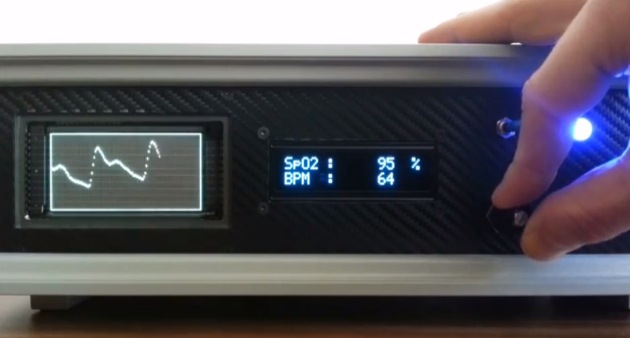
Pulse oximetry is a non-invasive method for monitoring if a patient’s oxygenation is unstable and Arduino user die_Diode sent us his version of a DIY Pulsoximter developed with two Arduino:

Arduino Mega for the oximetry electronics and Arduino Uno for the graph.
The electronics includes LED Driver, Photo current transformation, patient-dependent calibration LED, Active filters, Nellcor SpO2 sensor. Adafruit OLED displays Vitalparamter. Noritake VFD display GUU-100 shows the PPG. The boards are connected to the electronics with a Protoshield.

Arduino Blog 15 Jul 21:41

10 Fabulous and Fashionable Wearable Projects from Becky Stern

Becky Stern, director of wearable electronics at Adafruit Industries, shares ten fabulous and fashionable projects you can try yourself.

Read more on MAKE

Intel Announces 2nd Generation Galileo Development Board

In late 2013, Intel launched Galileo, their Linux-powered, Arduino-compatible development board which runs on their silicon. Today, Intel officially announces the second generation of the Galileo development board, which was teased at MakerCon last May. “We’ve made a number of enhancements to the Intel Galileo board based on feedback from […]

Read more on MAKE

MAKE » Arduino 15 Jul 18:29

New Project: “Didn’t Wash Hands” Alarm

A simple alarm that will tell you (and everyone else in the room) whenever someone forgets to wash their hands.

Read more on MAKE

Internet Connected Necktie with LEDs

Internet connected wearable devices are on the rise. Software writer and self-proclaimed tinkerer, Hector Urtubia has developed the first internet connected necktie. Using the platform Pinoccio along with Adafruit’s Flora RGB Smart Neopixel LEDs, Urtubia has created an entertaining and timeless piece of technology you can wear. Why Pinoccio? Urtubia […]

Read more on MAKE

Spraying natural fibers to build cotton-candy surfaces

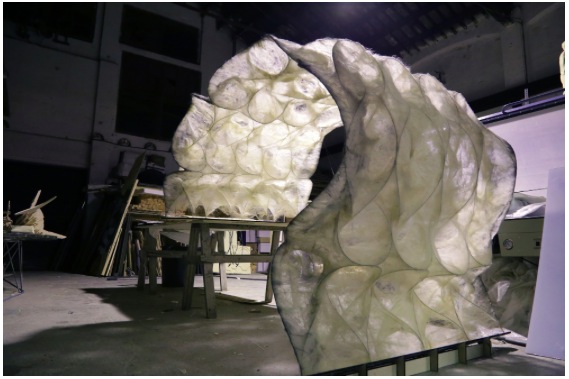
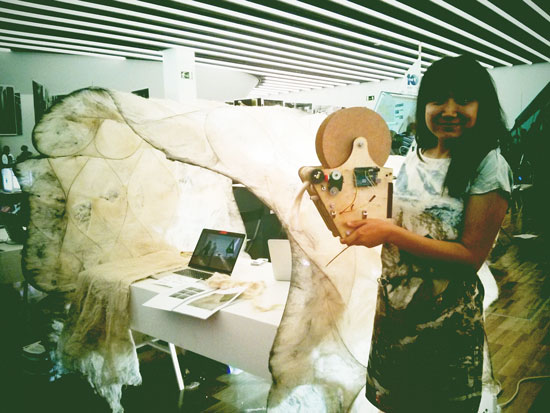
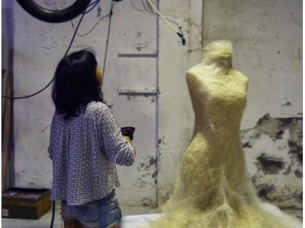
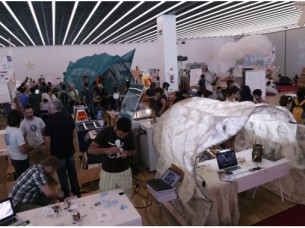
During Fab10 Fab Festival in Barcelona I met Jin Shihui who introduced me to CandyProject, a research project exploring the process of spraying natural fiber to create a non-woven textile that can be used to produce anything from building components to ornamental artifacts.

By means of air pressure we separate the fibers from a roving allowing them to self-organize and reassemble due to the surface tension caused by a fine mist of adhesive. This creates a controlled fibrous aggregation producing an emergent morphospace encompassing the initial substructure.

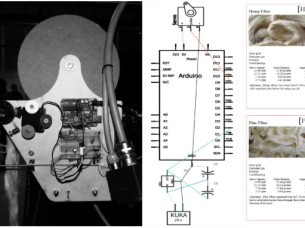
The robot Jin is holding in her hands in the picture above uses air pressure to separate fibers into individual strands. While the fibers are still separated they are embedded with an adhesive spray and all parameters are controlled within the robot  with an Arduino Uno:

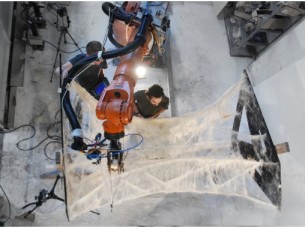
Designing an end effector for the robot to precisely spray the fibers allowed us to predefine the spraying protocol of any object, while also modifying the material properties at each of its parts. Varying degrees of material density, thickness, and rigidity could be achieved by simply adjusting certain parameters in the spraying process while always insuring repeatability and precision. Controlling these properties, coupled with the environmental and thermal nature of the fibers used, opens up a wide range of possible applications ranging from optimized building envelopes to furniture and custom made fashion. We want to share details of our project  so everyone can  build your own spraying tool and develop your usage with this technic.

Take a look at the video below showing the whole amazing process from growing to spraying the fibers:

Some other pictures: