Unique Clock is All Hands, No Dial, and Does the Worm
Back in the old days, we didn’t have fancy digital clocks. No, we had good analog clocks with a big hand and a little hand, and if you wanted to know the time you had to look at the clock and figure out which number each hand was pointing at, or kind of pointing at. It wasn’t easy, and we liked it that way.
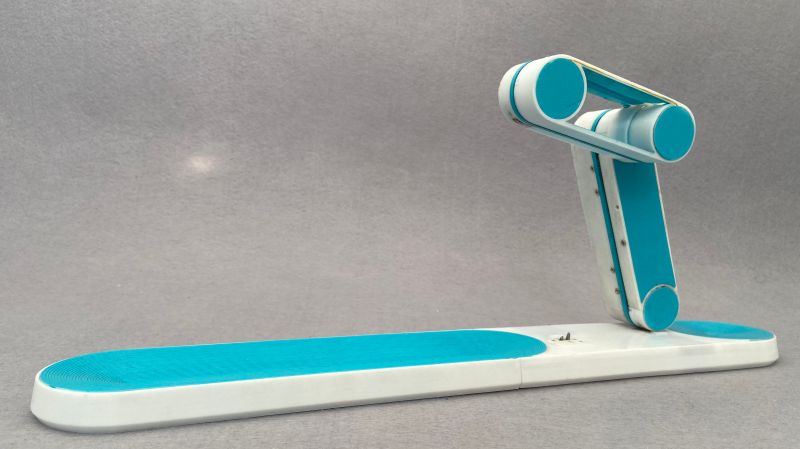
So now, along comes an analog clock that’s nothing but the hands — no dial, no numbers, just hands. How is such a thing possible? The clue is in the clock’s name: AKUROBATTO, and in the video below, which shows the acrobatic movements of the clock’s hands as it does its thing. Serial improbable-clock maker [ekaggrat singh kalsi] clearly put a lot of thought into this mechanism, which consists of the hands and a separate base. The hands are joined together at one end and powered by small stepper motors. The base has two docking areas, where servo-driven claws can grasp the hand assembly, either at the center pivot or at the tip of either hand. With a little bit of shuffling around at transition points, the hands sweep out the hours and minutes in a surprisingly readable way.
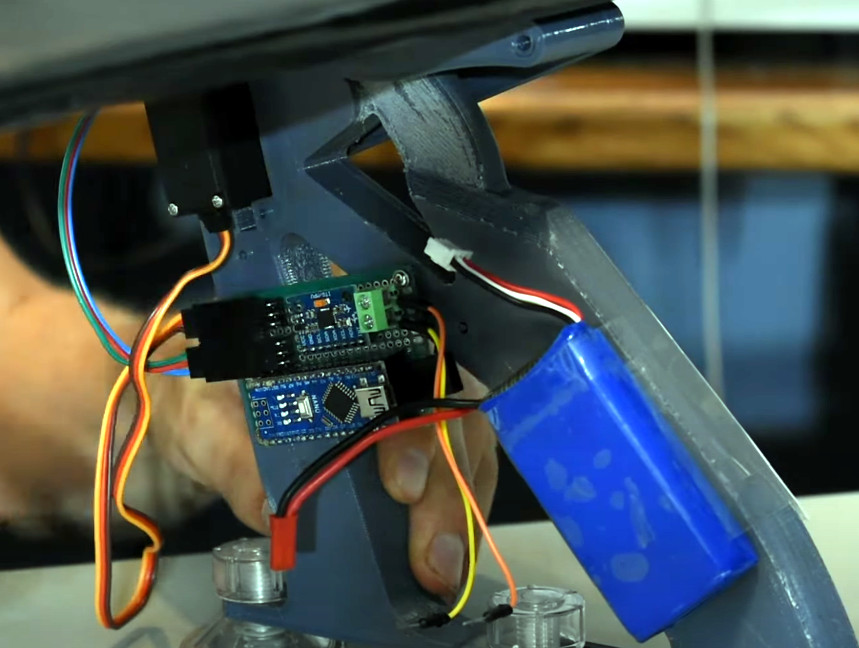
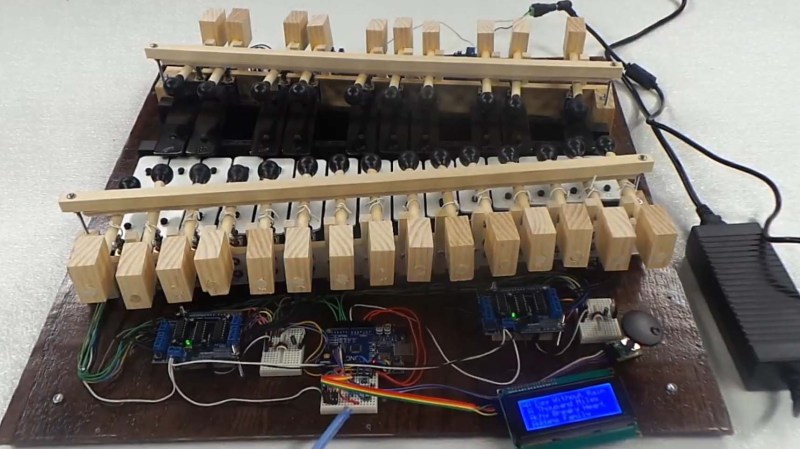
For as cool as the design of AKUROBATTO is, the internals are really something else. There are custom-built slip rings to send power to the motors and the Arduinos controlling them, sensors to determine the position of each hand, and custom gearboxes for the steppers. And the locking mechanisms on the base are worth studying too — getting that right couldn’t have been easy.
All in all, an impressive build. Whether displaying the time on a phosphorescent screen or a field of sequins, it seems like [ekaggrat] has a thing for unique clocks.