Posts with «arduino» label

This ‘burger drop’ machine captures the perfect shot

If you’ve ever seen a TV commercial for any fast-food chain, then chances are you’re familiar with the burger drop shot–you know, that scene where ingredients like lettuce, tomatoes, onions, bacon, beef patties and sesame seed buns fall from above and then stack themselves upon landing. Well, photographer/Maker Steve Giralt wanted to try capturing a shot like this on his own without the use of CGI or an expensive post-production process.

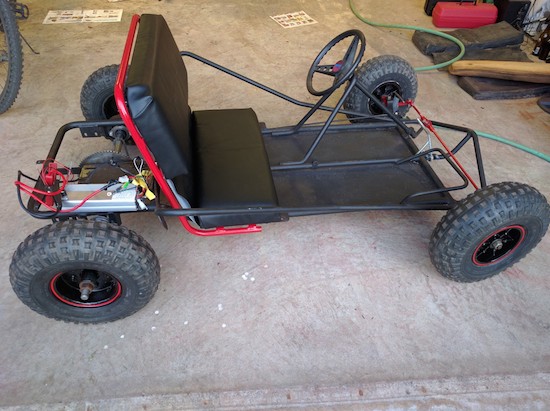
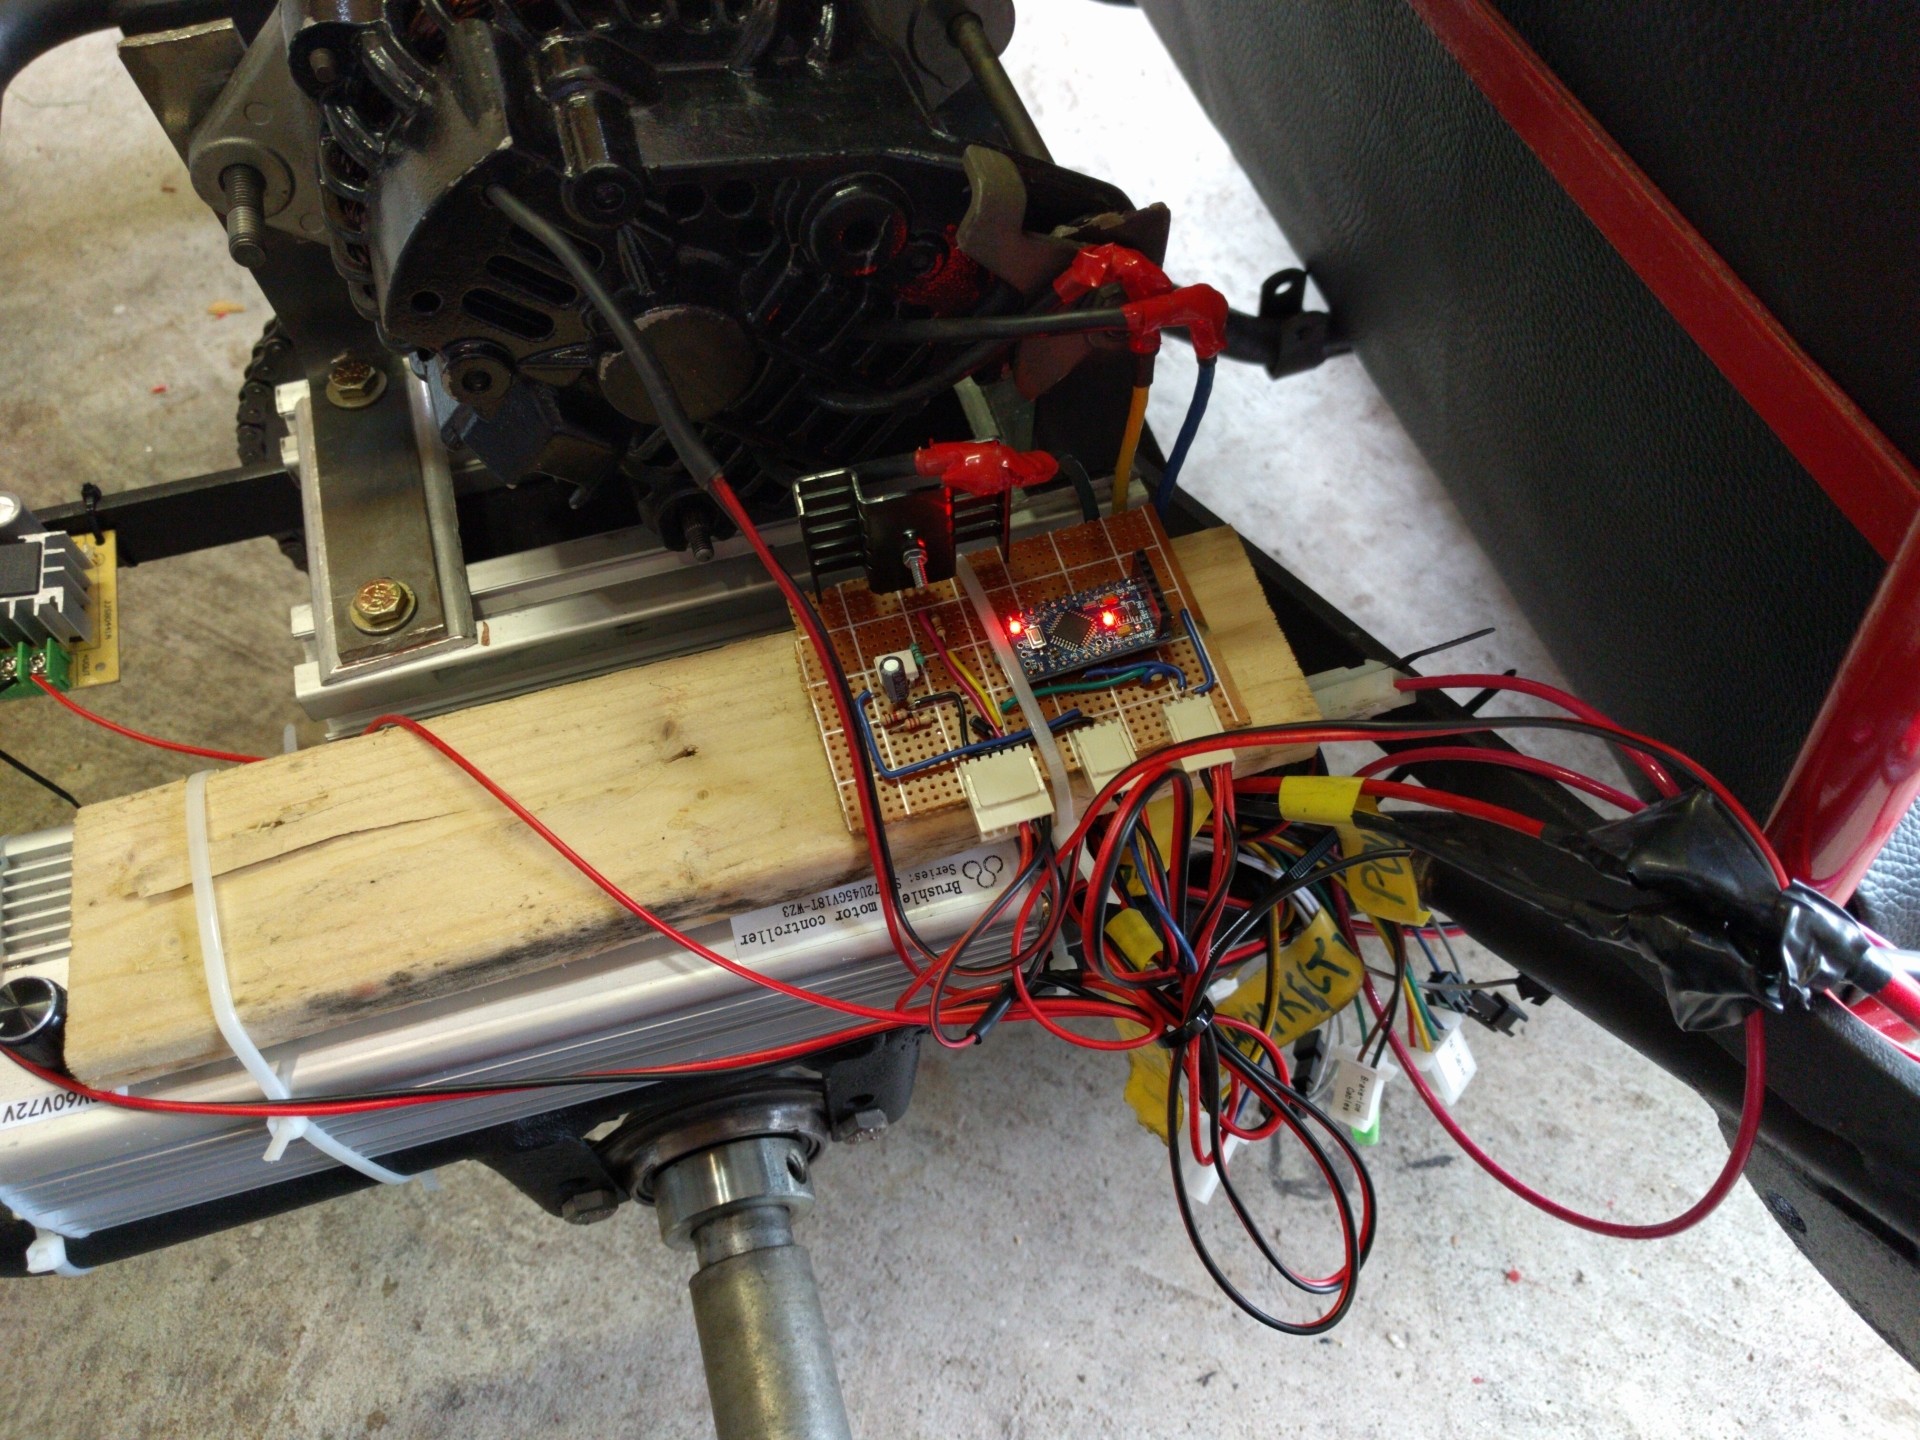
To accomplish this, Giralt created a rig with an Arduino-based timing control system (named P.A.T.R.I.C) that triggers the camera motion, as well as the drop of the burger’s ingredients so that everything falls perfectly. 

As he explains:

The final video is a synchronized work of art. In the half second of real time, multiple Arduino controlled servo motors with custom 3D printed scalpel blades cut through elastic bands holding up the top bun, pickles, onions, lettuce, tomato, bacon, meat, and lower bun while a 3D printed air powered catapult launched ketchup and mustard blobs into each other.

This all happened while the Phantom camera was moving down on the motion control robot arm at high speed, adjusting focus, as it raced the ingredients and gravity down to the landing.

When we got a perfect landing of the burger, I had a hand model slam down a freshly poured beer down next to the burger to finish off the shot. It was so much fun!

You can read all about the build here, and get a behind-the-scenes look in the video below!

(Photos: PetaPixel)


Arduino + Software Defined Radio = Millions of Vulnerable Volkswagens

As we’ve mentioned previously, the integrity of your vehicle in an era where even your car can have a data connection could be a dubious bet at best. Speaking to these concerns, a soon-to-be published paper out of the University of Birmingham in the UK, states that virtually every Volkswagen sold since 1995 can be hacked and unlocked by cloning the vehicle’s keyfob via an Arduino and software defined radio (SDR).

The research team, led by [Flavio Garcia], have described two main vulnerabilities: the first requires combining a cyrptographic key from the vehicle with the signal from the owner’s fob to grant access, while the second takes advantage of the virtually ancient HiTag2 security system that was implemented in the 1990s. The former affects up to 100 million vehicles across the Volkswagen line, while the latter will work on models from Citroen, Peugeot, Opel, Nissan, Alfa Romero, Fiat, Mitsubishi and Ford.

The process isn’t exactly as simple as putting together $40 of electronics and walking away with a vehicle. The would-be thief must be close in order to detect the fob’s unique key — although they only need to do so once for that vehicle! — as well as reverse-engineer the other half of the code from the vehicle’s internal network. Exploiting HiTag2’s vulnerabilities to unlock the vehicle can be achieved within a minute by a well-prepared thief. [Garcia] and his team note that only the VW Golf 7 has been spared from this exploit.

If thievery is not your thing and you’re looking to white-hat hack your vehicle, Volkswagen still has the best option in the form of the loveable Beetle.

[Thanks for the tip therafman!]


Filed under: Arduino Hacks, hardware

A 3D-printed, LEGO-like system for chemistry and biology

A team from the University of California, Riverside has developed a LEGO-like system of blocks that enables users to make custom chemical and biological research instruments quickly, easily and affordably. The 3D-printed blocks can create various scientific tools, which can be used in university labs, schools, hospitals, or anywhere else.

The blocks–which are called Multifluidic Evolutionary Components (MECs)–are described in the journal PLOS ONE. Each unit performs a basic task found in a lab instrument, such as pumping fluids, making measurements, or interfacing with a user. Since the blocks are designed to work together, users can build apparatus—like bioreactors for making alternative fuels or acid-base titration tools for high school chemistry classes—rapidly and efficiently. The blocks are especially well-suited for resource-limited settings, where a library of blocks could be utilized to create an assortment of different research and diagnostic equipment.

The project is led by graduate student Douglas Hill along with assistant professor of bioengineering William Grover, and is funded by the National Science Foundation. You can read all about the 3D-printed system here, and check out the video below which reveals an Arduino Uno being put to work.


Monome + Raspberry Pi + Arduino + Python Step Sequencer

Created by “modulogeek,” the MonomePi is a step sequencer that uses a monome as an input controller and a toy glockenspiel as the output instrument.

The brain of the device is a Raspberry Pi 3, which runs a step sequencer program written in Python. Both the monome and an Arduino Uno are connected to the Pi via USB. The Arduino controls eight servos, each attached to a “mallet” made of LEGO bricks taped onto coffee sticks.

As modulogeek explains, the Arduino is programmed to receive serial commands from the Python program. A command is one byte or 8 bits, each bit representing ‘on’ (play the note) and ‘off’ (do nothing) states of each servo.

The monome is entirely controlled by the Python program, which sends serial commands that, for example, tell the monome which buttons need to light up or turn off. It also receives serial data from the monome, like which buttons are getting pressed and depressed.

You can see it below, as well as check out its GitHub page here.

Create a simple lie detector using Arduino

Have you ever found yourself in an argument with a friend and wanted to know once and for all if they were telling the truth? Lucky for you, 17-year-old Dante Roumega has created a simple lie detector using an Arduino.

This system works by measuring an individual’s galvanic skin response, which is a fancy way of saying their conductivity. The basis for the project is that our skin changes its conductivity depending on how we feel, particularly following an evocative question.

Roumega connects an Arduino housed inside a small cardboard box to person being interrogated and to a computer running graphing software, which allows him to monitor the results in real-time. There are also three LEDs that enable him to tell if someone’s lying without looking at the screen. He starts by asking his subjects some easy things that they’d answer truthfully, like “what’s your name” or “where do you live,” followed by some that would likely prompt a false answer to get a baseline.

As for the finger pads, Roumega just used a few pieces of tinfoil, velcro and tape. He connects the Arduino’s A0 pin to one of the tinfoil strips and the 5v pin to another, and then wraps them around the middle and index fingers, respectively. You can find all of the wiring instructions and polygraph code here.

It goes without saying that this isn’t the most accurate system in the world, but still cool nevertheless!

HardWino is an open-source, Arduino-based cocktail maker

While it may not be the first (nor will it be the last) robotic bartender we’ve seen, Pierre Charlier has come up with a clever and affordable way to mix the perfect drink at home. Say hello to HardWino.

The automatic cocktail maker consists of a six-slot, rotating beverage holder that is controlled by an Arduino Mega and uses a TFT screen to accept orders. The project also includes stepper motors and L298 driver boards, which are supported by 3D-printed parts. Power is supplied through a 12V DC jack.

Charlier provides a step-by-step breakdown of the build in the video below. Keep in mind, however, that this is merely a prototype. We can’t wait to see the final result!

HardWino Takes The Effort Out of Happy Hour

A personal bartender is hard to come by these days. What has the world come to when a maker has to build their own? [Pierre Charlier] can lend you a helping hand vis-à-vis with HardWino, an open-source cocktail maker.

The auto-bar is housed on a six-slot, rotating beverage holder, controlled by an Arduino Mega and accepts drink orders via a TFT screen. Stepper motors and L298 driver boards are supported on 3D printed parts and powered by a standard 12V DC jack. Assembling HardWino is a little involved, so [Charlier]  has provided a thorough step-by-step process in the video after the break.

[Charlier] has also kindly included his Arduino code to further facilitate your happy hour. The best part? This is isn’t even the final product; and yet — this functional prototype can already turn the tables on a long day. Whatever your beverage of choice, make sure it stays as hot or cool as you want with the help of this handy coaster.


Filed under: 3d Printer hacks, Arduino Hacks

Build an electric go-kart on a budget with Arduino

Growing up, there was nothing cooler than hopping in a go-kart for a quick spin around the neighborhood. But you know what would make it even cooler? If you built your own electric set of wheels. That’s exactly what two engineering students, Adrian Georgescu and Masoud Johnson, have done using commonly available components along with a secondhand frame they picked up for $125 and a few Arduino.

Although they initially targeted a motor power output of 3kW, they were unable to find any that fit their budget. So as any true Makers would do, the duo settled on creating one out of an old Subaru alternator instead. Price tag? $30.

For the rest of their project, Georgescu and Johnson used an electric scooter’s three-phase motor controller, three LiPo battery packs, a trio of Arduino Pro Minis, and an Arduino Mega. The Arduinos are tasked with throttle control, speed sensing, RPM measurement, and transmitting the data over to a virtual dashboard on an Android app.

To finish off the build, the students reupholstered the seat, painted the chassis red and black, and threw on 60 LEDs. You can see the end result in action below, as the e-kart reaches a top speed of roughly 33mph (53km/h).

Laser Sequencer uses Arduino to Enable Super-Microscope!

[Philip]’s Laser control Arduino shield.

[Philip Nicovich] has been building laser sequencers over at the University of New South Wales. His platform is used to sequence laser excitation on his fluorescence microscopy systems. In [Philip]’s case, these systems are used for super-resolution microscopy, that is breaking the diffraction limit allowing the imaging of structures of only a few nanometers (1 millionth of a millimeter) in size.

Using an Arduino shield he designed in Eagle, [Philip] was able to build the system for less than half the cost of a commercial platform.

The control system is build around the simple Arduino shield shown to the right, which uses simple 74 series logic to send TTL control signals to the laser diodes used in his rig. The Arduino runs code which allows laser firing sequences to be programmed and executed.

[Philip] also provides scripts which show how the Arduino can be interfaced with the open source micro manager control software.

As well as the schematics [Philip] has provided STEP files and drawings for the enclosure and mounts used in the system and a detailed BOM.

More useful than all this perhaps is the comprehensive write-up he provides. This describes the motivation for decisions such as the use of aluminum over steel due to its ability to transfer heat more effectively, and not to use thermal paste due to out-gassing.

While I can almost hear the cries of “not a hack”, the growing use of open source platforms and tool in academia fills us with joy. Thanks for the write-up [Philip] we look forward to hearing more about your laser systems in the future!


Filed under: misc hacks