

Become a pinball wizard on this 3D-printed machine
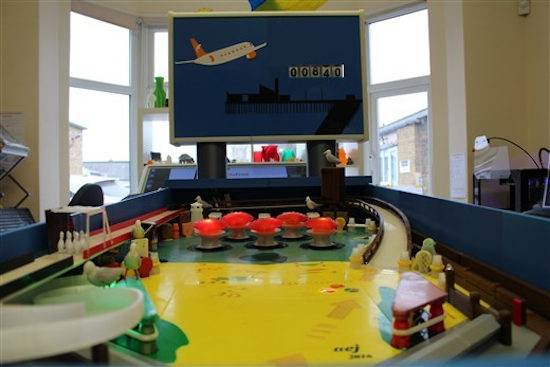
“Tony the Pinball Wizard” has successfully 3D-printed a fully-functional pinball machine.
The retired software engineer provides a detailed writeup, beginning with pinball’s roots in the 1700s to its eventual fall from popularity in the 1990s and 2000s. If you find this interesting, you could likely pick one up on Craigslist, but Tony instead decided to build his own.
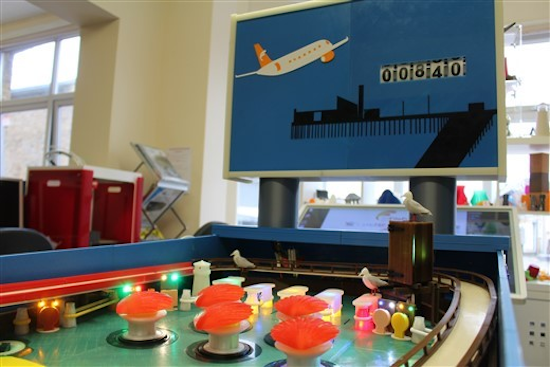
This process isn’t for the feint of heart though, as it took him over 200 hours to design the game, and another 1,200 or more hours to 3D print everything. Materials included 8.5 kilometers of filament, of which 85 types were used. The whole thing is powered by a pair of Arduino Mega boards, needed to accommodate the massive number of inputs and outputs required.
The machine was brought to life and displayed inside 3D FilaPrint’s stand at recent industry trade show. You can see Tony’s excellent project in action below and read all about it here.


