Build a simple RGB LED color detector with Arduino
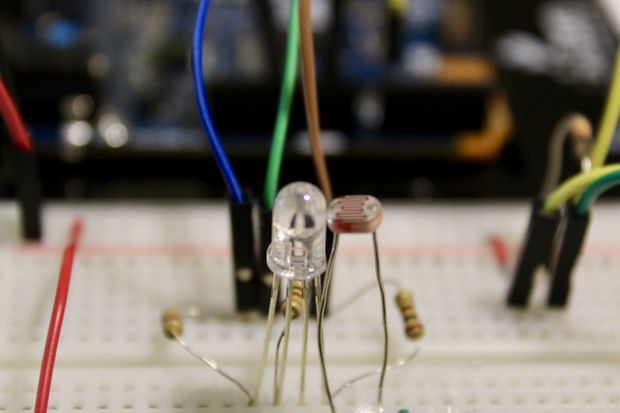
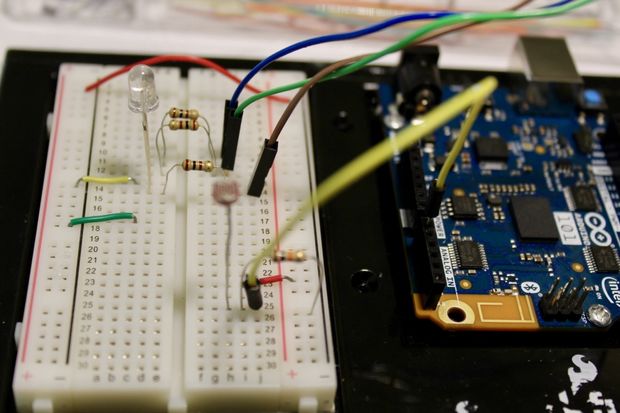
You may think that visually sensing colors is a complicated operation, requiring a camera or other advanced sensors. This isn’t always the case, as engineer “Tech Martian” illustrates in the video below, using a photoresistor and RGB LED along with an Arduino 101 board.
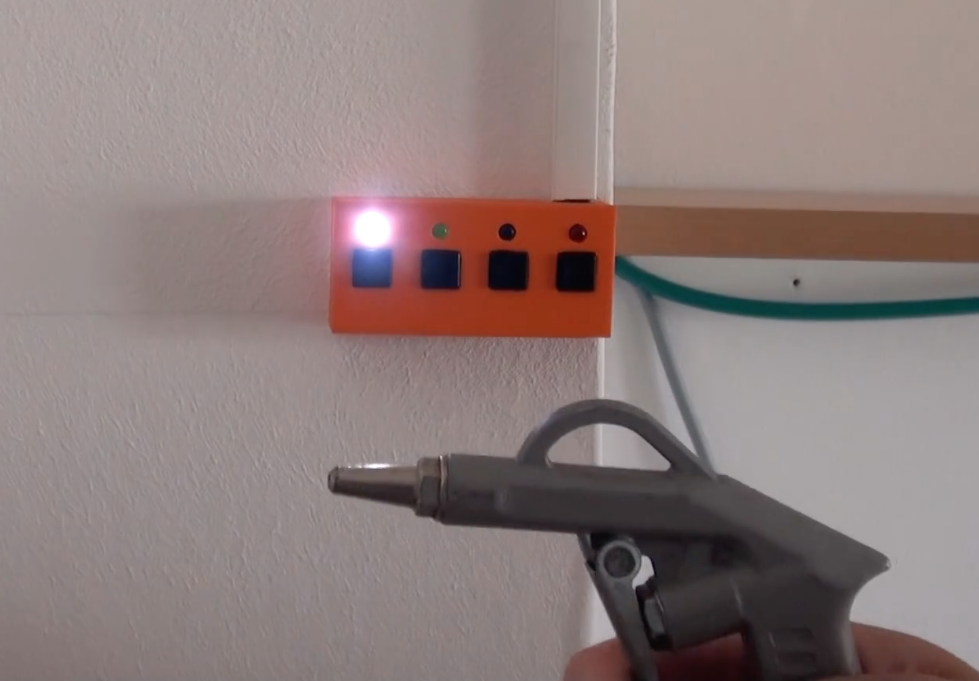
His setup uses the LED to shine on a piece of paper in three colors, measuring the reflected light intensity. These reflections are first calibrated by reflecting light off of white and black paper, which can then be combined to show the colors presented in front of the emitter/sensor pair.
I got a comment and request from one of my Instructables that they would like to see an LED used as a color detector. Then, I got the idea that if I were to use an RGB LED, I can detect all the color spectrum possible by sending PWM signals to the LED.
Be sure to check out the project write-up for more information, including the Arduino code!