Afroman Teaches Intro to Servos, Builds Laser Turret
After a longish hiatus, we were pleased to see a new video from [Afroman], one of the most accessible and well-spoken teachers the internet has to offer. If you’re new to electronics, see the previous sentence and resolve to check out his excellent videos. The new one is all about servos, and it culminates in a simple build that provides a foundation for exploring robotics.
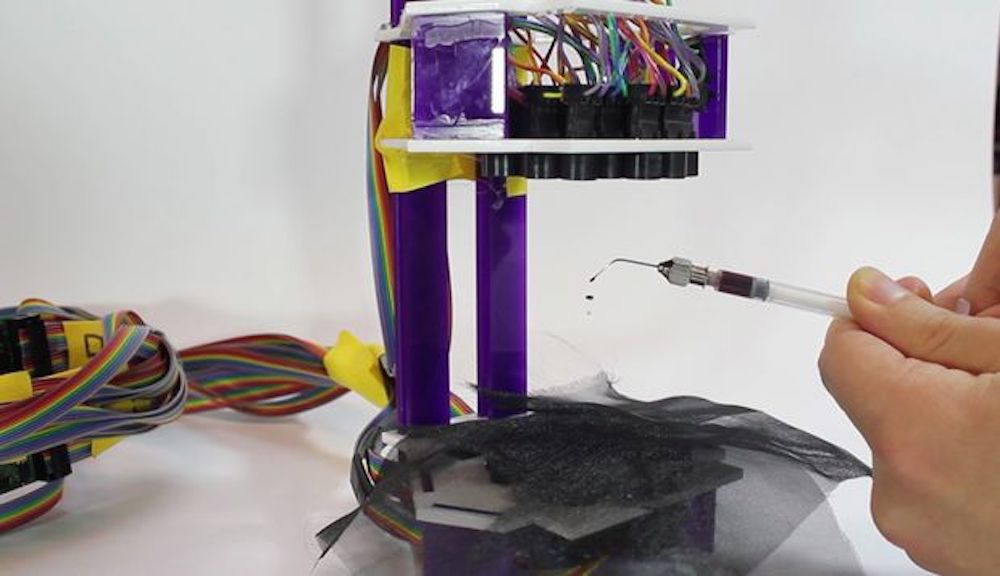
[Afroman] leaves no gear unturned in his tour de servo, which is embedded after the break. He explains the differences between open vs. closed loop motor systems, discusses the different sizes and types of servos available, and walks through the horns and pigtails of using them in projects. Finally, he puts this knowledge to use by building a laser turret based on a pan-tilt platform.
The Arduino-driven turret uses two micro servos controlled with pots to move by degrees in X/Y space. Interestingly, [Afroman] doesn’t program the board in the Arduino IDE using wiring. Instead, he uses an open-source microcontroller language/IDE called XOD that lets you code by building a smart sort of schematic from drag-and-drop components and logic nodes. Draw the connections, assign your I/O pin numbers, and XOD will compile the code and upload it directly to the board.
XOD seems like a good tool for beginners to do rapid prototyping. On the other hand, a look into the generated code reveals a whole lot of wrappers that obfuscate the bits of code that actually do stuff. There doesn’t seem to be a way to shed them, either, so once you design something in XOD, you’re kind of stuck using it to iterate. That said, the generated code is well documented, and someone who knows what they’re looking at could find, for instance, the I/O pin assigned to the blink sketch LED.
Once the novelty of the double laser cat tormentor has subsided, use the other servos in that 5-pack you bought to flip a light switch, control a knob, or play the glockenspiel.
Filed under: how-to, Laser Hacks