Once upon a time, there was a music venue/artist collective/effects pedal company that helped redefine industry in Williamsburg, Brooklyn. That place was called Death By Audio. In 2014, it suffered a death by gentrification when Vice Media bought the building that DBA had worked so hard to transform. From the ashes rose the Death By Audio Arcade, which showcases DIY pinball cabinets made by indie artists.
Their most recent creation is called A Place To Bury Strangers (APTBS). It’s built on a 1959 Gottlieb Mademoiselle table and themed around a local noise/shoegaze band of the same name that was deeply connected to Death By Audio. According to [Mark Kleeb], this table is an homage to APTBS’s whiz-bang pinball-like performance style of total sensory overload. Hardly a sense is spared when playing this table, which features strobe lights, black lights, video and audio clips of APTBS, and a fog machine. Yeah.
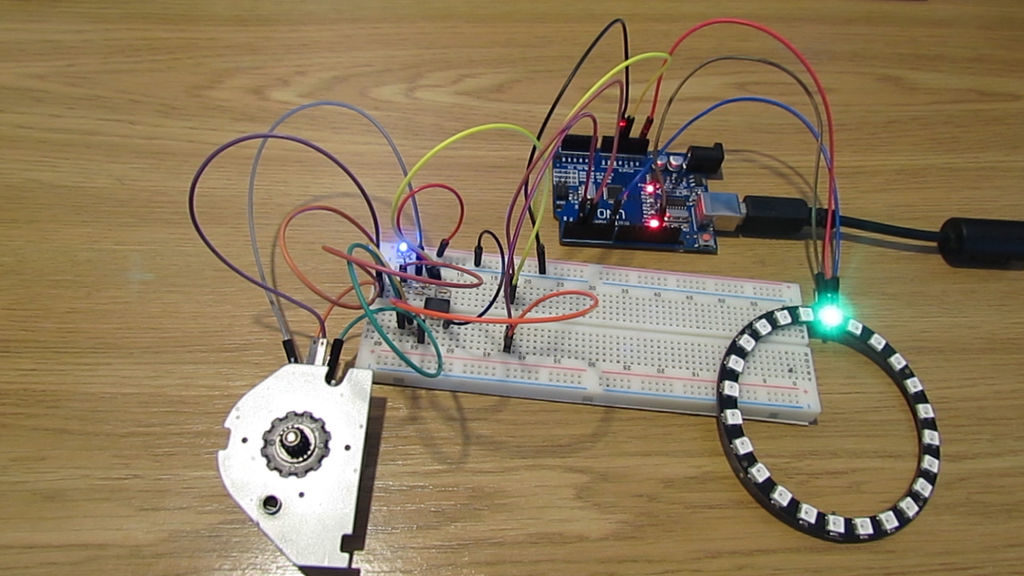
[Mark] picked up this project from a friend, who had already cut some wires and started hacking on it. Nearly every bit of the table’s guts had to be upgraded with OEM parts or else replaced entirely. Now there’s a Teensy running the bumpers, and another Teensy on the switches. An Arduino drives the NeoPixel strips that light up the playfield, and a second Uno displays the score on those sweet VFD tubes. All four micros are tied together with Python and a Raspi 3.
If you’re anywhere near NYC, you can play the glow-in-the-dark ball yourself on July 15th at Le Poisson Rouge. If not, don’t flip—just nudge that break to see her in action. Did we mention there’s a strobe light? Consider yourself warned.
Want to get into DIY pinball on a smaller scale? Build yourself a sandbox and start playing.