Constructing an hourglass lamp with Arduino
With the proliferation of all sorts of digital timers, the need for an hourglass to keep track of whatever activity you’re working on seems like a relic of the past. Still, the hourglass is an interesting form factor, so YouTuber Emiel Noorlander (aka The Practical Engineer) has decided to take it into the 21st century.
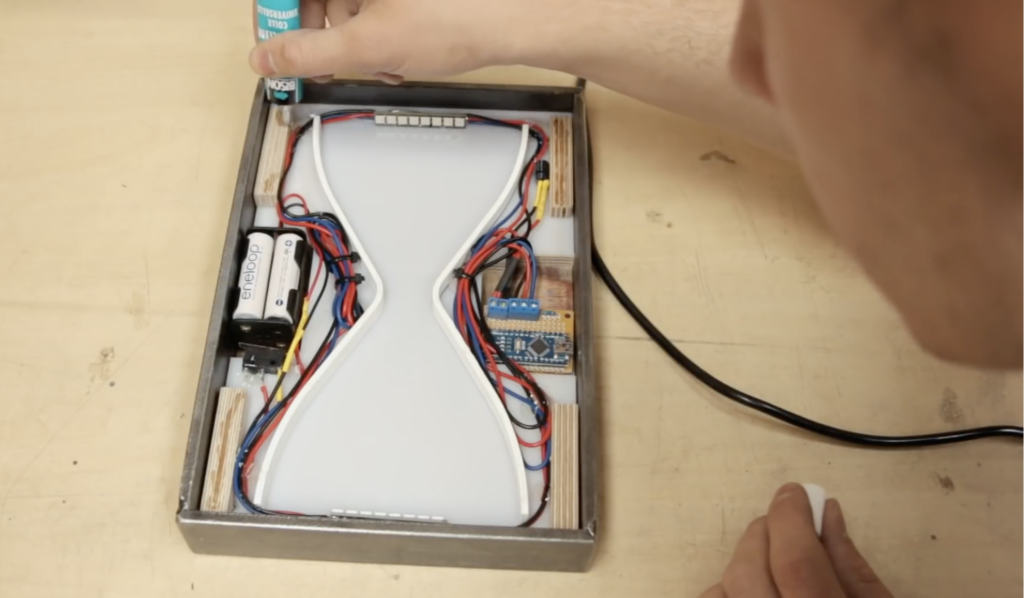
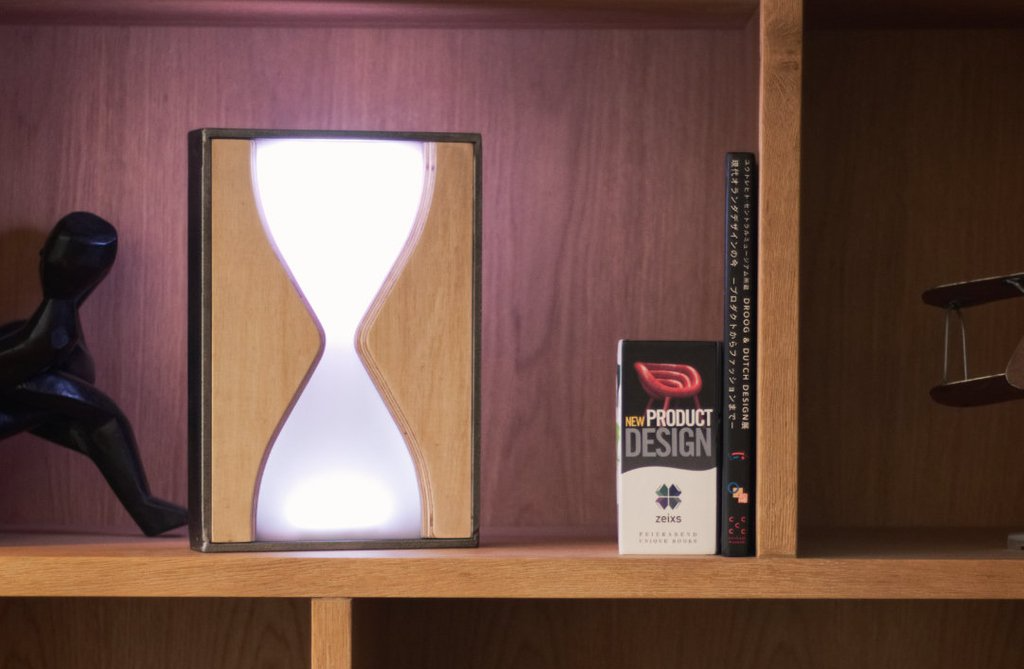
His device is about the size and shape of a rectangular picture frame, with the outline of an hourglass in wood attached to white polycarbonate. This diffuses programmable LEDs on the other side, controlled by Arduino Nano to simulate sand falling. The project is powered by a four AA battery pack, cleverly allowed to float in the internal structure, activating the on/off switch when positioned correctly.
In this week’s video I’m making an hourglass lamp with light effects that simulate the falling sand when you turn the lamp upside down.
Another cool feature I build into it is the on / off switch, this is hidden inside the lamp and turns on by putting the lamp on the right side. Turning it upside down then turns off the light.
The outside frame of the lamp is made of 40×6 mm metal strip that I cut to size and then welded as a frame. When this was done I went over to the bandsaw to cut the hourglass shape out of the wood. The semi-transparent panel where the light shines through is made from 3 mm opaque white polycarbonate sheet.