See ‘n Say toy hacked with Arduino
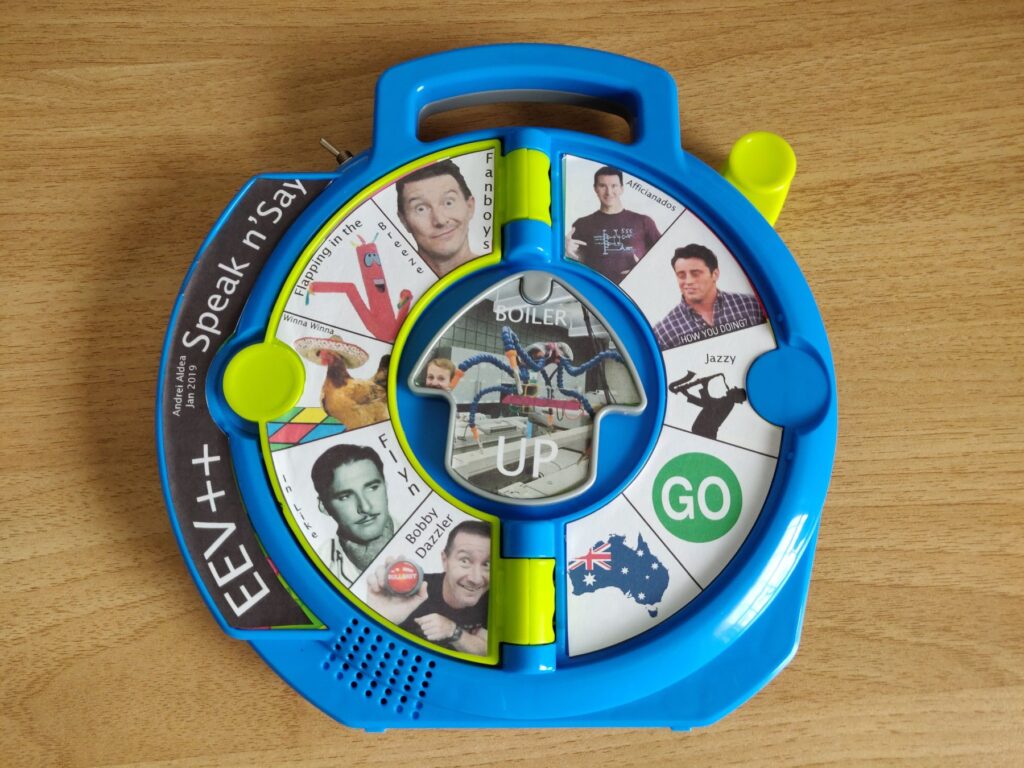
The See ‘n Say is an educational toy that originated in the 1960s, speaking out whatever the child pointed to on a dial. The device has evolved over the years from a mechanical sound mechanism to one that uses electronics in its design, which inspired Andrei Aldea to convert one of them into an EEV Blog catchphrase machine!
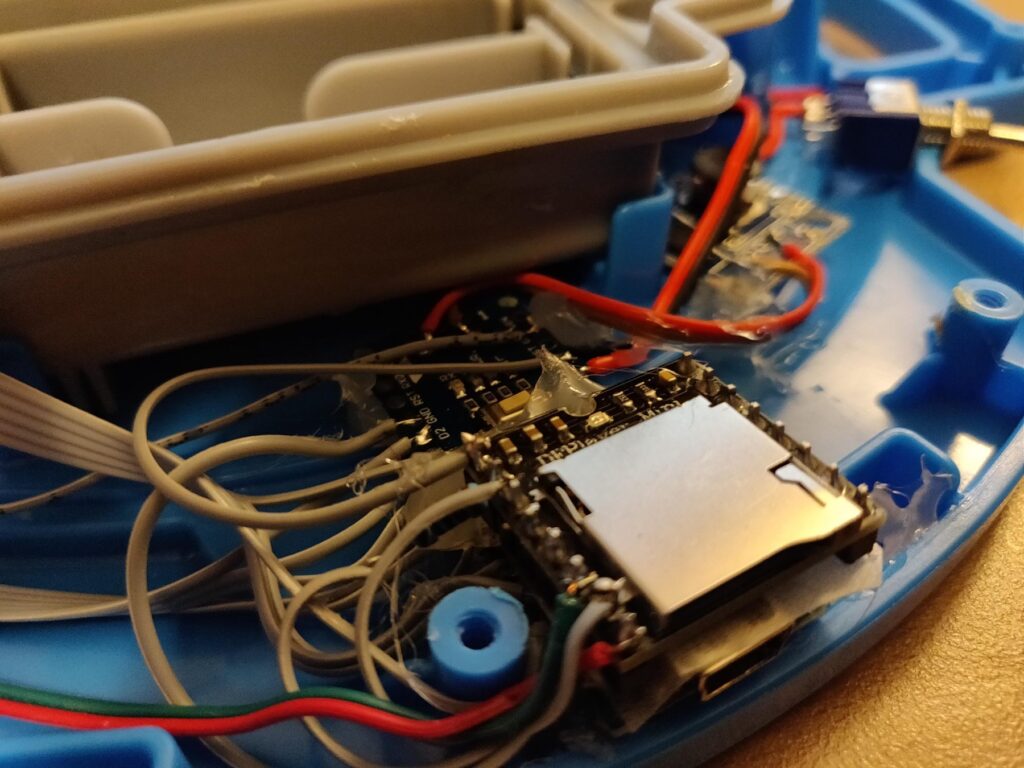
Aldea replaced most of the electronics with an Arduino Nano, plus an MP3 module to power the speaker. Internal buttons that normally trigger sounds based on the dial rotation, along with a “page” switch, are wired into the Arduino. The hacked toy can now select from a library of over 300 audio clips of host Dave Jones and other “bonus” material for hours of entertainment!
While binging some The Ben Heck Show videos I ran across and old episode titled Speak & Dave Jones in which Ben hacks a Fisher Price See N’Say toy to play a sound for each of Dave Jones’ catchphrases.
The video itself (and especially the idea) is quite fun, but he used a custom PCB for the button matrix and a Propeller(? I think it was) micro, which make the whole project a lot more tedious than it needed to be, not to mention he never posted any of the code/graphics/design files he used.
Since this seemed like an easy enough project to tackle in an afternoon, and I had all the parts (minus the toy itself) lying around, I decided to give it a go while adding some of my own features.