Posts with «arduino uno» label

Control an LED display with your electric guitar!

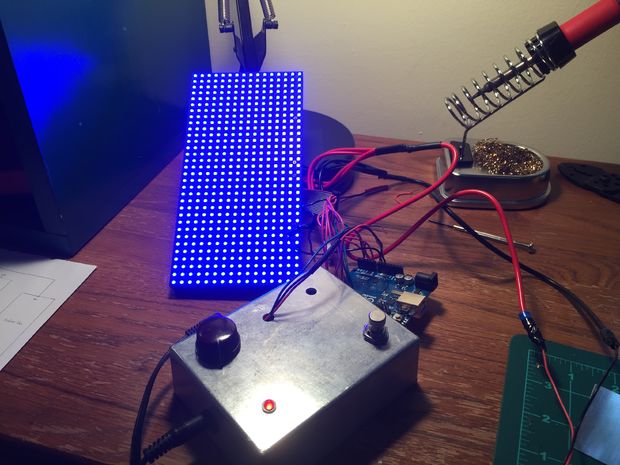
Have you ever wanted to have a light show that reacts to what you play through you’re favorite electric instrument? Georgia Tech grad student Wil Roberts has, and so he created a guitar-controlled LED display–an impressive project that combines both his Maker and musical chops.

To accomplish this, Roberts used an Arduino Uno along with an Adafruit 16×32 RGB LED matrix panel that responds to the guitar’s signal. The bottom rows are always blue, while the top ones progress from green to red the louder he shreds. The top rows remain red depending on the length of the note being played.

Want one of your own? Roberts has made all of the display’s circuitry and code available on Instructables. In the meantime, be sure to see it in action below!

Maker builds feeding machine that lets his cat ‘hunt’ for food

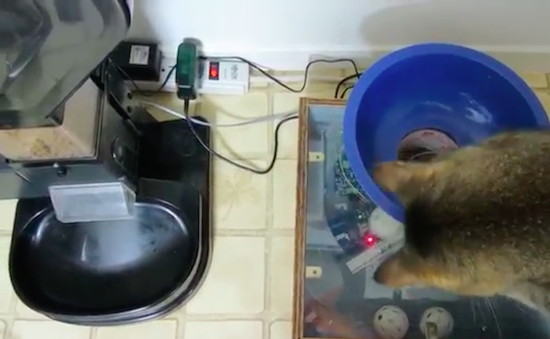
Although automated pet feeders seem to be a dime a dozen these days, Benjamin Millam’s project is on a whole ‘nother level. Last year, the Maker created a system that caters to the primal instincts of his indoor cat, Monkey, by training him to look for plastic balls hidden around the house and then drop them into the machine. Once the apparatus recognizes the RFID-tagged balls, food gets dispensed into the bowl.

The system is comprised of a modified Super Feeder, an Adafruit RFID reader, a remote antenna, a few relays and an Arduino Uno. Millam writes that he conceived the idea after learning why cats repeatedly scour the same area.

What if my cat, while out on patrol, actually found its prey? Surely this would bring him one step closer towards a more fulfilled and self-actualized indoor kitty existence. I imagined hiding little bowls of food around the house… then I imagined me actually refilling these bowls. Then I imagined having to move them around to different hiding spots, spilling, forgetting, and every so often, perhaps only after following a trail of ants, finding one undiscovered and rancid. Hmmm, maybe there’s a way to hide something else, a way to hide something other than food, a way to make something not-food = food…
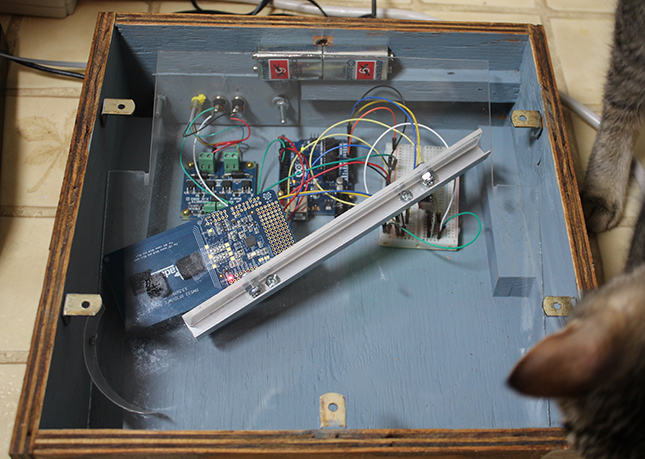
Throughout the day, the feline seeks out a series of embedded balls and plops them into a blue bowl on top of the makeshift device. From there, gravity takes over. As the ball makes its way down the shoot, the RFID tag is scanned and and the program is initiated. The Arduino switches on the relay that closes the feeder’s power circuit, and voila!

The Maker does note, however, that a little training is needed in order for this method work. While we’ll have to wait and see if this becomes an actual product, you can watch Monkey go after some Wiffle Balls right meow!
Build a pan and tilt camera with Raspberry Pi + Arduino

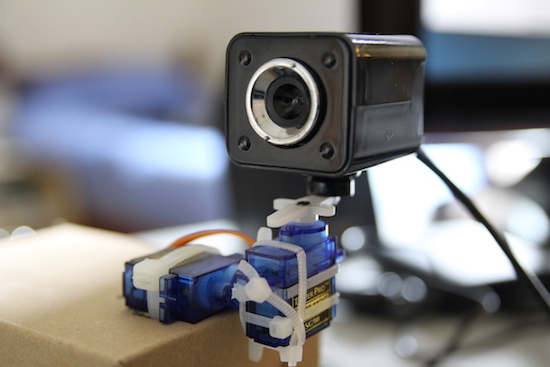
Although there are plenty of DIY surveillance cameras already out there, MakeUseOf has taken it to the next level with the ability to remotely control its view. This DIY pan tilt camera uses a Raspberry Pi, an Arduino Uno, a pair of servos, and a USB webcam.

The Pi streams video to a webpage and adds a few buttons to move the camera. Due to the lack of the hardware PWM pins, the servos are controlled by the Arduino that is connected to the Pi. Meanwhile, a Python server handles the web interface and commands.

Sound interesting? Be sure to check out the entire build on MakeUseOf’s page here.

The most incessant (and annoying) Arduino project ever?

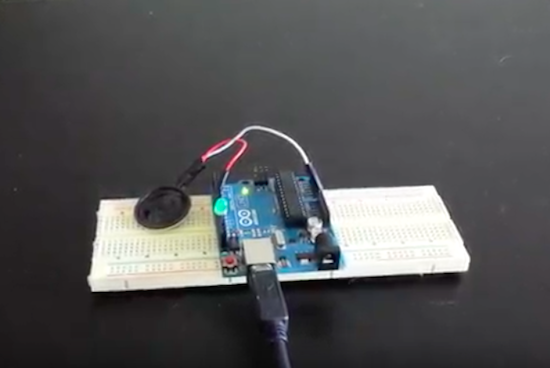
If you live with your family, a significant other or a few roommates, and you’re looking for a fun prank to drive them nuts, Connor Nishijima has the perfect trick for you: an Arduino cricket. Unlike actual crickets that are relatively consistent with the sounds they make, this one is a far cry from that. Instead, the Maker’s project will chirp for a brief second, and then go into a deep sleep for a random amount of time between three minutes and three hours. As you could imagine, this can make the source of the noise extremely difficult to pinpoint!

Nishijima combined the JeeLib library for reducing current consumption and his new library for 8-bit volume control to bring the insanely annoying “cricket” to life using nothing more than a speaker, a 7800mAh USB battery, and an Arduino. The best part? He estimates that the setup has enough juice to last for months, if not years. In his case, he enclosed the electronics within a box along with some magnets, then placed it in his vent to mess with his buddy.

For the lowest current comsumption with minimal effort, I’ll be using a 16MHz Arduino Pro Micro with a few power-hog components like the power LED desoldered. Unfortunately, the PWM speeds needed for my Volume lib only work well at 16MHz so far, so using 8MHz to conserve power is out.

However, the awesome battery calculator at Oregon Embeddedtells me that at 16mA “awake” current and 200uA “asleep” current (being asleep more than 95% of the time) this should last more than three years. Of course, the battery itself will have some drain involed with it’s circuitry, but even a FOURTH of the estimated battery life still puts us at almost a full year which is good enough for me, and bad enough for my friend.

Those wishing to give this prank a try can check out Nishijima’s videos below, as well as his code on GitHub.

Star Track is an Arduino-powered star pointer and tracker

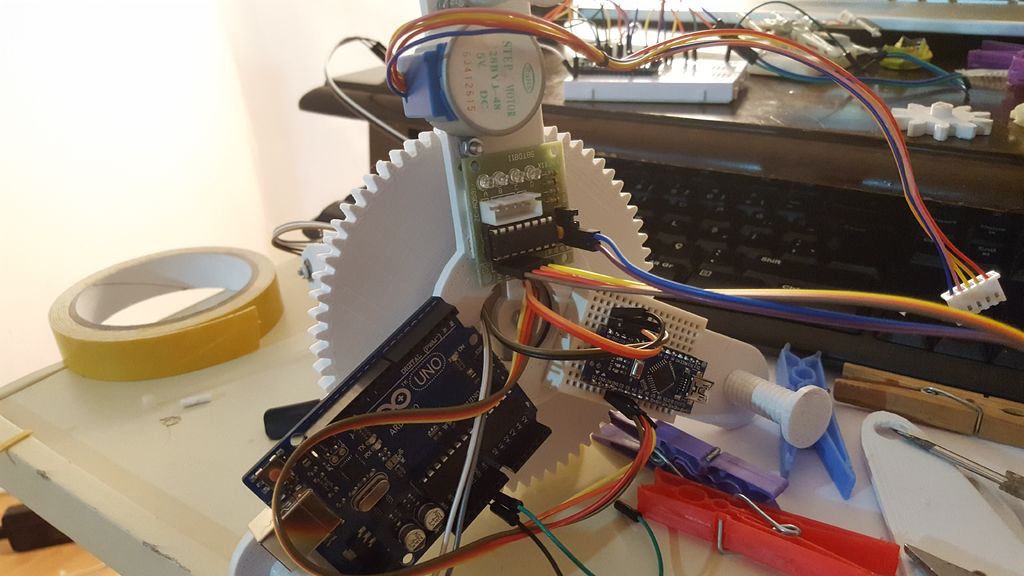
Maker and astronomy enthusiast Görkem Bozkurt has built a GoTo telescope mount-inspired system that points and tracks any object in the sky using its celestial coordinates. The aptly named Star Track sports a 3D-printed structure along with a pair of Arduinos (an Uno and Nano), a gyroscope, an RTC module, two low-cost 5V stepper motors, and a laser pointer.

Many computerized telescopes have a type of telescope mount and related software which can automatically point a telescope to astronomical objects that the user selects. Called GoTo mounts. Like a standard equatorial mount, equatorial GoTo mounts can track the night sky by driving the right-ascension axis. Since laser pointers are a perfect way to point stars, I thought a laser pointer with a GoTo mount would be a perfect tool for locating stars and to track them.

First I had to design a two-axis mount.

1. 360-degree rotating axis for RA
2. A up-down axis for DEC

After aligning the RA axis with the North Celestial Pole, an Arduino connected with an RTC should be able to calculate and track RA with sidereal time. And you can adjust the two axes to the user input from a computer via serial.

But first I had to find a way to precisely point the mount to given degrees. The main idea was to use step motors and give them a specific step to take. But after a few tests that was not totally accurate.

Instead, I used a gyroscope placed on the laser pointer to track the degrees on the two axes, this way I was able to send a command to the step motor to start and stop the movement if necessary.

Intrigued? Bozkurt provides a basic overview of positional astronomy on his project page, along with all of Star Track’s 3D files, code and assembly instructions.

Turn your printer into a MOCO slider with Arduino

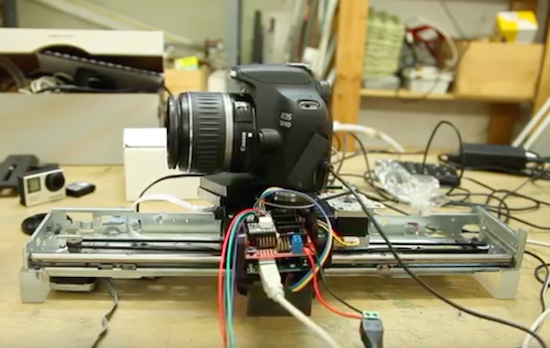
Product designer Eduard Puertas continues to impress us with his makeshift motion control projects. Recently, the animation enthusiast had come across a broken HP printer on the street; rather than let it be picked up by the garbage truck, he decided to repurpose it into a MOCO slider for stop motion and time-lapse photography.

Aside from the printer’s mechanical parts, Puertas used an Arduino Uno, some stepper drivers, and Dragonframe software to bring his idea to life. You can see the end result below!

Ride to work on an Arduino-based electric unicycle

Some people drive their car to work. Some walk. Others ride their bike. Well, in Nick Thatcher’s case, he prefers to hop on his own electric unicycle. The serial creator of self-balancing vehicles has just completed his latest project, dubbed  “Plan-B.”

Unlike his other builds, this time Thatcher set out to make Plan-B a true “commuter” unicycle with the utmost portability–boasting a foldable design, a handle on its rear for easy carrying, and a LiFePo4 battery to keep it lightweight.

His newly-constructed personal transport is equipped with a 24V 350W geared motor and a SyRen 50A motor controller, along with an Arduino Uno and an IMU to help maintain the cycle’s stability. Beyond that, Plan-B uses a wheelbarrow wheel with a chain drive from the motor.

Watch Thatcher commute in style below!

Spinphony turns cycling into music

Spinphony is a bike installation that was built in collaboration with 72andSunny‘s Google team and their Made with Code initiative, with hopes of inspiring teenage girls to take an interest in coding.

As its name would suggest, the project combines spinning (indoor cycling) and music with each bike representing a different instrument stem of a song.

For instance, bike one controls drums, bike two might control bass and so on. The way we made it all come together was to have the volume of each stem depend on the speed at which the bike was being pedaled (i.e. the slower the RPM the quieter the stem of the song and vice versa). This is where Arduino came into play.

The prototype is based on an Arduino Uno and uses two magnets, a reed switch, RPM values, and MIDI to produce some spincredible sounds. You can see it in action below!


Prototyping a smart bulb with JavaScript, Arduino + PubNub

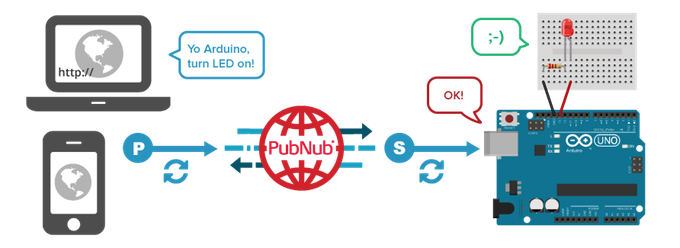
In this video, our friends at PubNub are going to create a smart home network that builds upon their previous Johnny Five tutorial. They again hack an Arduino Uno using JavaScript, but this time to create the simplest smart bulb. Because by “smart bulb,” we really just mean an LED.

The tutorial was developed by Tomomi Imura from PubNub and also uses Johnny-Five. No, not the robot from the movie Short Circuit. It is an open-source JavaScript robotics framework that lets you program an Arduino with Node.js. The bulb itself is remotely controlled via a web portal.

To establish the realtime communication between the Arduino and a web browser, the PubNub Data Stream Network (DSN) is used. PubNub provides global infrastructure and allows you to build and scale real-time apps and IoT devices quite easily.

The remote controller (web app) is written in JavaScript. This is a simple user interface that includes only one button. While a completed code sample is available on CodePen, this tutorial employs a simplified version so that it’s easier to follow along.


Build your own coin-operated Wi-Fi hotspot ticketing system

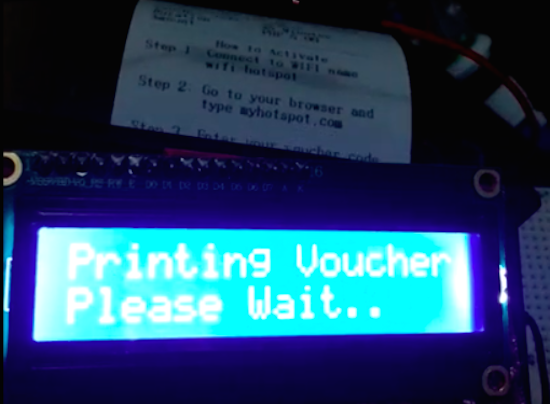
Reddit user “jeff122885” has come up with a fairly simple yet clever coin-operated ticketing system for his Wi-Fi network. The setup consists of a Ch-926 multi-coin acceptor, a MikroTik Groove, and an Arduino Uno with a microSD card module. The unique password for the hotspot is stored in the SD card and read by the Arduino.

Once the coins are deposited, the voucher code, Wi-Fi name, duration, cost, and instructions on how to connect are printed onto a receipt. You can see it all in action below!