MalDuino — Open Source BadUSB
MalDuino is an Arduino-powered USB device which emulates a keyboard and has keystroke injection capabilities. It’s still in crowdfunding stage, but has already been fully backed, so we anticipate full production soon. In essence, it implements BadUSB attacks much like the widely known, having appeared on Mr. Robot, USB Rubber Ducky.
It’s like an advanced version of HID tricks to drop malicious files which we previously reported. Once plugged in, MalDuino acts as a keyboard, executing previous configured key sequences at very fast speeds. This is mostly used by IT security professionals to hack into local computers, just by plugging in the unsuspicious USB ‘Pen’.
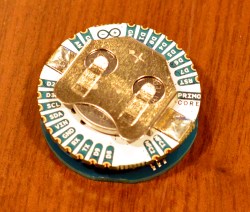
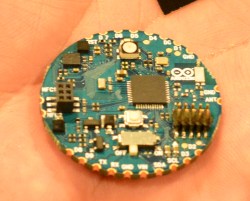
[Seytonic], the maker of MalDuino, says its objective is it to be a cheaper, fully open source alternative with the big advantage that it can be programmed straight from the Arduino IDE. It’s based on ATmega32u4 like the Arduino Leonardo and will come in two flavors, Lite and Elite. The Lite is quite small and it will fit into almost any generic USB case. There is a single switch used to enable/disable the device for programming.
The Elite version is where it gets exciting. In addition to the MicroSD slot that will be used to store scripts, there is an onboard set of dip switches that can be used to select the script to run. Since the whole platform is open sourced and based on Arduino, the MicroSD slot and dip switches are entirely modular, nothing is hardcoded, you can use them for whatever you want. The most skilled wielders of BadUSB attacks have shown feats like setting up a fake wired network connection that allows all web traffic to be siphoned off to an outside server. This should be possible with the microcontroller used here although not native to the MalDuino’s default firmware.
For most users, typical feature hacks might include repurposing the dip switches to modify the settings for a particular script. Instead of storing just scripts on the MicroSD card you could store word lists on it for use in password cracking. It will be interesting to see what people will come up with and the scripts they create since there is a lot of space to tinker and enhanced it. That’s the greatness of open source.
You can watch the prototype in action in the video:
Filed under: Arduino Hacks, peripherals hacks, security hacks


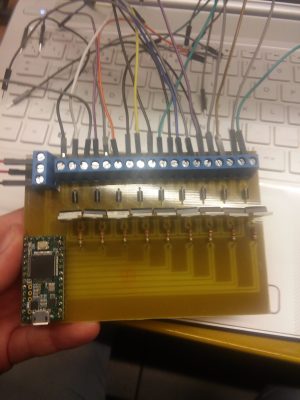 A Teensy 3.2 programmed using the Teensyduino IDE drives the solenoids. The board reads MIDI command sent over USB from a PC and translates them into the commands for this excellent driver board. It connects TIP31C transistors, along with flyback diodes, to the solenoids via a terminal strip.