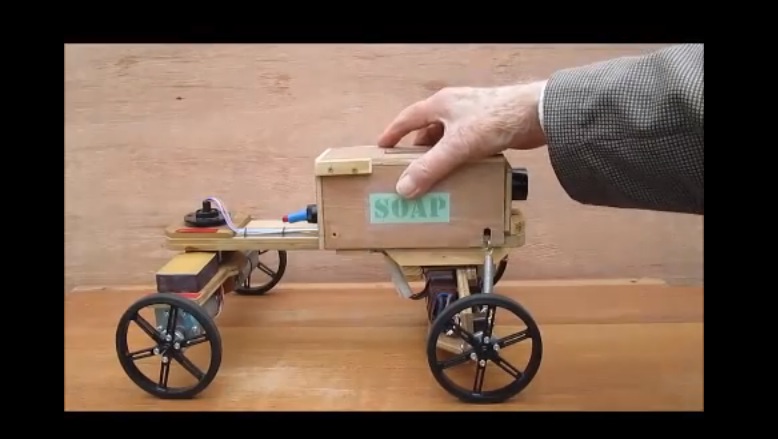
One more project, that shows breathtaking beauty of the FFT (Fast Fourier Transform). Once again, like in last 3D Ultrasonic Radar Project, Arduino DUE was nominated to be Maestro, doing major part of the Digital Signal Processing in real time. As you can see below, the hardware includes 4 “modules”:
- Sensor board
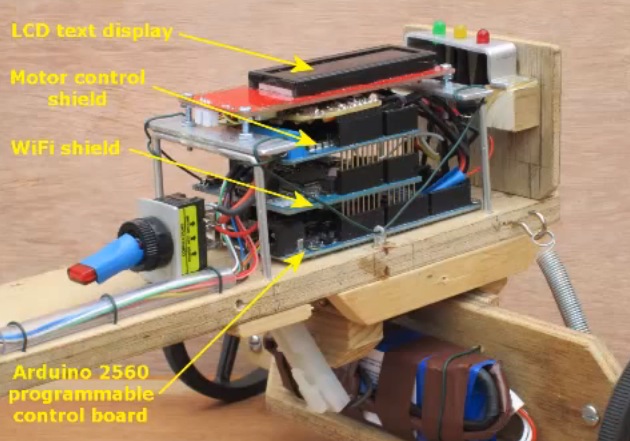
- Arduino DUE
- Bluetooth shield
- Android tablet.
Last two items aren’t strictly necessary. Alternative would be to connect TFT display directly to arduino, but I decided not to spend my time on re-inventing drawing-rendering software. Better to delegate all visualization stuff to the equipment that was specifically design by big monsters in high tech industry. I spend quite time digging into android graphics subject anyway, only hoping I can apply my knowledge somewhere else later on.

Sensor board holds 4 microphones from SFE. Plus a few decoupling components, capacitors and inductor in power line.
Software.
Brief summary: Arduino sampling 4 analog inputs, close to 41 kHz, x 4 = 164 ksps, software library Radix4 posted on this blog was imported into project practically intact. DMA feature on Arduino DUE allows sampling rate up to 1 MSPS, and I already successfully tested its capability in 3D Radar project. Having 2048 fft size, at the first processing stage output there are 1024 bins 20 Hz each. Than, using arctangent LUT, phase of each bin is extracted. Difference in phases two vertically position microphones gives Y component, and two horizontally spaced mic’s – X component. Sound source is localized with accuracy ~ 0.5 degree. Have to say, that on the lower frequency end, 100 Hz – 1 kHz , where wavelength is huge compare to spacing between two mic’s ( 3.4 meters at 100 Hz ), accuracy is deteriorating proportionally to wavelength.
Arduino is calculating data really fast, providing X, Y, and M every 50 milliseconds. M – is for magnitude. Than, all this data stream flows to android over BT. Everything else is obvious, watch the video.
Speaker outputs white noise, as for single tone (frequency) only one pixel would be visible on screen. Android software “colorized” picture based on a frequency, low range – starting from red, and up to violet on high end of the frequency band, through all 1024 color wheel possibilities. You can see, that picture saturated with green and blue, and there is almost no red color. There are two things, first is a speaker, not performing well at low end. Second nuance is the fact, that low frequencies are not “grouped” so effectively, due to the localization error, what I tried to explain in a paragraph above. I created an option in the menu to select different types of colorization, based on a frequency or based on a magnitude. They are look pretty similar for white noise source, so there is only one video clip.
Have fun.
Edited on 21 Oct. 2014:
If you come across this page searching an old “Localizator” project, published over 2 years ago, here is working material I was able to find: Localizator.