Posts with «3dprinting» label

Design a LEGO-compatible servo holder and print it with Materia 101

This week we are presenting you a new tutorial on 3d printing of Lego-compatible pieces with Materia 101. Kristoffer designed a brick with the parametric 3d modeler FreeCAD that can hold a small servo. Following the 10-step instructions  you can easily add wheels to robots built in LEGO and  use specific servos with different sizes.


Check the previous tutorials on 3d printing with Material 101

Interested in getting in touch and showing your experiments? Join Kristoffer on the Arduino forum dedicated to Materia 101 and give us your feedback.

Make a 3D printed LEGO-compatible Arduino Micro casing

Here we are after winter break with a new tutorial on 3d printing with Arduino Materia 101. The 5-step tutorial allows you to design a Lego-compatible case for the Arduino Micro to be used together with the power function IR-receiver mentioned in this other Tutorial.

During the lesson you’ll learn also how to make the Lego-compatible pieces accurately and easily with FreeCAD without taking all the measurements!

Follow the steps and print yours >>

Check the previous tutorials on 3d printing with Material 101

Interested in getting in touch and showing your experiments? Join Kristoffer on the Arduino forum dedicated to Materia 101 and give us your feedback.

Recently Arduino user Botberg implemented an auto-levelling bed sensor  to be  sure that the placement of the first extrusion layer is placed well and increasing the printer successes!

Programmable 3d-printed decorations for your Xmas

We can’t miss the chance to play with some LEDs now that holidays are coming and mix some electronics with 3d printing on Materia 101.

In the tutorial of this Kristoffer is experimenting on Xmas decorations, Arduino Micro and some code to play around with.

The result is what you see in the picture below!

Do you want to make it too? Follow the steps on Scuola >>
Check the previous tutorials on 3d printing with Material 101

Interested in getting in touch and showing your experiments? Join Kristoffer on the Arduino forum dedicated to Materia 101 and give us your feedback.

How to print a Pirate Hook with your Materia 101

Using a 3d printer means playing with some hardware but especially some softwares. In the tutorial of this week, the fourth tutorial of our series , Kris is going to introduce you how to work with Slic3r, a G-Code generator for 3d printers and basically a tool you need to convert a digital 3D model into printing instructions for your 3D printer. Slic3r is an open source software able to cut the model into horizontal slices (layers), generates toolpaths to fill them and calculates the amount of material to be extruded so that you can reach good results.

The object you’ll be able to print with your Materia 101 is a pirate hook !

Follow the 12 steps on Scuola and print yours >>

Check the previous tutorials on 3d printing with Material 101

Interested in getting in touch and showing your experiments? Join Kristoffer on the Arduino forum dedicated to Materia 101 and give us your feedback.


Build a 3d-printed remote control box with the help of Materia 101

One of the pleasures of watching TV depends on the use of a remote control that allows you to change channels from where you are. In the tutorial of this week, Kristoffer made an add-on to a previous lesson teaching us how to control a computer with a remote control like the one of your TV using Arduino Micro, IR-sensor. The add-on is a custom and colourful 3d-printed case created with Freecad and Materia 101.

Follow the 12 steps of the lesson on Scuola >>

Check the previous tutorials on 3d printing with Material 101.

Interested in getting in touch and showing your experiments? Join Kristoffer on the Arduino forum dedicated to Materia 101 and give us your feedback.

Hashtag: #Materia101

Making something useful for your home with Materia 101

When you become a happy owner of a Materia 101 3d printer, the first days are really important to start experimenting with the right attitude. Understanding quickly how to get what you want from it means becoming aware of the potential applications of the 3d printing technology in your environment.

Last week we published  the tutorial  on  “Getting started with Materia 101″ created by Kristoffer  and kicking off a series of step-by-step guides to explore different topics, softwares and settings for your 3d printer.

Take a look at the second tutorial focused on  fixing things at home: “Making something useful” tutorial shows you how to start from a need, to design and print a solution. It feels great to be able to fix what’s broken!

Interested in getting in touch and showing your experiments? Join Kristoffer on the Arduino forum and give us your feedback.

Next week we are going to post a tutorial on how to create 3d-printed cases for Arduino boards. Stay tuned.

Hashtag: #Materia101

Having fun with your Materia 101 – 3d printing tutorial

We recently launched Materia 101 3d printer, happy to know some of you are already using it  and having fun with 3d printing. In order to lower the barriers to this technology even more and to allow you to experiment on interesting stuff, we planned to create a series of tutorials for beginners.

Today we are ready to present you the first tutorial created by Kristoffer working at Arduino in Malmo. He’s going to post e a step-by-step guide every week on different topics and also ready to receive your feedbacks on the Arduino forum.

Take a look at the “Getting Started with Materia 101” tutorial and learn how to print and take care of your printer for amazing results.

The tutorial has goodie inside: an Octocat g-code file you can download to create a perfect print of the weird creature you can see in the picture below!

Next week we are going to post a tutorial to create cool 3d-printed gadgets for your home. Stay tuned. #Materia101

Arduino Materia 101 is available for pre-order

During Maker Faire Rome we announced and gave a preview of our new project called Arduino Materia 101, the 3d printer developed in collaboration with Sharebot.

We are happy to announce that starting today the 3d printer is available for pre-order (30 days delivery time) from Arduino Store :

We can also share with you a list of documentation to learn all the details about it:

  • Product page with downloadable PDFs of
    • Use Manual in English and Italian
    • Assembly Manual (soon online in Italian and  in English)

In the next weeks we are going to post on the blog some cool hacks and user profiles to make it even easier to enjoy with the 3d printer.


Arduino's new 3D printer lets you modify just about everything

If you're a fan of Arduino's tinker-friendly approach to computing, you'll be glad to hear that it's now extending that open philosophy to 3D printers. The company has teamed up with Sharebot to unveil the Materia 101, a small (5.5 inches by 4 inches) printer that's built to be both friendly to beginners and very accessible. You can modify the code on the underlying Arduino Mega mini-PC, of course, but you also have access to the full schematics of the printer -- you can upgrade it or even make your own, if you have the know-how and parts. Arduino hasn't said when it plans to ship the Materia, but it'll be available both as a build-it-yourself kit (priced under $800) and fully assembled (under $1,000).

Filed under: Peripherals

Comments

Source: Arduino

Arduino MATERIA 101: simplifying access to the world of 3D printing

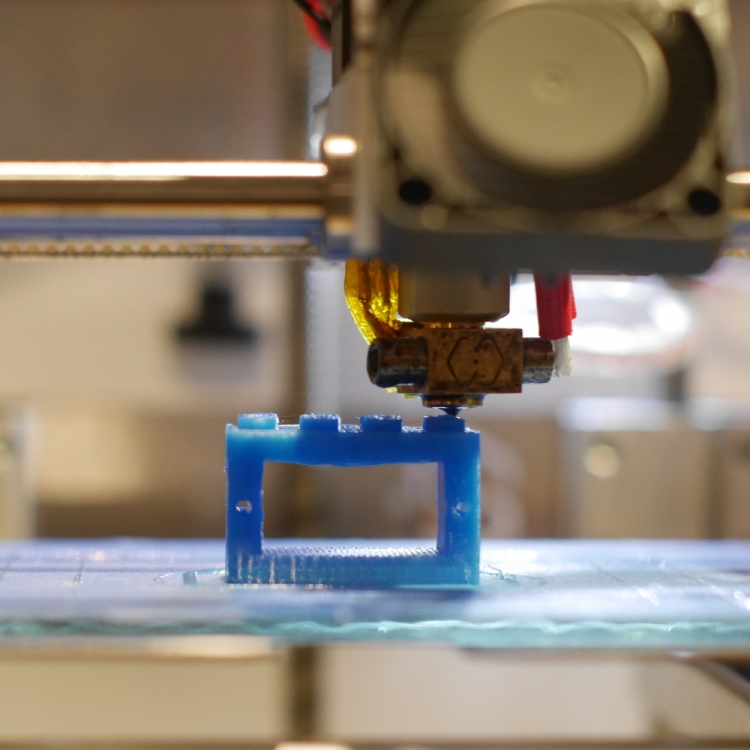
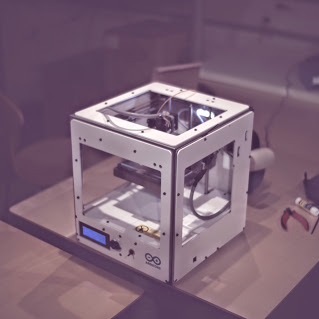
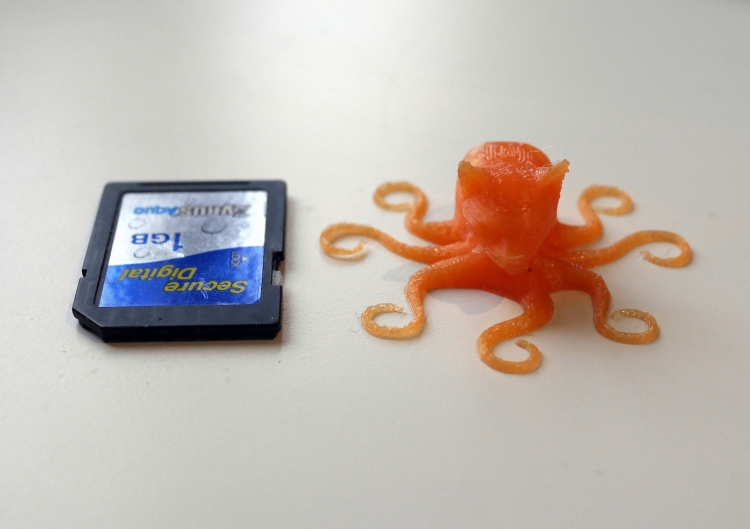
After the sneak peak of some days ago, we are happy to officially announce the Arduino 3d printer . Completely open source and affordable, Arduino Materia 101 is a device aiming at simplifying access to the world of 3D printing and rapid prototyping.

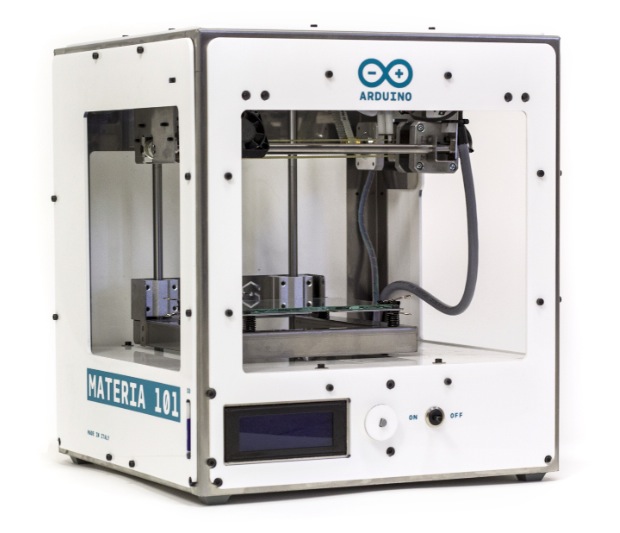
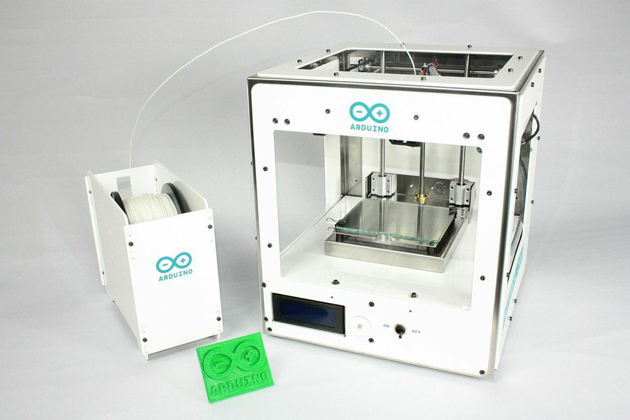
Materia 101 is a precision 3D printer running on Arduino Mega, designed and developed in Italy, thanks to the collaboration of Arduino and Sharebot, two companies working with a similar approach to technology. It is ideal for beginners, makers and education.

Materia 101’s visual identity is curated by studio ToDo: the choice of essentiality of design and the white color of the machine suggests its ease of use.

The printer will be available only on the Arduino Store both as a kit and pre-assembled. Official pricing of the device will be disclosed at a later date but the kit will sell for less than 600 EUR/800 USD, while the pre-assembled version will be available for less than 700 EUR/1000 USD.
The official presentation will be held during Maker Faire Rome, 3-5 October 2014. 

Technical characteristics:
Printing technology: Fused Filament Fabrication
Printing area: 140 x 100 x 100 mm +/- 5mm
X and Y theorical resolution position: 0,06 mm
Z resolution: 0.0025 mm
Extrusion diameter: 0.35 mm
Filament diameter: 1.75 mm
Optimal temperatures with PLA: 200-230°
Tested and supported filaments: PLA
Unsupported but tested filaments: Cristal Flex, PLA Thermosense, Thermoplastic Polyuretane
(TPU), PET, PLA Sand, PLA Flex
External dimensions: 310 x 330 x 350 mm
Weight: 10 kg
Usage: 65 watt
Electronical board: Official Arduino Mega 2560 with Open Source Marlin Firmware
LCD display 20 x 4 with encoder menu
Preloaded with PLA printing presets
Extruder block with filament pressure regulation