Posts with «materia101» label

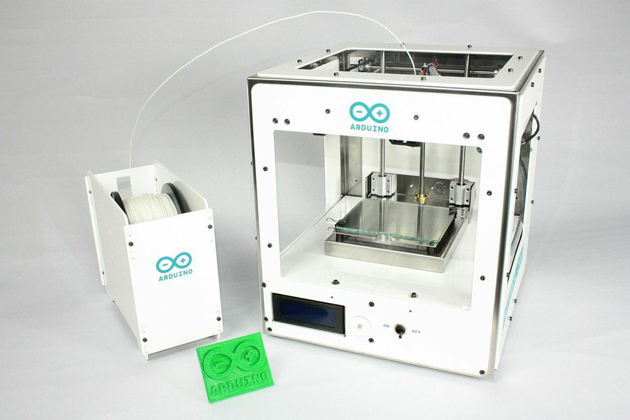
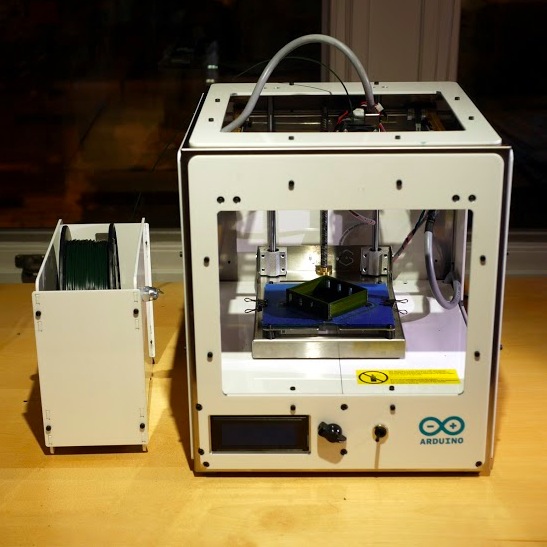
A tutorial about avoiding warping with Arduino Materia 101

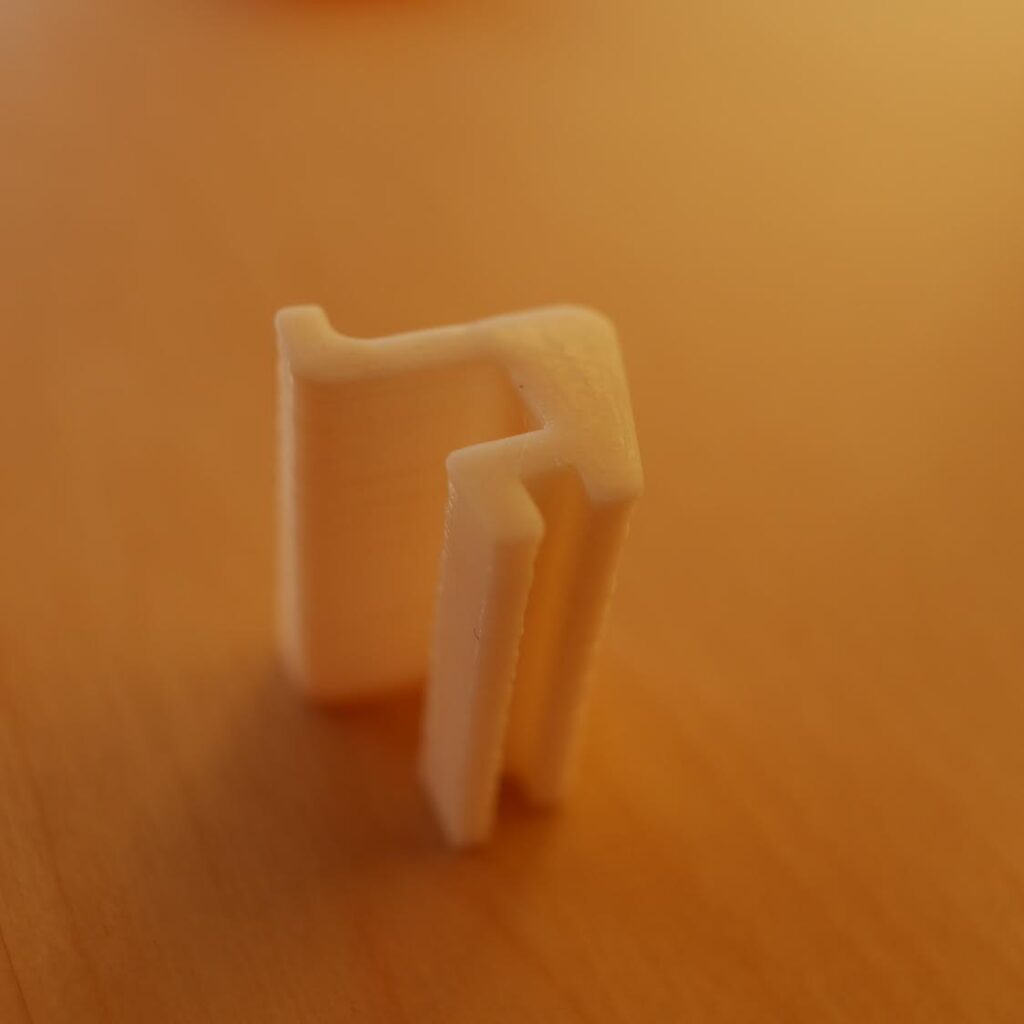
Some of you may have experienced that when you start to print a cube or box-shaped objects they can easily warp on the corners. The reason for this is the change of volume that plastic goes through when cooling down: it shrinks when becoming cooler. Even if PLA, the corn-based plastic we use on the Arduino Materia 101, shrinks much less than ABS, it can become a problem when printing things that require a high level of precision.

That’s why Kristoffer prepared a tutorial to solve the problem and shares some 3dprinting tricks with all of you. Follow the 5 steps of the tutorial and learn how to print without warping.

Check the previous tutorials on 3d printing with Material 101

Interested in getting in touch and showing your experiments? Join Kristoffer on the Arduino forum dedicated to Materia 101 and give us your feedback.

Now you can 3d print lego- compatible LED bricks

The 3d printing tutorial Kristoffer, our 3d specialist, prepared this week is not part of the ongoing LEGO power functions compatible series but makes you still play around modding the famous bricks to add some cool light effects.

If you follow the 8 easy steps you’ll be able to print bricks with Arduino Materia 101 that can include addressable LED’s in your models. As in the previous tutorials, he modelled it using FreeCAD, but the way he did it should be applicable to just about any CAD-software or 3d modelling software.

Notice that in the last step of the tutorial you can also download the perfect settings to obtain good prints out of small pieces!

Check the previous tutorials on 3d printing with Material 101

Interested in getting in touch and showing your experiments? Join Kristoffer on the Arduino forum dedicated to Materia 101 and give us your feedback.

Design a LEGO-compatible servo holder and print it with Materia 101

This week we are presenting you a new tutorial on 3d printing of Lego-compatible pieces with Materia 101. Kristoffer designed a brick with the parametric 3d modeler FreeCAD that can hold a small servo. Following the 10-step instructions  you can easily add wheels to robots built in LEGO and  use specific servos with different sizes.


Check the previous tutorials on 3d printing with Material 101

Interested in getting in touch and showing your experiments? Join Kristoffer on the Arduino forum dedicated to Materia 101 and give us your feedback.

Make a 3D printed LEGO-compatible Arduino Micro casing

Here we are after winter break with a new tutorial on 3d printing with Arduino Materia 101. The 5-step tutorial allows you to design a Lego-compatible case for the Arduino Micro to be used together with the power function IR-receiver mentioned in this other Tutorial.

During the lesson you’ll learn also how to make the Lego-compatible pieces accurately and easily with FreeCAD without taking all the measurements!

Follow the steps and print yours >>

Check the previous tutorials on 3d printing with Material 101

Interested in getting in touch and showing your experiments? Join Kristoffer on the Arduino forum dedicated to Materia 101 and give us your feedback.

Recently Arduino user Botberg implemented an auto-levelling bed sensor  to be  sure that the placement of the first extrusion layer is placed well and increasing the printer successes!

How to print a Pirate Hook with your Materia 101

Using a 3d printer means playing with some hardware but especially some softwares. In the tutorial of this week, the fourth tutorial of our series , Kris is going to introduce you how to work with Slic3r, a G-Code generator for 3d printers and basically a tool you need to convert a digital 3D model into printing instructions for your 3D printer. Slic3r is an open source software able to cut the model into horizontal slices (layers), generates toolpaths to fill them and calculates the amount of material to be extruded so that you can reach good results.

The object you’ll be able to print with your Materia 101 is a pirate hook !

Follow the 12 steps on Scuola and print yours >>

Check the previous tutorials on 3d printing with Material 101

Interested in getting in touch and showing your experiments? Join Kristoffer on the Arduino forum dedicated to Materia 101 and give us your feedback.


Build a 3d-printed remote control box with the help of Materia 101

One of the pleasures of watching TV depends on the use of a remote control that allows you to change channels from where you are. In the tutorial of this week, Kristoffer made an add-on to a previous lesson teaching us how to control a computer with a remote control like the one of your TV using Arduino Micro, IR-sensor. The add-on is a custom and colourful 3d-printed case created with Freecad and Materia 101.

Follow the 12 steps of the lesson on Scuola >>

Check the previous tutorials on 3d printing with Material 101.

Interested in getting in touch and showing your experiments? Join Kristoffer on the Arduino forum dedicated to Materia 101 and give us your feedback.

Hashtag: #Materia101

Making something useful for your home with Materia 101

When you become a happy owner of a Materia 101 3d printer, the first days are really important to start experimenting with the right attitude. Understanding quickly how to get what you want from it means becoming aware of the potential applications of the 3d printing technology in your environment.

Last week we published  the tutorial  on  “Getting started with Materia 101″ created by Kristoffer  and kicking off a series of step-by-step guides to explore different topics, softwares and settings for your 3d printer.

Take a look at the second tutorial focused on  fixing things at home: “Making something useful” tutorial shows you how to start from a need, to design and print a solution. It feels great to be able to fix what’s broken!

Interested in getting in touch and showing your experiments? Join Kristoffer on the Arduino forum and give us your feedback.

Next week we are going to post a tutorial on how to create 3d-printed cases for Arduino boards. Stay tuned.

Hashtag: #Materia101

Arduino's new 3D printer lets you modify just about everything

If you're a fan of Arduino's tinker-friendly approach to computing, you'll be glad to hear that it's now extending that open philosophy to 3D printers. The company has teamed up with Sharebot to unveil the Materia 101, a small (5.5 inches by 4 inches) printer that's built to be both friendly to beginners and very accessible. You can modify the code on the underlying Arduino Mega mini-PC, of course, but you also have access to the full schematics of the printer -- you can upgrade it or even make your own, if you have the know-how and parts. Arduino hasn't said when it plans to ship the Materia, but it'll be available both as a build-it-yourself kit (priced under $800) and fully assembled (under $1,000).

Filed under: Peripherals

Comments

Source: Arduino