Posts with «wi-fi» label

Trigger Your Home Automation Routines With Home Buttons

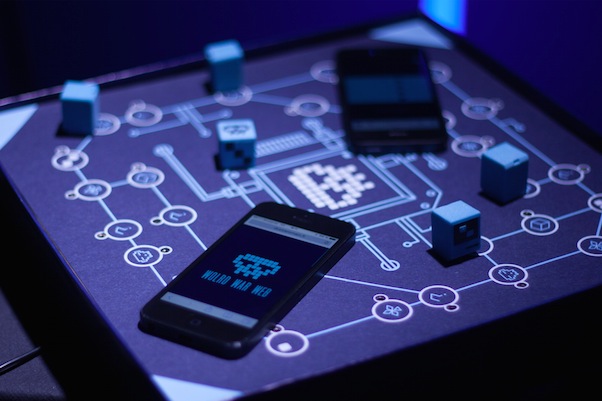
Home automation systems are all well and good, so long as the person who built it all is around to drive it. Let’s face it, they’re quite often a complex web of interconnected systems, all tied to the specifics of one’s home — and someone less familiar with it all could get a little irritated if, on a chilly day, the interface to the boiler is via a Python script, and something won’t work. Just saying. Home Buttons by [Matej Planinšek] over on Hackaday.IO is a nicely polished project, which aims to take some of the hackiness out of such automation by providing a sleek front end to those automation routines, enabling anyone to rock on over and set one in action without hassle.

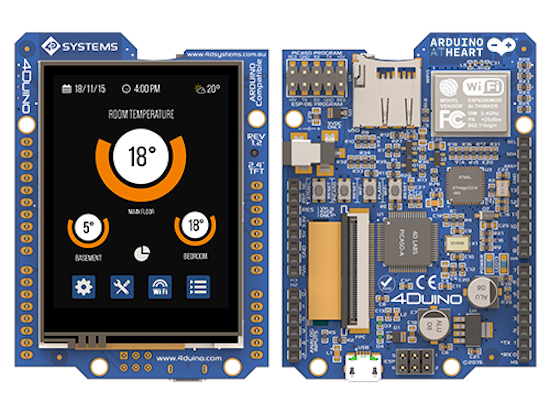
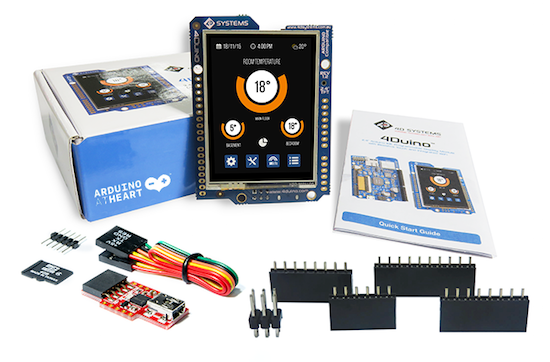
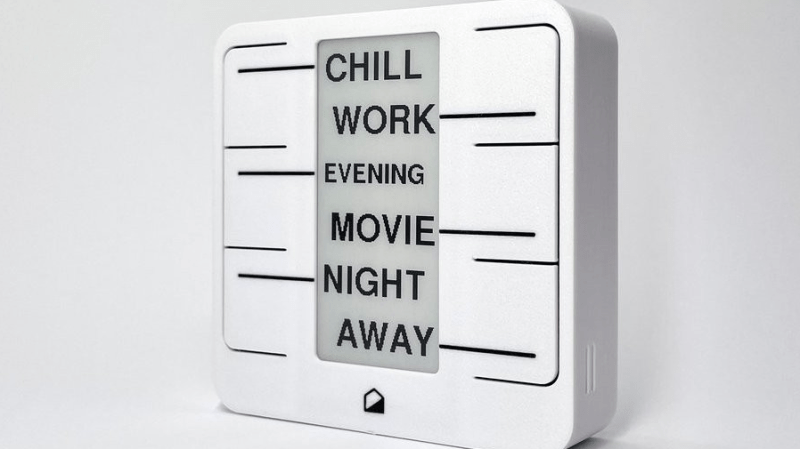
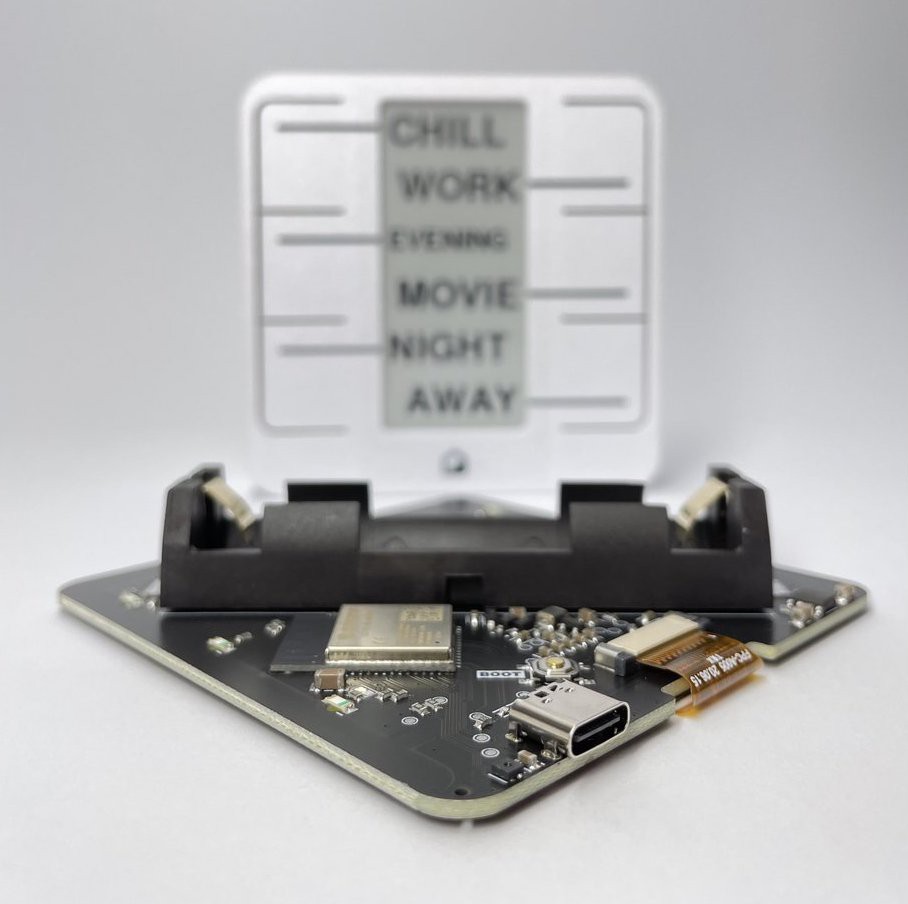
The PCB is based around the ESP32-S2-mini which deals with WiFi connectivity and integration with Home Assistant using the usual MQTT protocol. We expect integration with other flavors of home automation would not be difficult to achieve. The center of the unit holds a simple E-Ink display, for that low-standby power. Specifically, the unit chosen is a Good Display GDEY029T94 2.9″ which this scribe can confirm is easy to interface and pretty cheap to purchase from the usual Chinese online vendors. This was matched up with six clicky Alps SKRB-series low-profile tact switches, which sit on either side of the display, and corresponds to a flexure-type affair on the 3D printed front casing. Neat and simple.

The PCB design was provided in Altium format, which you can find on the project GitHub page. This shows a straightforward design, with a few nice little details here and there. The internally mounted 186550 cell is reportedly good for at least a year of operation, but when time, it can be charged via USB. A Xysemi XB8608AF (PDF) protection chip provides appropriate limiting for the 186550 cell, shielding it from the perils of overcharging, discharging, and whatnot. Not that that is likely in this current setup. A Sensiron SHTC3 humidity and temperature sensor is also in there, hanging off the I2C bus, which makes sense for this application.

Home Automation hacks are plenty on these pages, like this scroll-wheel interface, for instance. If all this stuff is looking quite overbearingly complicated to get into, how about starting with a Pico W?

The AtHeart 4Duino combines Arduino, Wi-Fi and touchscreen

A new season, a new partner! We’ve had our sights set on 4D Systems’ touchscreen product for quite some time, and we’re excited to finally introduce that this Arduino and Genuino-compatible product is joining the AtHeart program. The 4Duino-24 is a 2.4-inch, 240×320-pixel Intelligent Display Module with Wi-Fi capabilities.

“For years Arduino/Genuino users have been taking advantage of our Intelligent Display Modules for adding graphical user interfaces with touch capability to their applications. With the 4Duino-24 we wanted to make something a bit more special and combine some of the more popular shields and the ATmega32U4 into a compact easy to use package. We are delighted to become part of the AtHeart program and very much look forward to seeing a full variety of applications running on the 4Duino-24.” – Markku Riihonen, Products and Business Development Manager, 4D Systems.

Perfect for your next creative IoT project, the 4Duino-24 runs on an ATmega32U4 MCU and is powered by the 4D Systems PICASO Graphics Processor that offers an array of display functionality and options for any designer and Maker. The 4Duino-24 also includes the popular ESP8266 module, which is pre-programmed with the AT command set firmware enabling the 4Duino to have Wi-Fi functionality right out of the box.

Beyond that, the 4Duino-24 is equipped with an onboard microSD connector and headers in the layout of an Arduino, including power pins (5V, 3.3V, GND and VIN), 20 digital I/O pins—seven of which can be used as PWM outputs, while 12 pins have analog input capabilities.

The 4Duino-24 can be programmed using the standard Arduino IDE or the 4D Workshop4 IDE and its three new 4Duino-based development environments with the added dimension of graphics. Creating Arduino GUIs doesn’t get any easier!

Ready to get started? You can watch 4D Systems’ 10-minute video below, as well as check out its product page here. The 4Duino-24 is available as starter kit and standalone module at the price of $79 USD/€69.90 (+tax).

Make a Wi-Fi Enabled Light Switch Turner Onner

Use a servo to flick a light switch mechanically — without ever touching 110V power — with this Wi-Fi “Turner Onner”

Read more on MAKE

The post Make a Wi-Fi Enabled Light Switch Turner Onner appeared first on Make: DIY Projects and Ideas for Makers.

An even cheaper Wi-Fi board


For a few cents more than the ESP12F you get it with a programmer daughter board, a RGB led, a button and a photoresistor.
This is ideal for small robot with networking abilities.
Can be programmed with Arduino IDE as a NodeMCU v1.0 .

Let's Make Robots 05 Mar 23:19
arduino  esp8266  wi-fi  

New Project: Build a Reddit Shower Thoughts Printer

Use some simple electronics to build an IoT printer, like this "Thinking Man" who prints titles from Reddit's Shower Thoughts subreddit.

Read more on MAKE

The post Build a Reddit Shower Thoughts Printer appeared first on Make: DIY Projects, How-Tos, Electronics, Crafts and Ideas for Makers.

Internet-Connected TI-84

Just before the days where every high school student had a cell phone, everyone in class had a TI graphing calculator. In some ways this was better than a cell phone: If you wanted to play BlockDude instead of doing trig identities, this was much more discrete. The only downside is that the TI calculators can’t easily communicate to each other like cell phones can. [Christopher] has solved this problem with his latest project which provides Wi-Fi functionality to a TI graphing calculator, and has much greater aspirations than helping teenagers waste time in pre-calculus classes.

The boards are based around a Spark Core Wi-Fi development board which is (appropriately) built around a TI CC3000 chip and a STM32F103 microcontroller. The goal of the project is to connect the calculators directly to the Global CALCnet network without needing a separate computer as a go-between. These boards made it easy to get the original Arduino-based code modified and running on the new hardware.

After a TI-BASIC program is loaded on the graphing calculator, it is able to input the credentials for the LAN and access the internet where all kinds of great calculator resources are available through the Global CALCnet. This is a great project to make the math workhorse of the classroom even more useful to students. Or, if you’re bored with trig identities again, you can also run a port of DOOM.


Filed under: wireless hacks
Hack a Day 07 Oct 12:00

What’s the future of board games? Some students are making it connected

Fifteen students from Master degree of ECV Aquitaine  under the direction of Tazas Project - an artistic group run by Guillaume Beinat and Alexandre Suné –  created and shared with us a smart board game called “Web World War”.

The goal is simple: survive a computer virus that has infected your machine and, throughout the game, the player should build a strategy  to win this virtual war.

The game runs on Arduino and is composed by a screenprinted board connected to any mobile device plugged on a local WiFi connection. Take a look at the video:

Arduino Blog 27 May 15:36