Posts with «uno» label

Convert a weed wacker toy into a metal detector

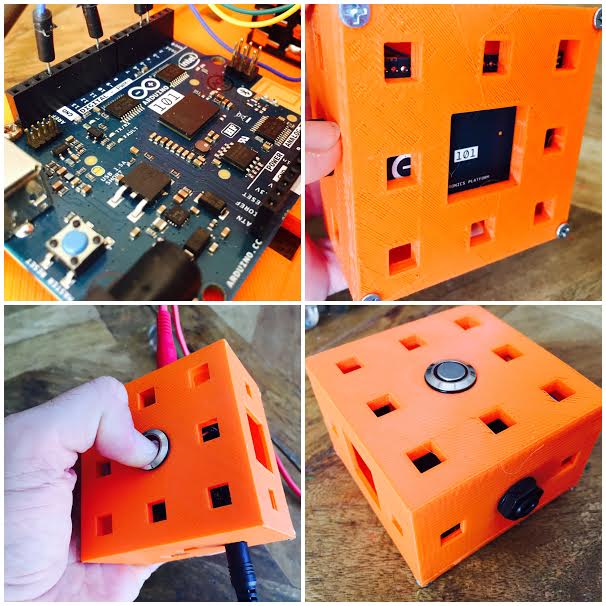
Evan Kale is back with another hack. This time, the YouTuber decided to convert a weed wacker-like toy into a metal detector with the help of an Arduino Uno.

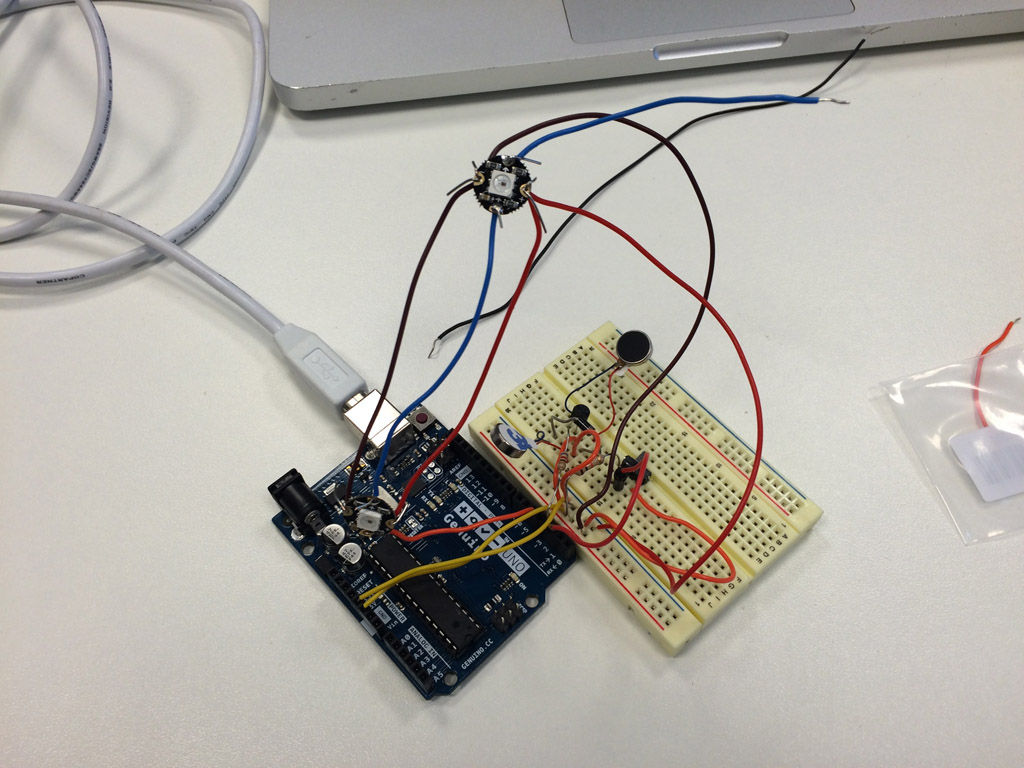
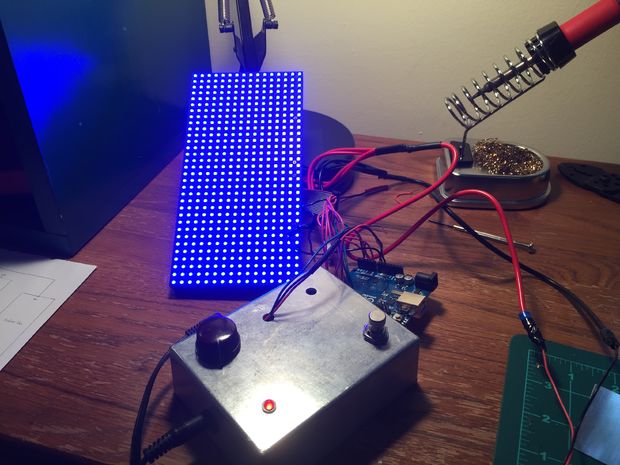
As Kale explains, the project is based on a Colpitts Oscillator, which combines an LC circuit with a transistor amplifier for feedback. The frequency of oscillation is somewhere in the 100KHz range, which cannot be heard by humans. Enter the Arduino. When the trigger is pressed, an Arduino program translates the oscillation into an audible tone that is played out of the speaker. When the oscillation exceeds a certain threshold, it also emits a celebratory light show because… why not?

Kale walks through his entire build—along with the science of it all and how it works—in the video below. The schematics can be found on Imgur.

Unlock your door with a simple hand gesture

Gone are the days of fumbling with your keys! Adham Negm has come up with a way to open your door with a simple hand gesture while holding your smartphone.

To accomplish this, Negm uses an Arduino Uno, a servo motor to move the bolt, and a 1Sheeld to interface with the smartphone. The 1Sheeld reads the device’s accelerometer data, and then activates the servo when it recognizes a predefined gesture.

Sound like a hack you’d like to try for your room? You can find the entire project on Instructables.

Arduino Blog 05 Sep 21:36

Make a cat feeder with Arduino, a servo and two cans

YouTuber “Mom Will Be Proud” and his family have a cat. And like all pets, their feline friend requires fresh food every morning. But rather than disrupt your sleep or daily routine, why not build an automated feeder using some spare parts? This is exactly what the Maker did using an Arduino, a servo, a simple button, a power supply, and two cans–one for housing the electronics, the other for the food.

Mom Will Be Proud cut little openings into each container, and connected them to a servo that rotates one on top of the other without ever getting stuck. A broken IKEA timer and a piece of plastic are used for the button, which when pressed, turn the cans until its holes match up and the food is dispensed into a bowl.

You can see how it works below!

Genuino handbag will deter you from impulse buying

Do you or your significant other have trouble sticking to a budget? Well, say goodbye to overspending with the iBag2: a high-tech wearable device that helps curb your impulse buys.

The iBag2 is equipped with a Genuino Uno, a 10,000mAh power bank, and several other interesting components. There’s a timer connected to electromagnets that lock the bag according to your most vulnerable spending moments during the course of a day, an RFID system hooked up to LEDs and vibration motors that illuminate in blue and vibrate each time your wallet is taken out, as well as a built-in GPS unit that warns you when you’re near a pre-preogrammed “vulnerable spending zone.”

Aside from curtailing your expensive bad habit, the iBag2 will also reminds you every two hours via yellow lights and small vibrations when it’s time to reapply sunscreen (you know, in case you’re shopping outdoors), and a Bluetooth tracker that pings your phone if the bag is a certain distance away from you.

The wearable prototype was created by Finder.com in collaboration with New York-based fashion designer Geova Rodrigues. Need a handbag that  knows when and where you’re likely to overspend? You can check out the iBag2 here.

9-year-old creates an award-winning, life-saving asthma monitor

Not only can asthma be difficult to diagnose, it can be fatal if left undetected. As a result, many kids are over-diagnosed with the disease, especially those under five, and over-treated with inhalers which leads to reduced growth and immunity. At just age nine, Arnav Sharma discovered that the best way to manage asthma is to prevent attacks by understanding their triggers and following a treatment plan. His solution? The AsthmaPi kit.

Sharma’s inexpensive device consists of an Arduino Uno, a Raspberry Pi, a Sense HAT, a MQ-135 gas sensor and a Sharp optical dust sensor. Intended for parents of children suffering from asthma and those not sure about the diagnosis, the kit sends emails and text message reminders to take their medication and to visit their physician.

The sensors track and collect data about the current temperature, humidity, dust levels and the presence of hazardous gases, all of which can be used to better understand an individual’s triggers and to avoid severe attacks. It will also enable children and their parents with better self-management of asthma.

Although the kit was developed particularly with children in mind, it can be just as helpful for adults as well. With an idea this incredible from a nine-year-old, it’s no wonder he was the recipient of this year’s Tech4Good People’s Choice and Winner of Winners awards.

Maker creates a fun waveform generator with Arduino

Inspired by a project he found over on Instructables, Maker JoEtuuube has created an Arduino-based waveform generator using an 8-bit resistor ladder DAC that can precisely produce different common waveforms at frequencies between 1Hz and 20Khz in sine-wave, sawtooth, triangle and various ratios of square wave. It features a speaker and a small LCD display.

A neat thing about the LCD is that it’s actually a reverse-engineered display from a cheap pocket calculator. With his hack, JoEtuuube no longer punches each digit in directly; instead, he only taps the clear, +, = and 1 keys. He can then enter arbitrary numbers by typing in the right number of ones and adding them up. For example, 345 = 111 + 111 + 111 + 11 + 1.

The generator itself uses an Arduino Uno and runs off a 9V battery. In the video below, JoEtuuube provides a detailed walkthrough of the firmware and how everything works. You can also read more about it on Hackaday.

Monome + Raspberry Pi + Arduino + Python Step Sequencer

Created by “modulogeek,” the MonomePi is a step sequencer that uses a monome as an input controller and a toy glockenspiel as the output instrument.

The brain of the device is a Raspberry Pi 3, which runs a step sequencer program written in Python. Both the monome and an Arduino Uno are connected to the Pi via USB. The Arduino controls eight servos, each attached to a “mallet” made of LEGO bricks taped onto coffee sticks.

As modulogeek explains, the Arduino is programmed to receive serial commands from the Python program. A command is one byte or 8 bits, each bit representing ‘on’ (play the note) and ‘off’ (do nothing) states of each servo.

The monome is entirely controlled by the Python program, which sends serial commands that, for example, tell the monome which buttons need to light up or turn off. It also receives serial data from the monome, like which buttons are getting pressed and depressed.

You can see it below, as well as check out its GitHub page here.

Control an LED display with your electric guitar!

Have you ever wanted to have a light show that reacts to what you play through you’re favorite electric instrument? Georgia Tech grad student Wil Roberts has, and so he created a guitar-controlled LED display–an impressive project that combines both his Maker and musical chops.

To accomplish this, Roberts used an Arduino Uno along with an Adafruit 16×32 RGB LED matrix panel that responds to the guitar’s signal. The bottom rows are always blue, while the top ones progress from green to red the louder he shreds. The top rows remain red depending on the length of the note being played.

Want one of your own? Roberts has made all of the display’s circuitry and code available on Instructables. In the meantime, be sure to see it in action below!

Experimental sound generating boxes for Makers, by Makers

The brainchild of Tomás de Camino Beck, Polymath Boxes are experimental sound boxes. Using a Genuino Uno and 101 along with some 3D printing, these units enable young Makers and adults to experiment with programming and math to produce noises and tunes, from square and triangular waves to sample players and interactive sound generators.

The boxes were originally conceived by Camino Beck as part of an open-source experimental art project with the goal of stimulating STEAM in education, from high school to college, and to allow artists, engineers and computer scientists, or pretty much anyone interested, to explore programming and digital fabrication. They were developed and fabricated in “Inventoria”–Costa Rica’s own idea of a Makerspace.

More than just a finished project, these boxes are designed to be hacked and to help move away from more conventional ways of thinking when it comes to sound.

These boxes use coding as a way to “write music,” and to take advantage of the diversity of physical low cost sensors to trigger sound. Some of the boxes play with basic waves, just creating basic  PWM, and others go from there to create arpeggiator and interactive. They will be used in several workshops and experimental music concerts in Costa Rica.

Build a pan and tilt camera with Raspberry Pi + Arduino

Although there are plenty of DIY surveillance cameras already out there, MakeUseOf has taken it to the next level with the ability to remotely control its view. This DIY pan tilt camera uses a Raspberry Pi, an Arduino Uno, a pair of servos, and a USB webcam.

The Pi streams video to a webpage and adds a few buttons to move the camera. Due to the lack of the hardware PWM pins, the servos are controlled by the Arduino that is connected to the Pi. Meanwhile, a Python server handles the web interface and commands.

Sound interesting? Be sure to check out the entire build on MakeUseOf’s page here.